
This is how I made custom earplugs with integrated Bluetooth headphones. Now I can protect my hearing and listen to some jams at the same time!
I use power tools quite often when I’m working on projects around the house. Hearing protection is really important with many of these tools. I used to use typical earmuffs, but a couple of years ago I came across this unique solution to hearing protection and I knew that I had to try it. In the music industry, these are also called In-Ear Monitors (IEMs).
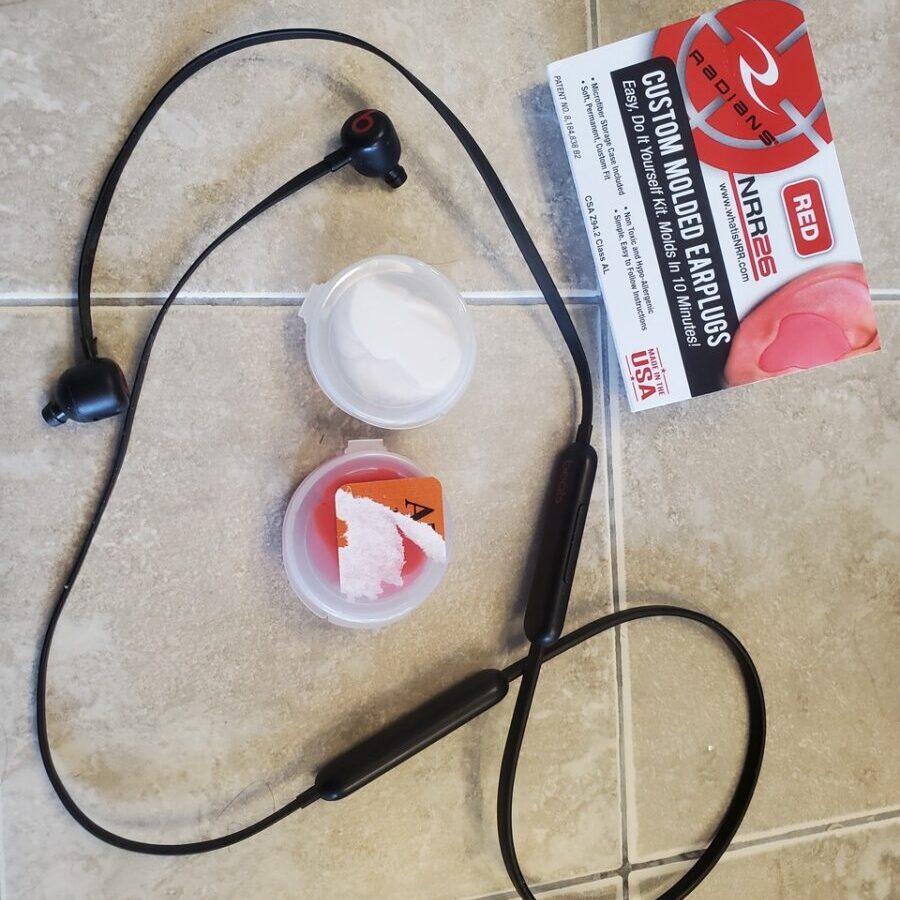
What You’ll Need
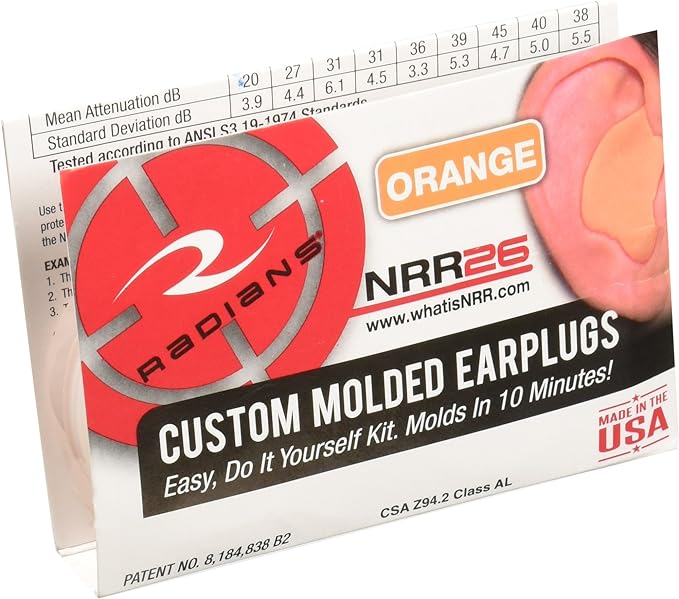
Only two things are needed for this simple project:
Total cost: $60
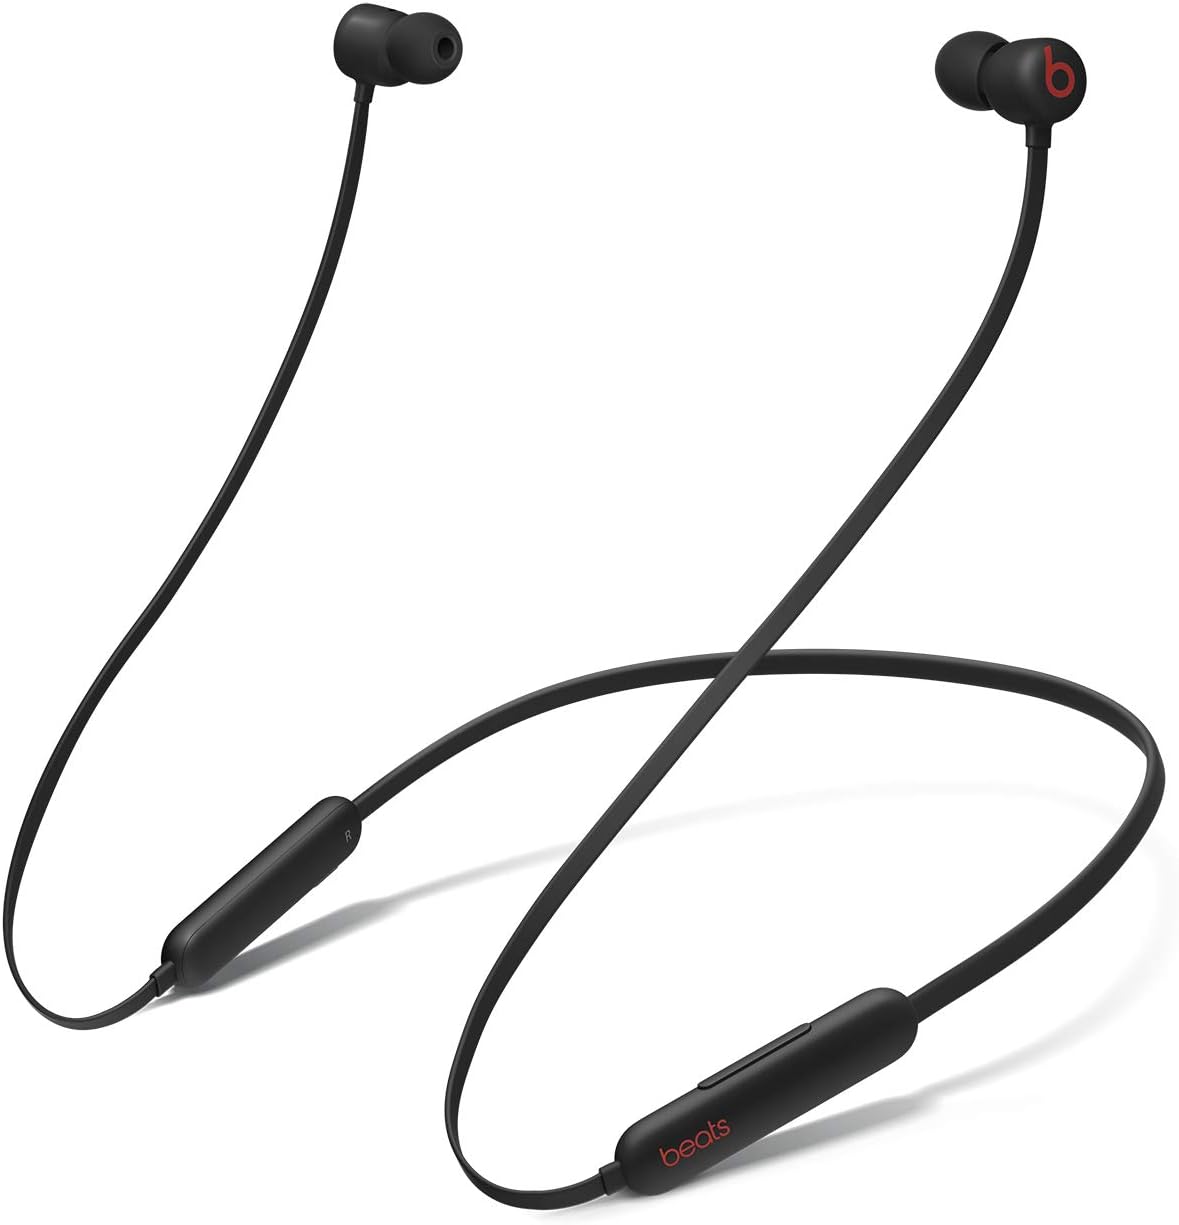
Choosing The Headphones
Just about any in-ear type headphones will work for this project… even old-school wired headphones. However, I’ve found that Bluetooth headphones with a wire that connects the two sides together are the best choice. There are a number of reasons why I chose the Beats Flex Wireless Earbuds…
- Old-school wired headphones would not be a good choice around spinning power tools. Plus, who uses wired headphones anymore? I don’t think I have a device to plug them into anymore. 🙂
- Even though the long wire of wired headphones is not a good idea, a short wire connecting the left and right earbuds is a great idea.
- By tethering the two sides together it makes it nearly impossible to lose one earbud.
- The short cord allows you to hang them around your neck when you aren’t using them.
- These headphones also have magnets to keep them connected together in front of you when they are hanging around your neck… another thing to keep the wire out of the way.
- They have tactile buttons on the neck band that you can push to play/pause, skip tracks, adjust the volume, and even answer phone calls. It can be really hard to use touch type controls when you have gloves on or dirty hands.
- The battery life is amazing. They last an entire day without charging.
- The sound… Of course you want decent quality sound for your jams!
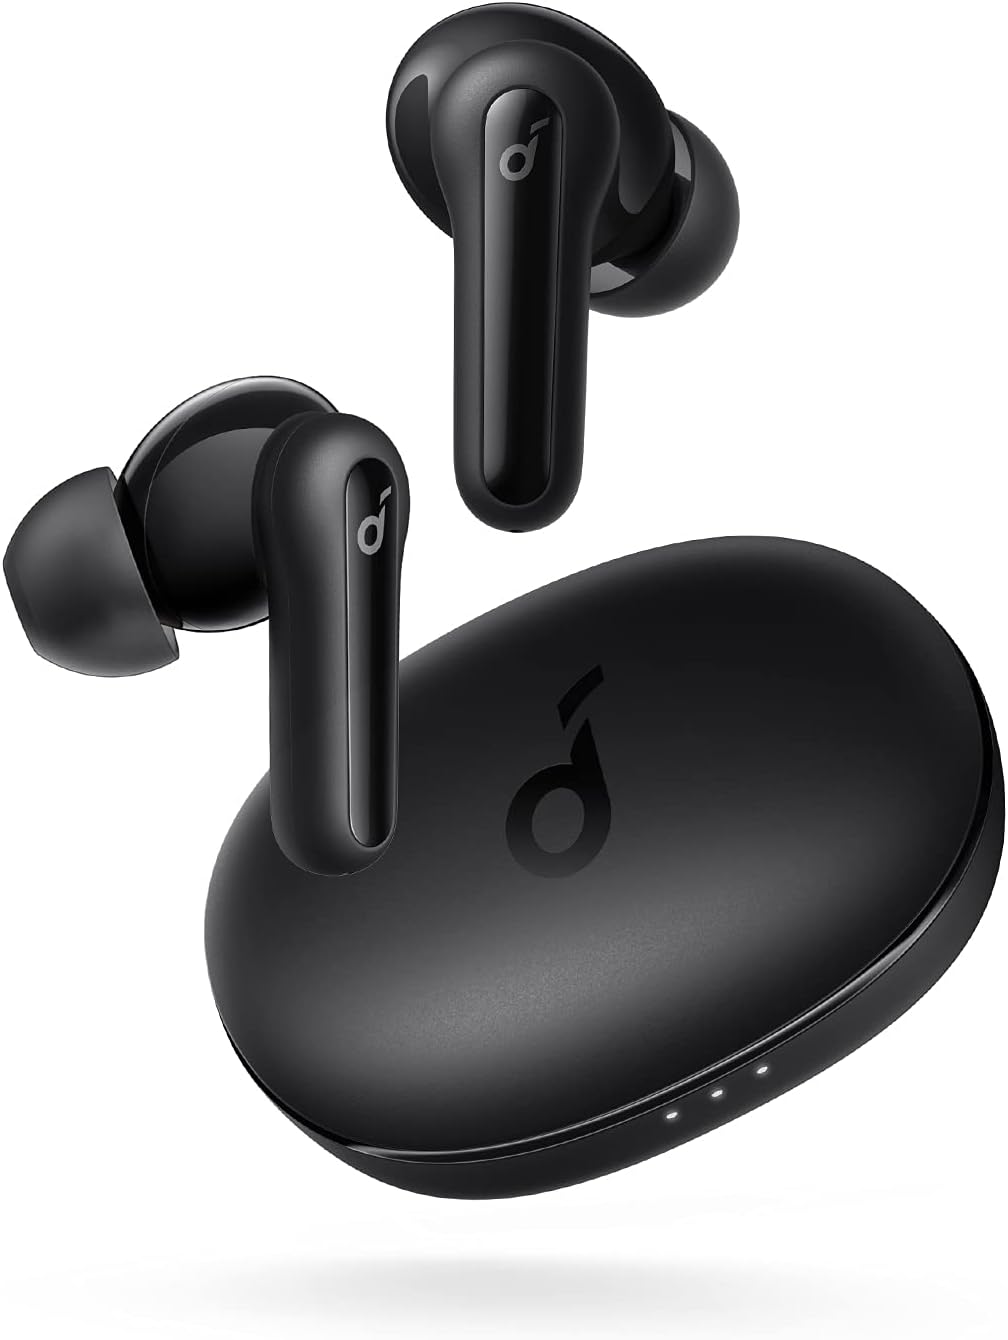
For this application, I don’t think that the true wireless type earbuds are a good choice, but they certainly will work if you want to give them a try.
How To Put It All Together
It’s a pretty simple process to get these custom earplugs assembled. I’ve included a step by step process below. Here is a really good video that I found that shows the process also.
Step 1 – Prepare The Headphones
To prep the headphones you just need to give them a good cleaning and remove any rubber ear tips.
Step 2 – Read The Directions
Read the directions carefully for the moldable earplugs. It’s not a difficult process, but you do only have a few minutes to get them formed to your ears. You want to make sure that you are ready to go.


Step 3 – Split The Putty Into Two Equal Parts
Split each container of putty in half. One half is for each ear.
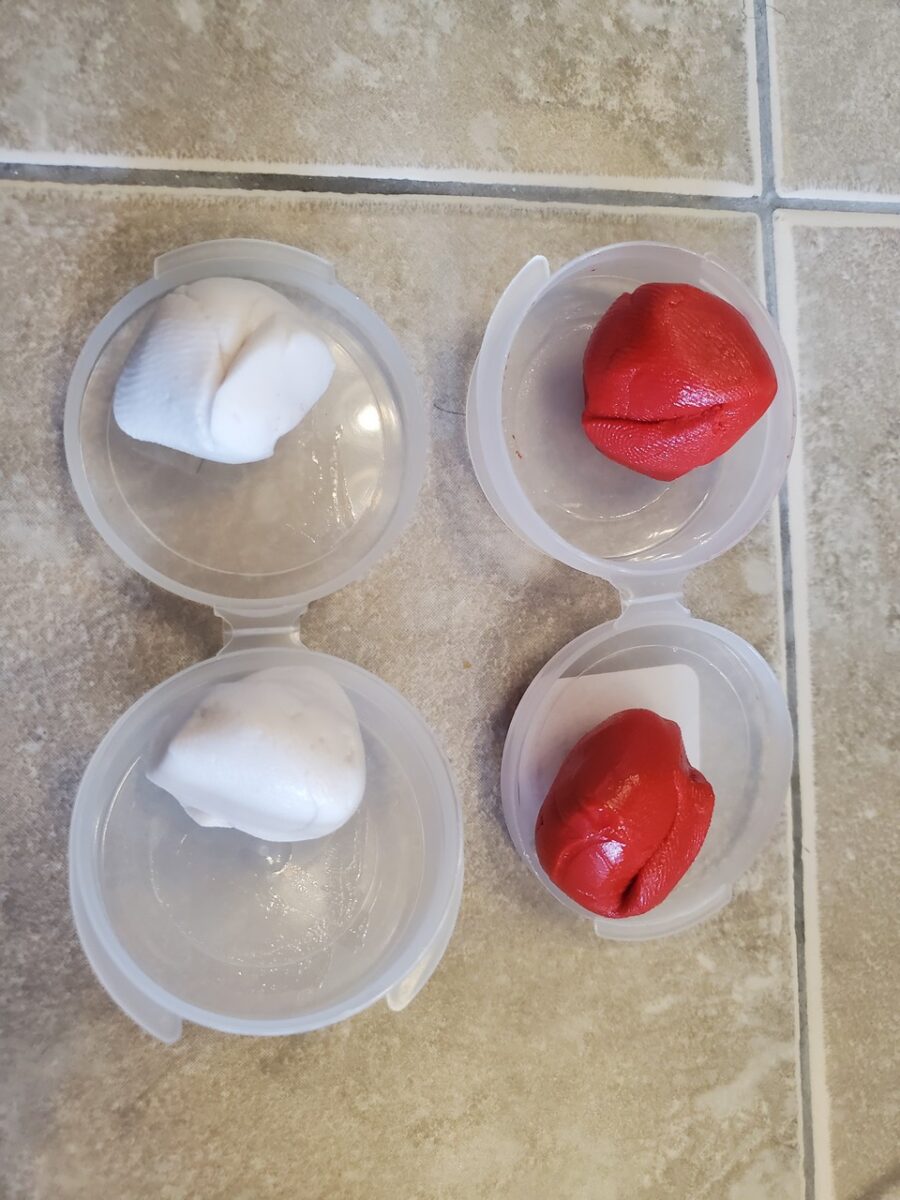
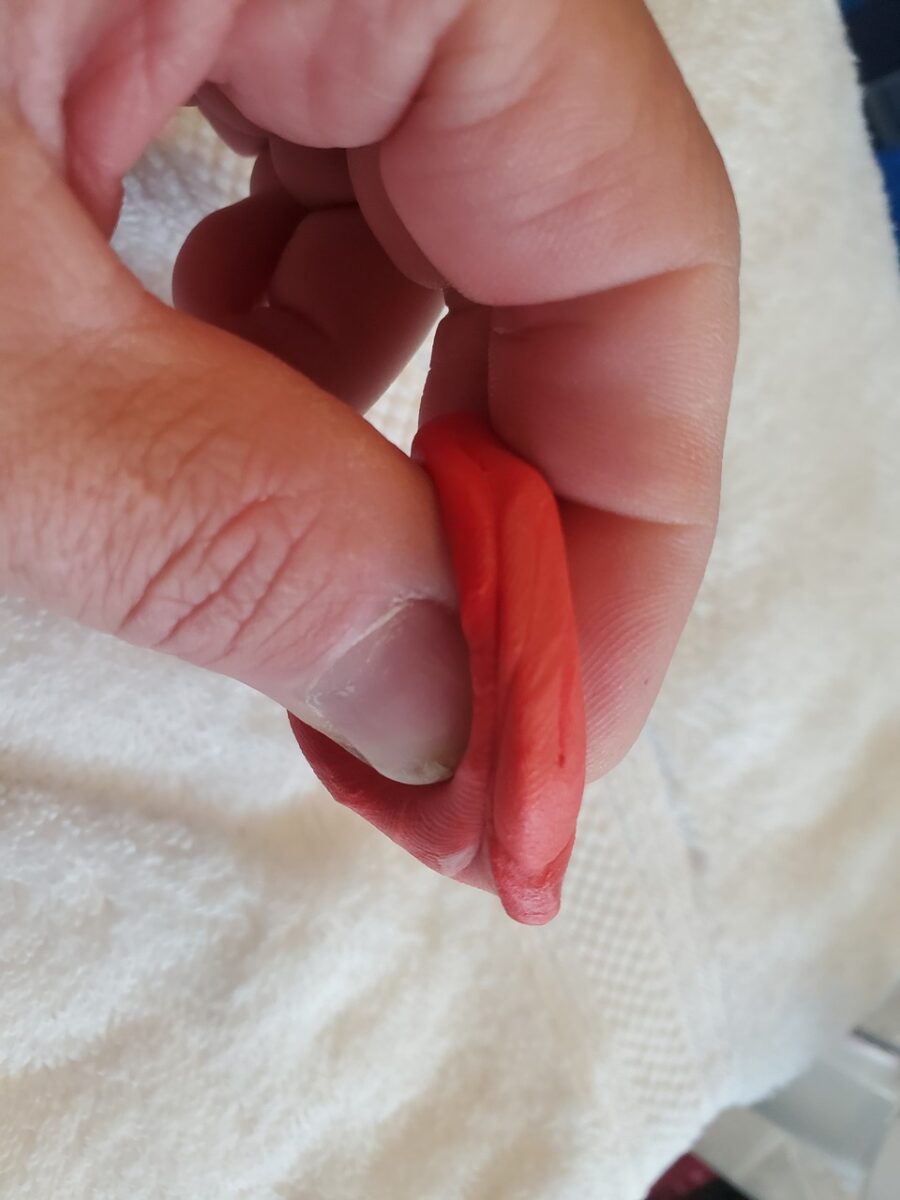
Step 4 – Mix The Parts Together For One Ear
Mix 1/2 of each container (1/2 of the colored putty and 1/2 of the white putty) together thoroughly for about 15 seconds or so.
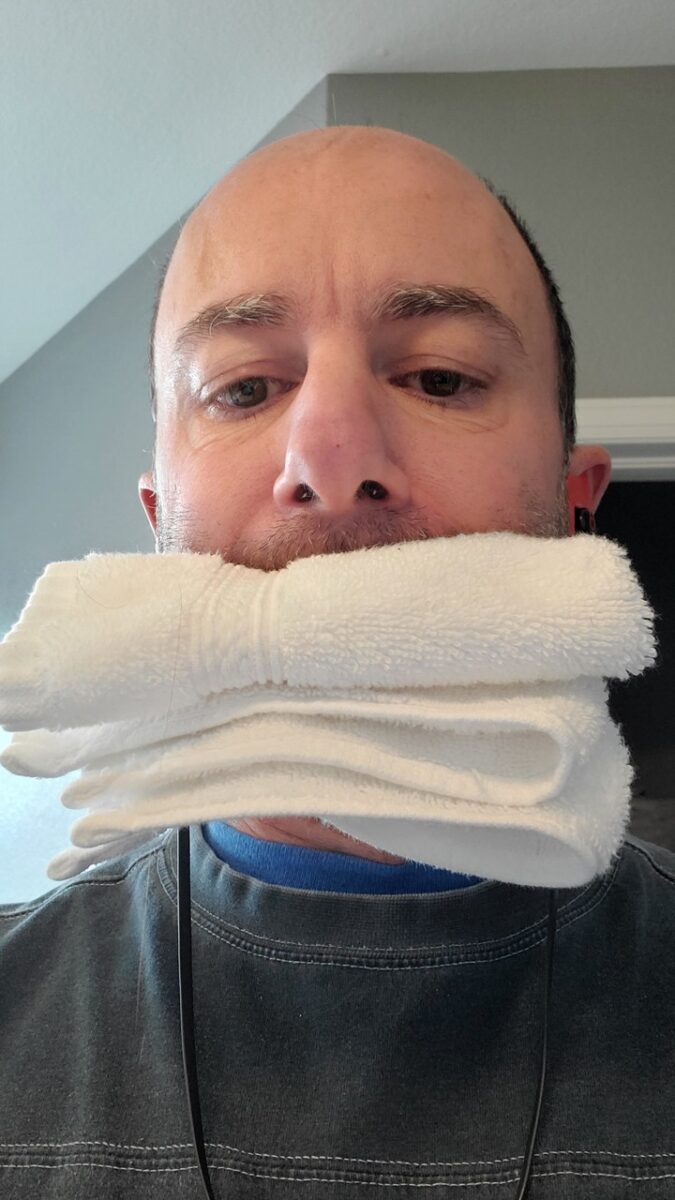
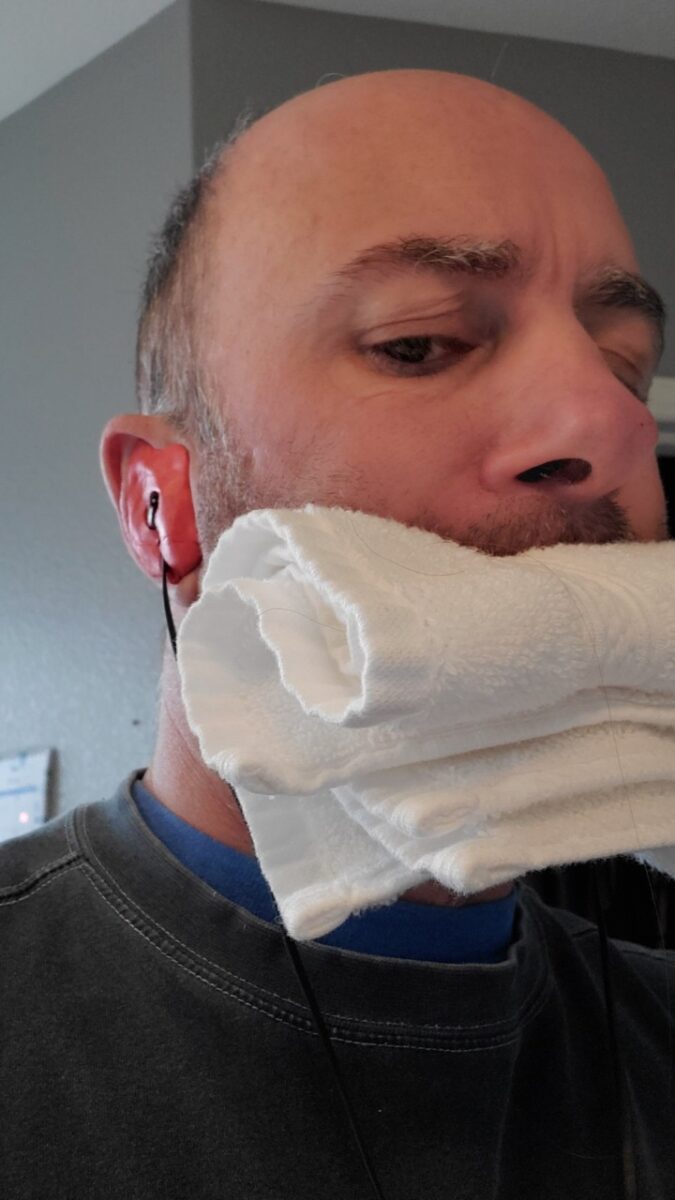
Step 5 – Bite Down On A Washcloth
Fold a washcloth in half a couple of times and bite down gently on it. This will open up your ear canal just a little bit more, so you get a snug fit.
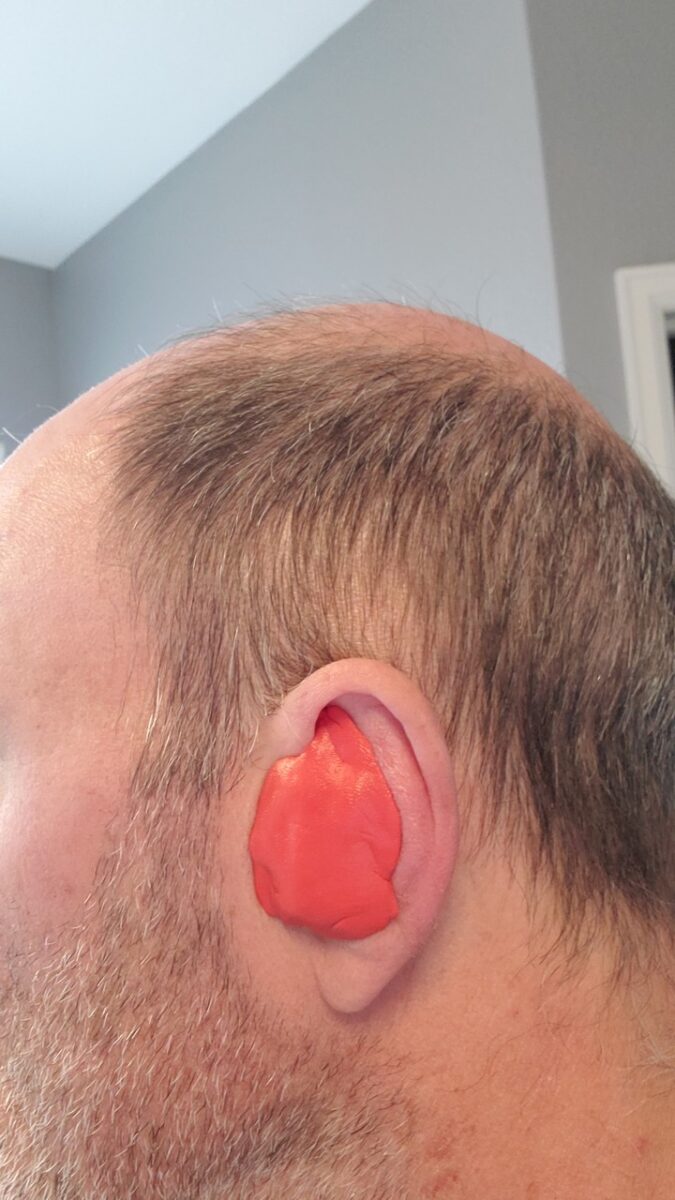
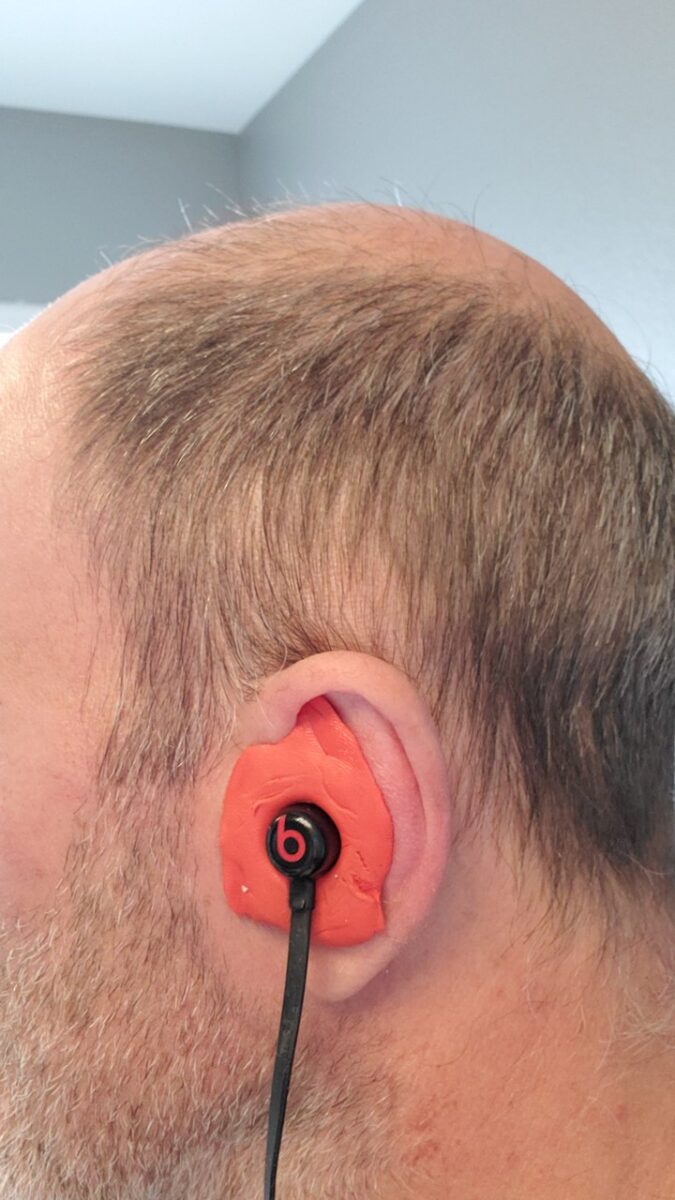
Step 6 – Jam It In Your Ear
Push the putty mixture firmly into your ear. Work it around into the corners of your ear to smooth it out and get a good fit. This is the most critical step of the process, so take a minute or two to make sure it is snug in your ear. Don’t push too hard though. I found that using a bathroom mirror is very helpful here.
Step 7 – Insert The Earbud
Once you have a really nice fit in your ear, carefully press the earbud into the putty. The objective here is to get the earbud into the same position that it would normally be in if you weren’t using the moldable part. Again, push firmly, but not too hard. You don’t need the earbud to push all the way through the putty right now. Just make sure that it’s in the correct position and being held in place by the putty.
Step 8 – Repeat For The Other Ear
Repeat steps 4, 6 and 7 for the other ear. Keep biting on the washcloth the entire time.
Step 9 – Wait
Wait 10 minutes for the earplugs to cure. You will hear some popping and crackling noises as this happens. Don’t worry. Your ears are fine.
Step 10 – Remove Them
After 10 minutes, you can gently remove them from your ears. It’s a good idea to let them set for another 10 minutes before moving on.
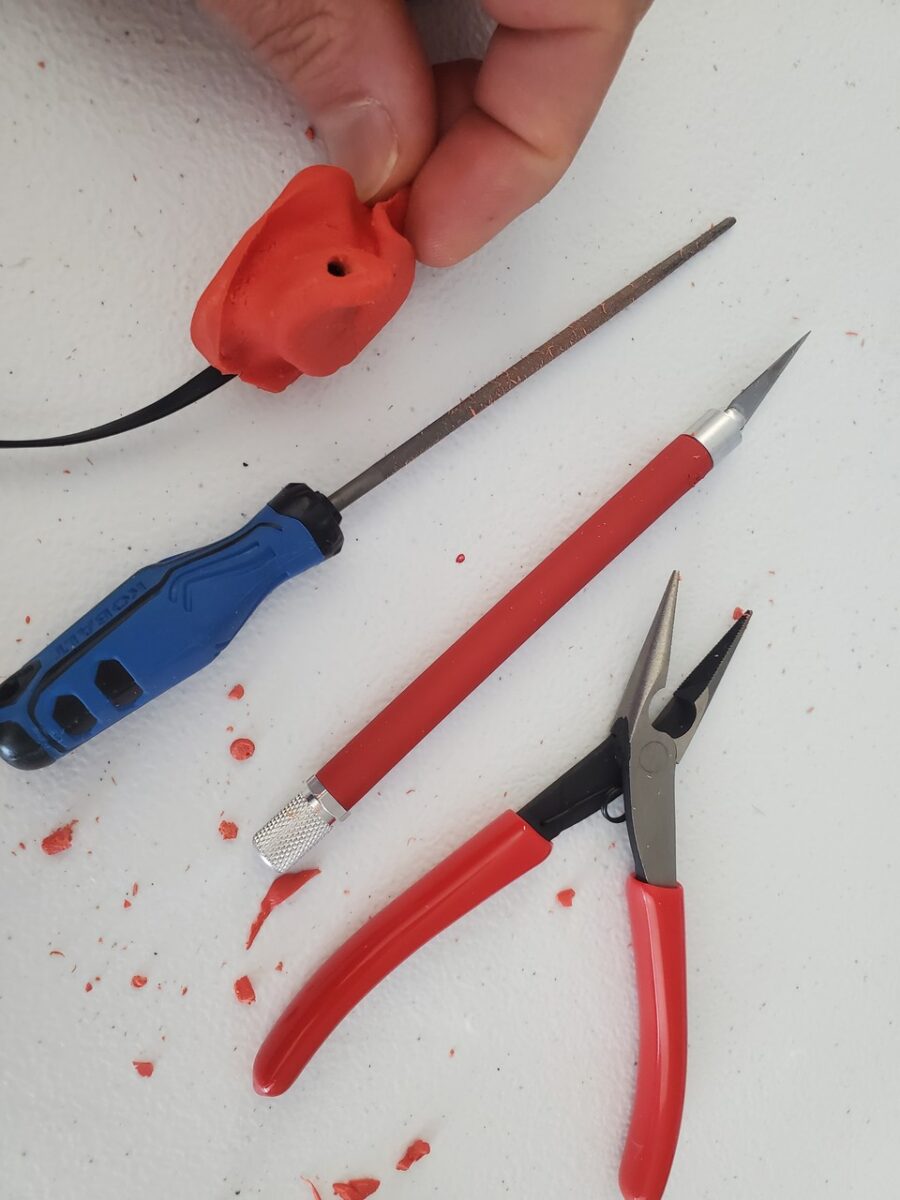
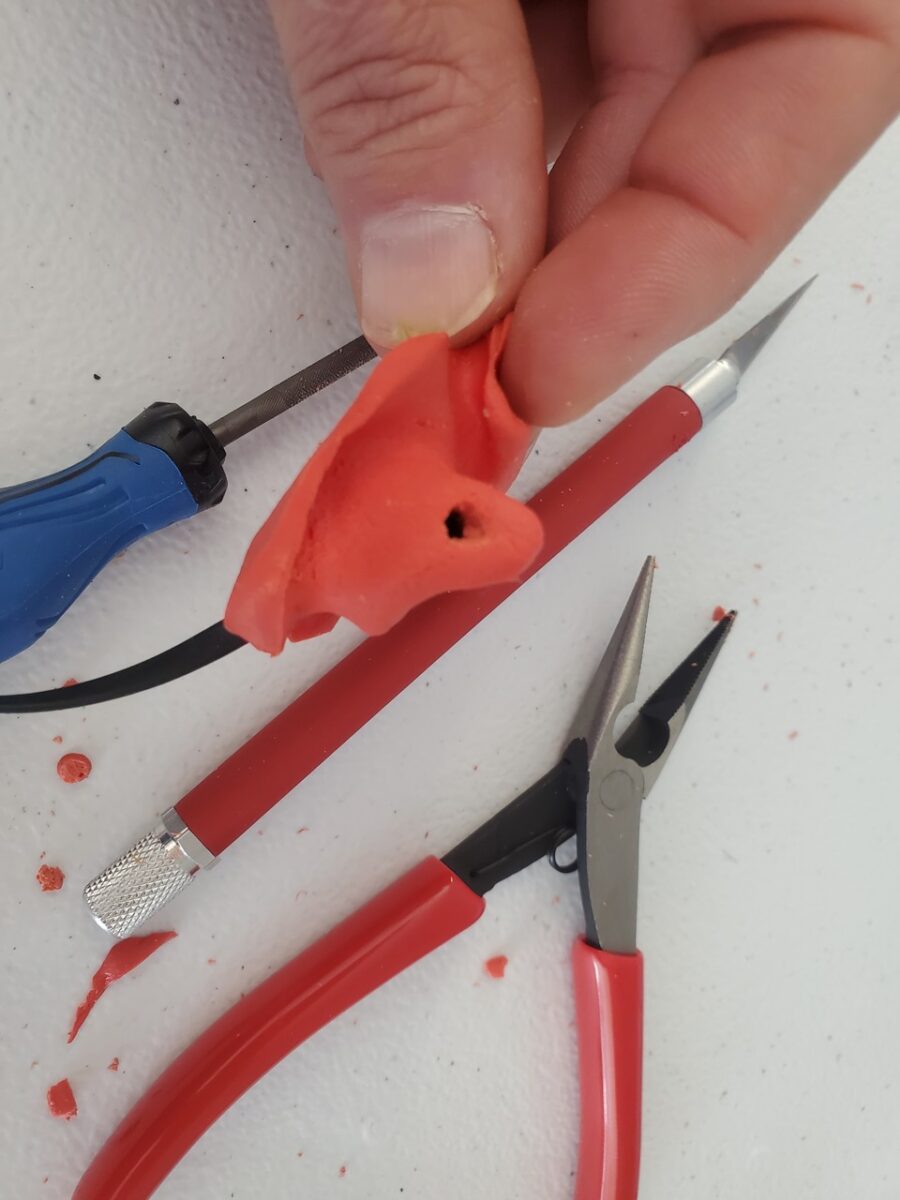
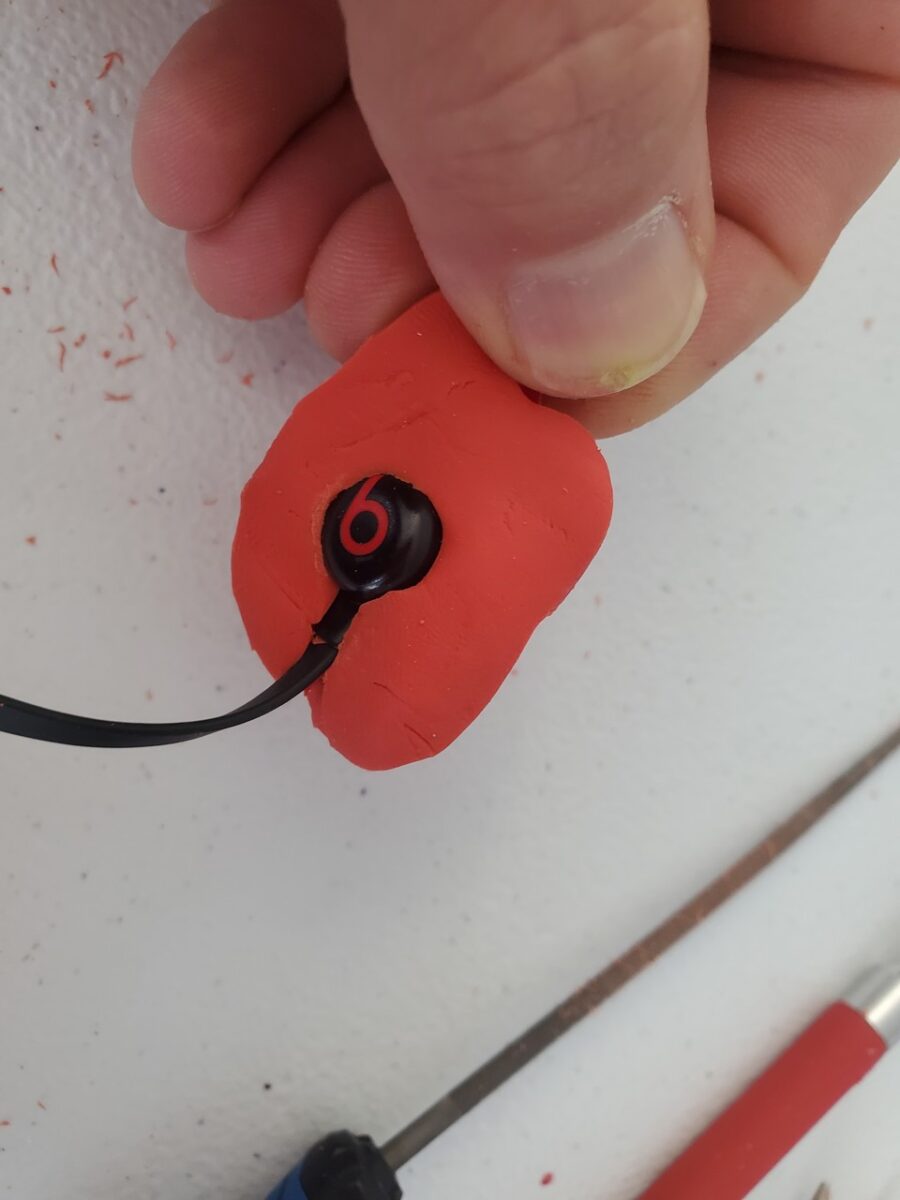
Step 11 – Fine Tuning
Now you can gently remove the earbuds from the moldable parts. Clear out the hole for the end of the earbud into your ear with a drill bit or an exacto knife. You can also do any little bits of cleanup around the edges.
Step 12 – Ready To Go
Your custom earplugs are ready to go!
Rock Out!
I’ve been using my custom earplugs for two years now and they still work perfect. The noise isolation is so good that it’s very easy for someone to sneak up on me while I’m working. I truly enjoy the combination of hearing protection with my favorite working tunes!
Enjoy! Till next time…