Building your own movie projector screen is an easy DIY project that can have amazing results for a low cost.
I recently tackled this project as part of my basement refinishing project. It was one of the easiest projects that I’ve done lately and I think that it’s as good or better than any store bought versions that you can find. It’s a great $100 investment that my family will be enjoying for many years to come.
Tools Required
- Saw – Chop Saw or Hand Saw will work
- Tape Measure
- Drill/Screwdriver
- Pocket Hole Jig (optional)
- Staple Gun
- Scissors
Materials Required
| Description | Qty | $ Each | $ Subtotal | Link |
| 1x4x8ft clear straight pine (or similar) | 2 | $11 | $22 | Home Depot |
| 1x4x10ft clear straight pine (or similar) | 1 | $13 | $13 | Home Depot |
| Black Velvet Fabric Material | 3 yards | $7 | $21 | Amazon |
| Movie Projector Screen Material (58″x100″) | 1 | $40 | $40 | eBay |
| Picture Hangers (3-pack) | 1 pkg | $2 | $2 | Home Depot |
| Misc Screws | ~16 | $2 | ||
| Total Cost: | $100 |
Notes:
- The (2) 8ft boards are for the top and bottom.
- The (1) 10ft board is cut in half for the two sides.
- (3) yards of velvet material is 36″x3=108″ long, which is long enough to cover the longest board on a typical projector screen with just one piece. You will have extra material, but we don’t want seems.
Step 1 – Determine Your Screen Size
One of the nice things about building your own screen is that you can customize the size to fit your space exactly. There are four basic factors to consider when sizing your screen:
How much wall space do you have available?
Obviously, this will determine the maximum screen size that you can fit.
What aspect ratio screen do you want?
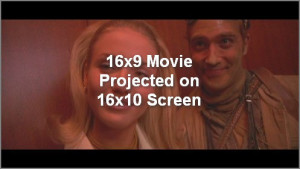
16×9 and 16×10 are the most common screen sizes for widescreen movie viewing today. You may be limited by your projector, so take a look at that documentation before making your decision. Given the choice, I’d recommend 16×10. You will have black bands on the top and bottom of your screen for 16×9 formatted movies, but your 16×10 movies will be larger. This size also generally fits well on a wall.
How far from the screen will your seating area be?
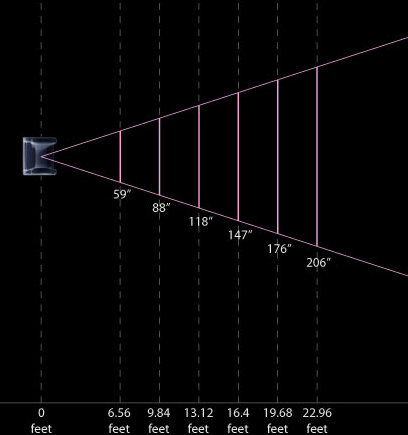
If you sit too close to a large screen, you may notice granularity in the picture or strain your eyes because you have to scan left and right to view the whole picture. The graphic below illustrates some good basic guidelines. If you’d like to read more on the topic, this link is a great resource. AVS Forum
THX Recommended Screen Size
Where can you mount the projector?
Before you start building the screen, I recommend that you look through your projector’s mounting instructions to determine the optimum mounting location for your projector based on your available mounting space and desired screen size. If you are limited on where you can install the projector, this can certainly impact your screen size.
Step 2 – Mount Your Projector
I know that this step is not specific to building your screen, but I definitely recommend that you mount your projector before you start building your screen. It would be a major bummer to finish up construction of your screen only to realize that your projected image size does not match up with your screen size.
Take a little time now to mount your projector and display a sample image on the wall. You can then get out your tape measure to double-check your screen size.
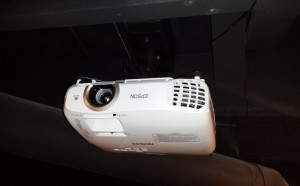
My Ceiling Mounted Projector
Step 3 – Determine Your Frame Size
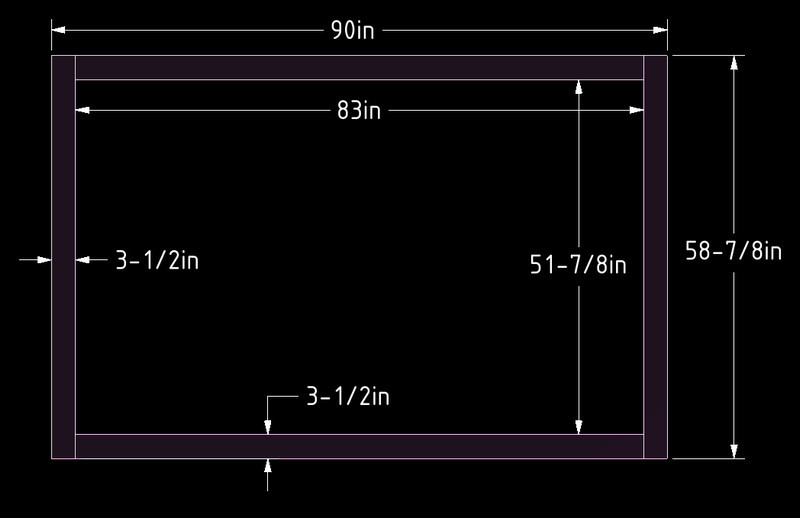
Now that you have double checked your desired viewing screen size, it’s time to do a little basic math to determine your cut lengths for the 1×4 lumber. The graphic and formulas below describe the process better than words can. For this build, I did not bother with any miter cuts for the corners. I debated on this, but trust me, it’s not worth it on this project. It will make the fabric covering a lot more difficult and you can hardly even see the seams on my frame. Butt joints also makes screwing the frame together a lot easier.
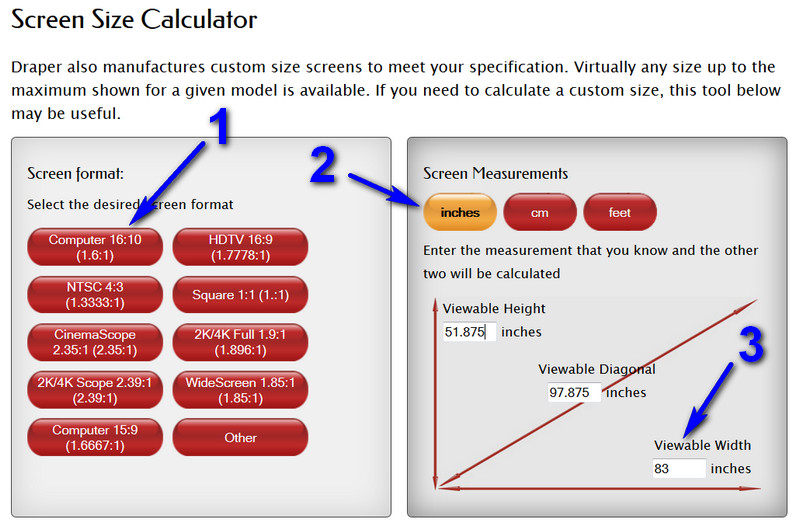
After you decide on the approximate size of the screen that you’d like to build, you can use This Calculator to determine the actual dimensions for your screen’s viewable area. I’ve included a screen shot below to show the basic steps involved.
My Screen Framing Plans
Typical 1×4 lumber actually measures 3 1/2″ in width…
Cut Length 1 = Screen Width. For my example this is 83″
Cut Length 2 = Screen Height + (2 x Lumber Width). For my example this is 51 7/8+ (2 x 3 1/2″) = 58 7/8″
Step 4 – Cut your 1x4s
Cut (2) of the 8 ft 1x4s to “Cut Length 1″ (83” for my example)
Cut (2) pieces from the 10 ft 1×4 to “Cut Length 2″ (58 7/8” for my example)
Don’t forget… measure twice, cut once.
Step 5 – Prep your joints (Drill pocket holes)
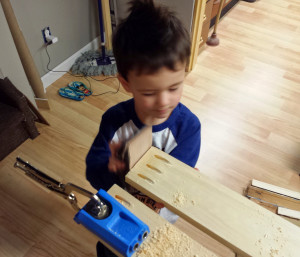
I chose to use pocket hole joinery for this project. I drilled (3) pocket holes at either end of the top and bottom stretcher boards. Pocket hole joinery makes it quick and easy to assemble a strong joint. If you don’t have a pocket hole jig, now might be a good time to invest in one. The current version of the jig that I use is only $40 on Amazon.
Alternatively, you could use flat angle brackets similar to these on Amazon on the back side of the frame or another method of your choosing.
Drilling the Pocket Holes… With a Little Help
Step 6 – Cover Frame with Velvet Fabric
Covering the frame with velvet fabric helps to absorb the stray light that is just outside of the viewing area and creates a nice crisp edge. Painting the frame black or other methods like that just won’t work as well.
Cut a strip of the velvet about 7″ wide. You don’t have to be precise about this. You just want to be able to fold the velvet around the frame and staple it on the back side.
Lay the strip upside down on the floor and then lay one of your framing pieces upside down in the center of the velvet.
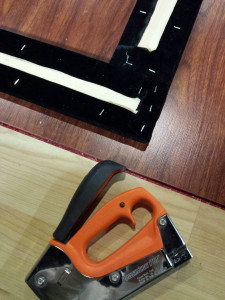
Pull the fabric around the frame on one side and staple it on the back side of the frame. Now pull the fabric around the other side of the frame and stretch it tightly as you put another staple on the back side of the frame. You are using the first staple to anchor the fabric down so that you can pull tightly around the far side of the frame. It’s harder to explain than to actually do it. You just want the velvet to be nice and smooth along the entire frame piece.
Start in the center of the frame and work towards each end, pulling it tight as you go.
When you get to the ends of the framing piece, trim the velvet and create a corner similar to how you would wrap a present. Then staple that on the back side. It’s a lot easier to cover the end of all (4) framing pieces like this before you assemble the frame. This way you also will have no chance of any exposed wood after the final assembly is complete.
Do this same process for each of the (4) frame pieces.
Attaching the Velvet Fabric
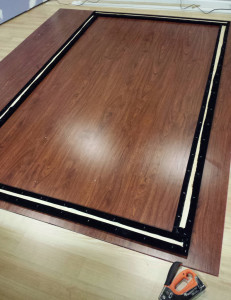
Step 7 – Assemble Frame
Now that you have all the framing pieces covered with the velvet fabric, you can assemble the frame. I put the pieces upside down on the floor and held the ends flush while driving in the pocket hole screws. It should be starting to look like the plan is coming together now!
Make sure that it is square before continuing on. Measure from corner-to-corner in both diagonal directions. The measurements should be identical. If not, adjust it now, or your screen will not be square.
Frame Assembly
Step 8 – Attach the Movie Screen Material
This is not cheap paper or blackout cloth that I’ve selected for this build. This is real projection screen material with 1.0 gain (white). If you want a nice picture, you have to project on a nice screen.
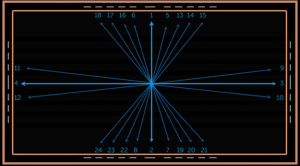
To attach the material, make sure that your assembled frame is upside down on the floor (back side up). Roll out your screen material on top of the frame with the white side down (black side up). Center the material on your frame. Put one staple on the top center of the frame. Stretch the material down and put one staple in the center of the bottom of the frame. Now do the same thing on the left and right center of the frame. Continue stretching and stapling from the center towards the corners in a criss-cross pattern. Place the staples about 3-4″ apart. Use lots of staples to make sure that your screen material stays flat. See the picture below for the basic stapling pattern.
Screen Stretching and Stapling Pattern
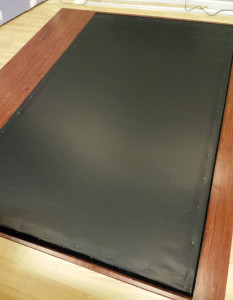
When you are done, your screen material should be evenly tensioned with no wrinkles.
Back Side of Finished Screen
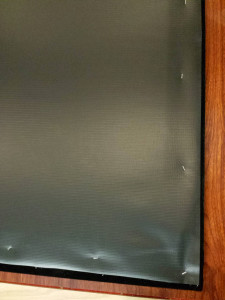
Detail of Back Side Stapling
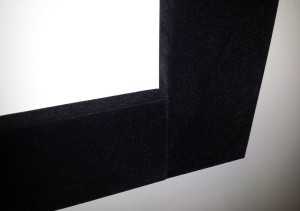
Finished Butt Joint Corner
Step 9 – Mount on the Wall
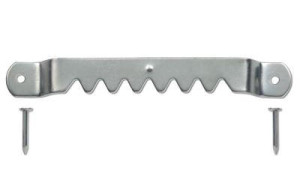
There are a number of methods that will work for mounting your screen on the wall. My recommendation is to use a couple of standard picture hangers like those shown below. The frame is not overly heavy and this cheap hardware makes the job easy. Just make sure that you anchor them to a stud or use the proper drywall anchors to make sure that your screen stays where you put it.
Sawtooth Picture Hanger
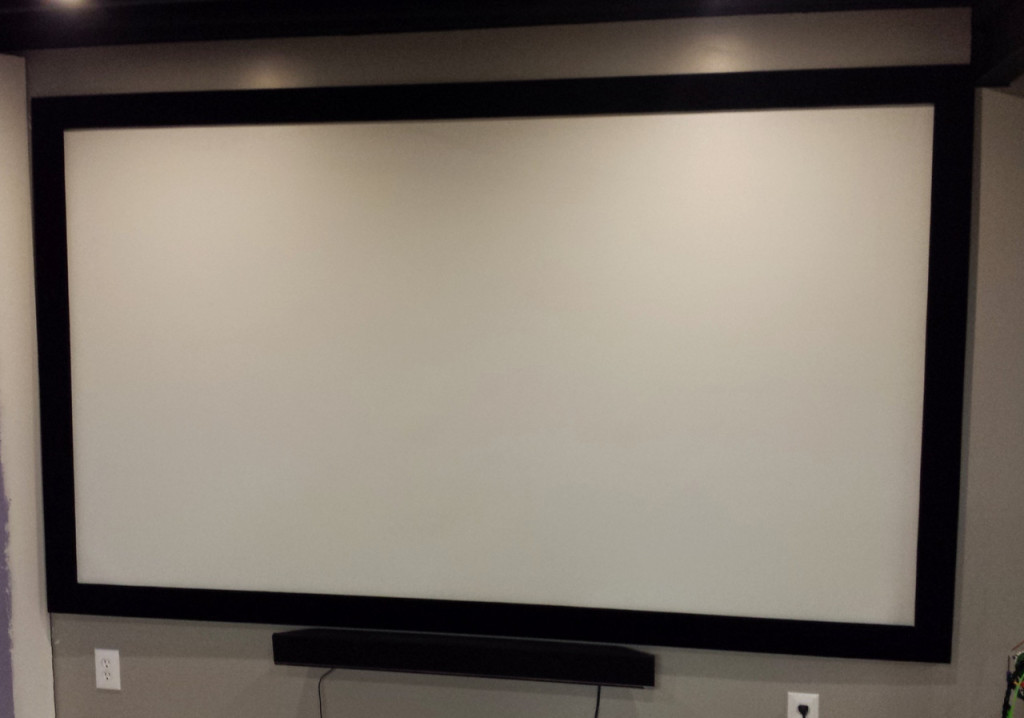
The photo at the top of this post is my finished projector screen mounted on the wall in my basement. It looks pretty professional, doesn’t it? I still need to hide the cords for my sound bar, but that’s another project.
Step 10 – Make Popcorn
Mission accomplished. It’s time to enjoy your movie screen! My “little helper” requested Cars for the first test movie. I think that was a great choice.
The picture on this screen is really amazing, and I’ve had some independent reviewers agree, so it’s not just me. You won’t be disappointed with this investment. So, what are you waiting for?… get to it!
Popcorn and a Movie
Until next time…


nice article Ry. I’m going to try it in the new house!
Go for it. Reece loves it. We’ve already had a couple of family movie nights. Fun
Man oh man, you are impressive!
Thanks… Just trying to make our house a fun place to live.