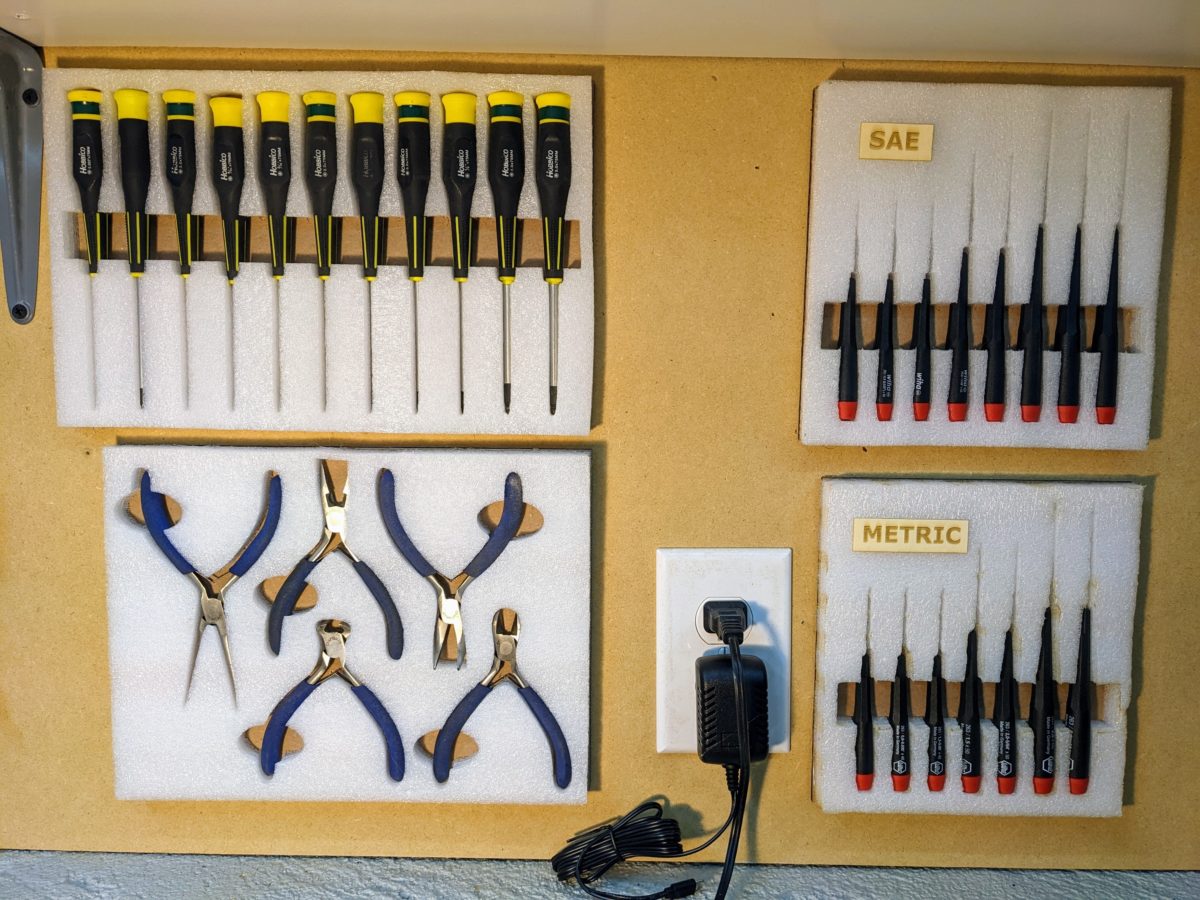
I transformed my basement into a maker space during the COVID-19 lock down. Part of that project was to dedicate some wall space for conveniently storing some commonly used tools. I came up with an idea to make some tool holders for pliers and hex/ball drivers using laser cut foam to match each tool’s shape. I think it turned out awesome and I’ll definitely be making more in the future. This is how I did it …
Materials & Tools Used
- Foam – use the flexible type, not the stiff stuff
- Cardboard – an Amazon box will work
- 40 Watt Laser Cutter (lower power would also work)
- See this article about my laser cutter
- Scanner or Camera (or Phone)
- Inkscape (or similar vector drawing software)
- Hot Glue Gun (I love this cordless one)
- Hot Glue Sticks – low temperature
The Idea
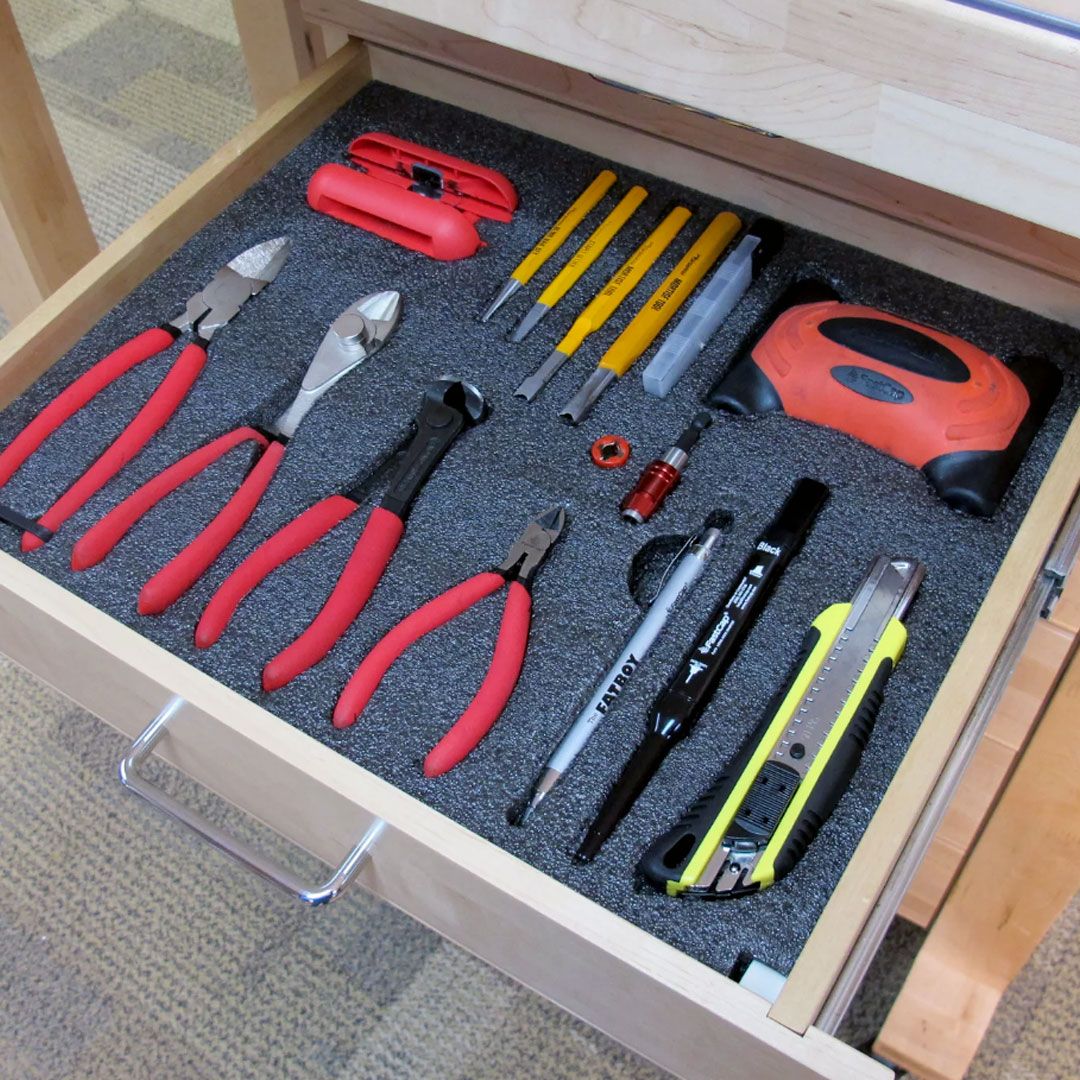
This concept is actually based on some of those kaizen foam tool drawer organizers that I’ve seen before. This same technique could certainly be applied to foam cutouts for tool drawers if that’s how you prefer to store your tools. I just modified the concept slightly by adding a cardboard back and mounting the whole thing to the wall with some hot glue.
“Tracing” The Tools
The key to this project is getting an accurate outline of the tools. There are a couple of different ways to go about this depending on the tools that you have available.
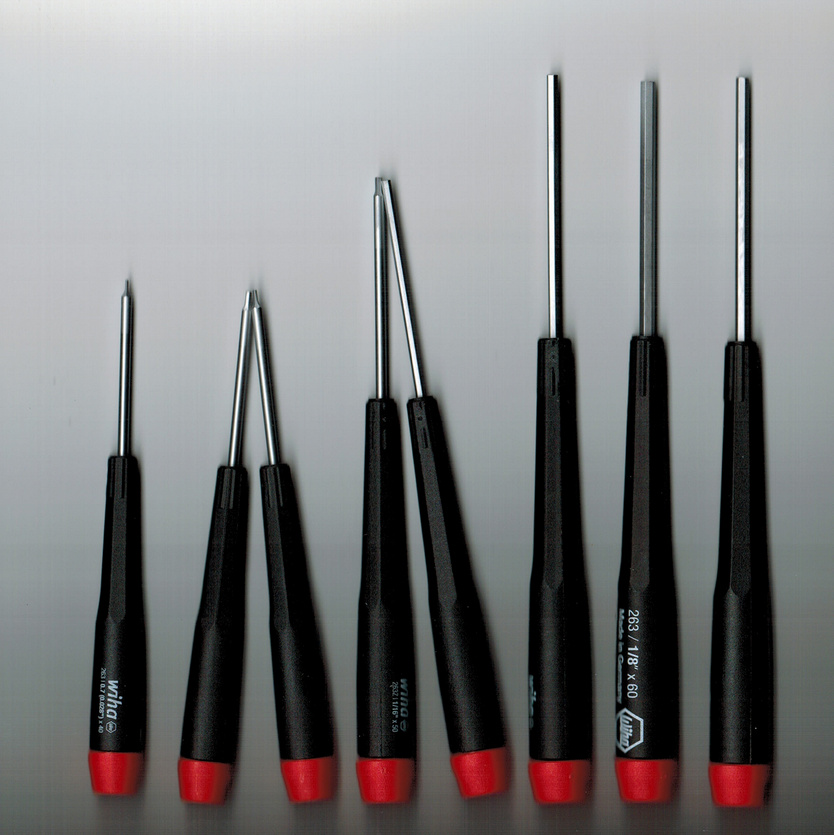
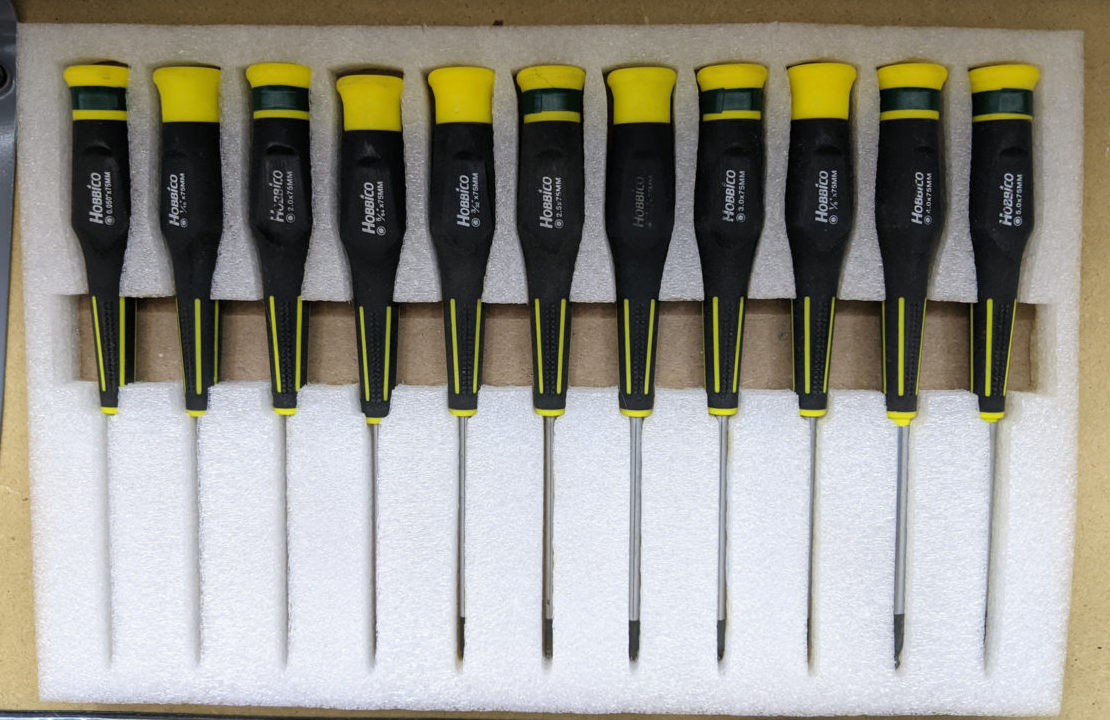
The easiest way that I found was to use my flatbed scanner, which is part of my laser printer (this one), to scan the tools. The advantage of this method is that the scanner will automatically capture a silhouette image that is the correct scale. You won’t need to do any scaling when you import the image to the vector drawing software.
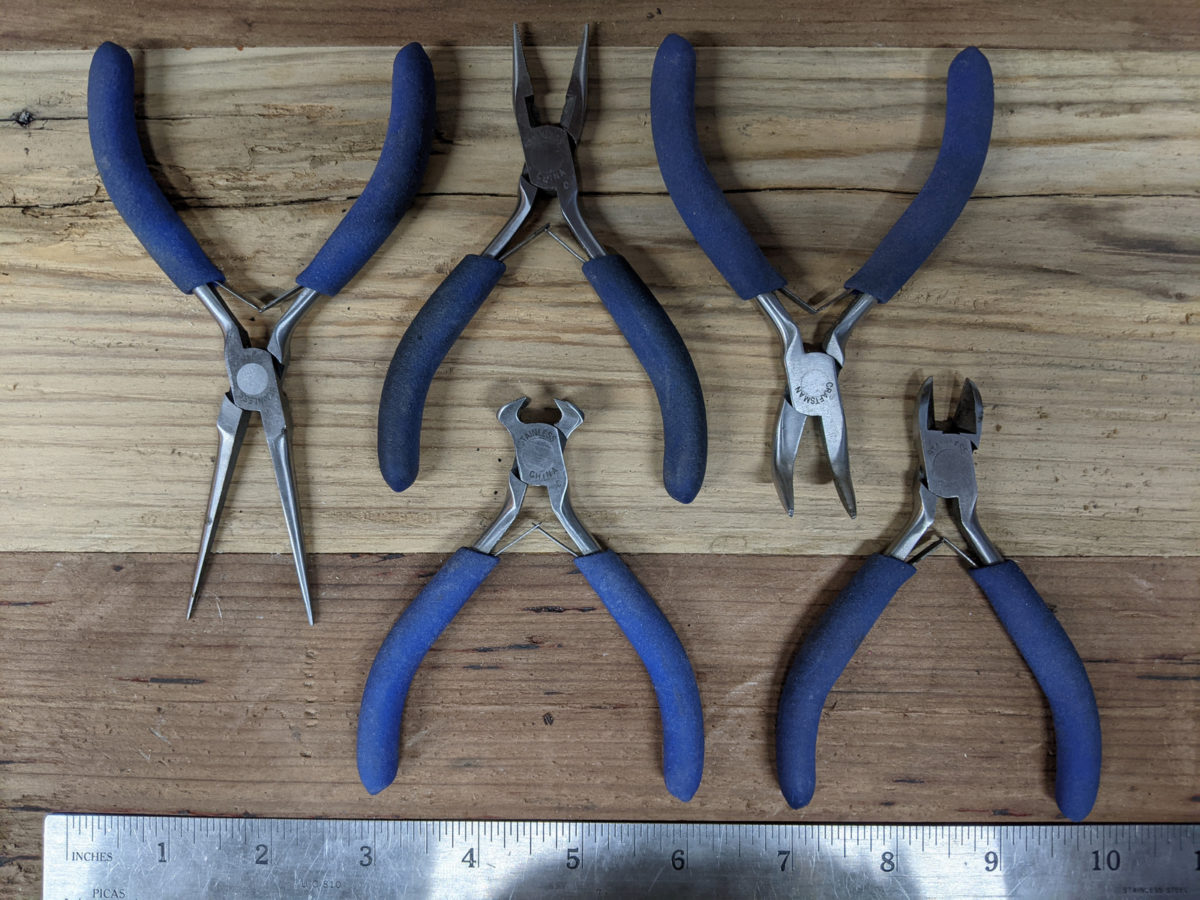
If you don’t have a scanner, a digital camera/phone can also get the job done. There are a couple of tricks to get good results this way. First, make sure that you take the photo straight on to the tools. If the photo is angled, it will skew the dimensions. Second, include a ruler in the photo. You can use that to adjust the scale when you import the photo.
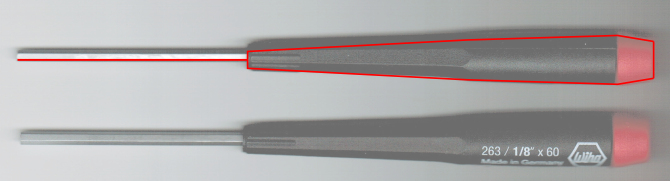
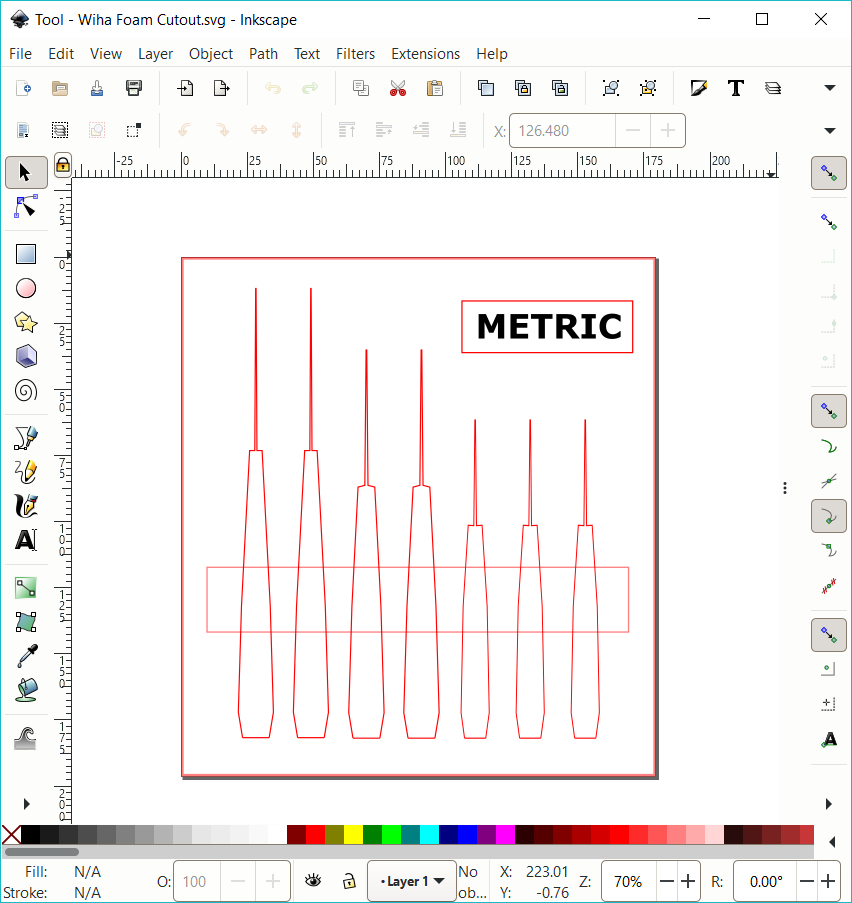
Once you have the image it’s time to get to work creating the cut paths around the tools. I used Inkscape to do this, since it is free software that can create vector files (.svg) for the laser cutter to follow. I imported the photo and checked to make sure that the scale was correct. Then it’s just a matter of creating the cut path around the tools. It’s really not a complicated process, but it can take a bit of time to “trace” around the image with curves and lines to get something that looks good. I also spent some time to get things aligned and spaced out nicely. You can see above that I actually kept my “tracing” inside the outline, because the laser will melt a little bit of the foam as it cuts. Also, don’t forget to create some space to get your fingers in to pull the tools out!
Laser Cutting & Assembly
Safety First! I’m not an expert at laser cutting at all, but I do know that laser cutting (aka burning) some foam materials can produce toxic fumes, so be extremely careful if you decide to tackle this project. My laser cutter has a strong exhaust fan that vents all of the fumes directly outside.
Another thing to keep in mind when laser cutting foam is that the heat of the laser will easily melt the foam. Keep the laser power setting as low as possible and the speed relatively high. I also recommend using air assist to help cool the foam. This will keep the cuts looking nice and clean. Do some test cutting on the material to get things dialed in first.
I cut the foam piece first and then followed that up with a rectangular cardboard backer piece. I just used the outside cut path for the cardboard. On a couple of the tool holders, I also got fancy and laser engraved some labels on some manila folder material. I think that the labels added a nice touch (but I’m definitely biased).
Assembly was super simple. I used hot glue blobs to stick the foam to the cardboard backer piece. Then, I found a nice spot on the “tool wall” and just hot glued the cardboard to the wall. Easy peasy.
Super Cheap and Functional Too!
The best part about this project is that it’s super cheap. For me it was actually free! I used some Amazon cardboard box material for the back and some packing foam from the box that my laser cutter was shipped in. If you look around a bit, it shouldn’t be too hard to find some materials to use.
I think this project was a huge success. It was free, I had fun designing it, my tools are organized, and it looks cool too! What can I laser cut next? This thing is too much fun. 🙂