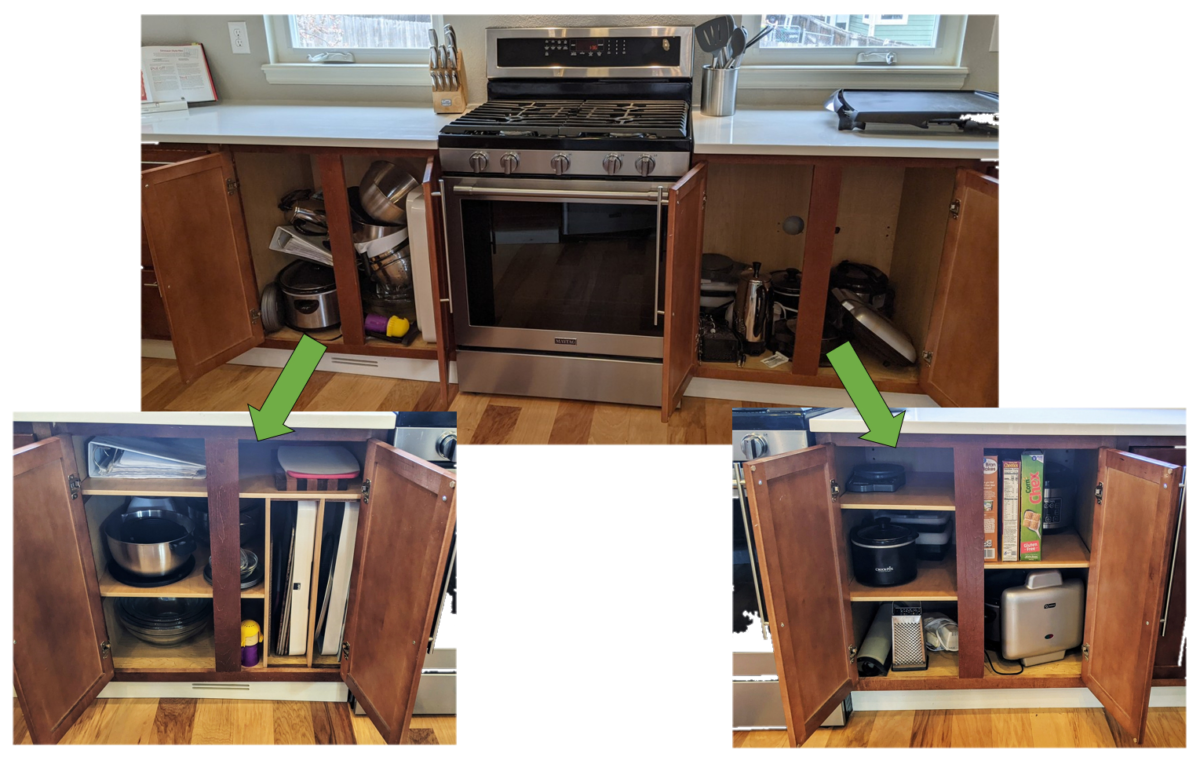
There are tons of options for kitchen cupboard organizers, but I think a lot of them are overkill in many situations. I decided to keep it simple for the two cabinets on either side of our range and it has worked out great. This is how I designed and built these simple shelves and dividers for our cabinets…
Design
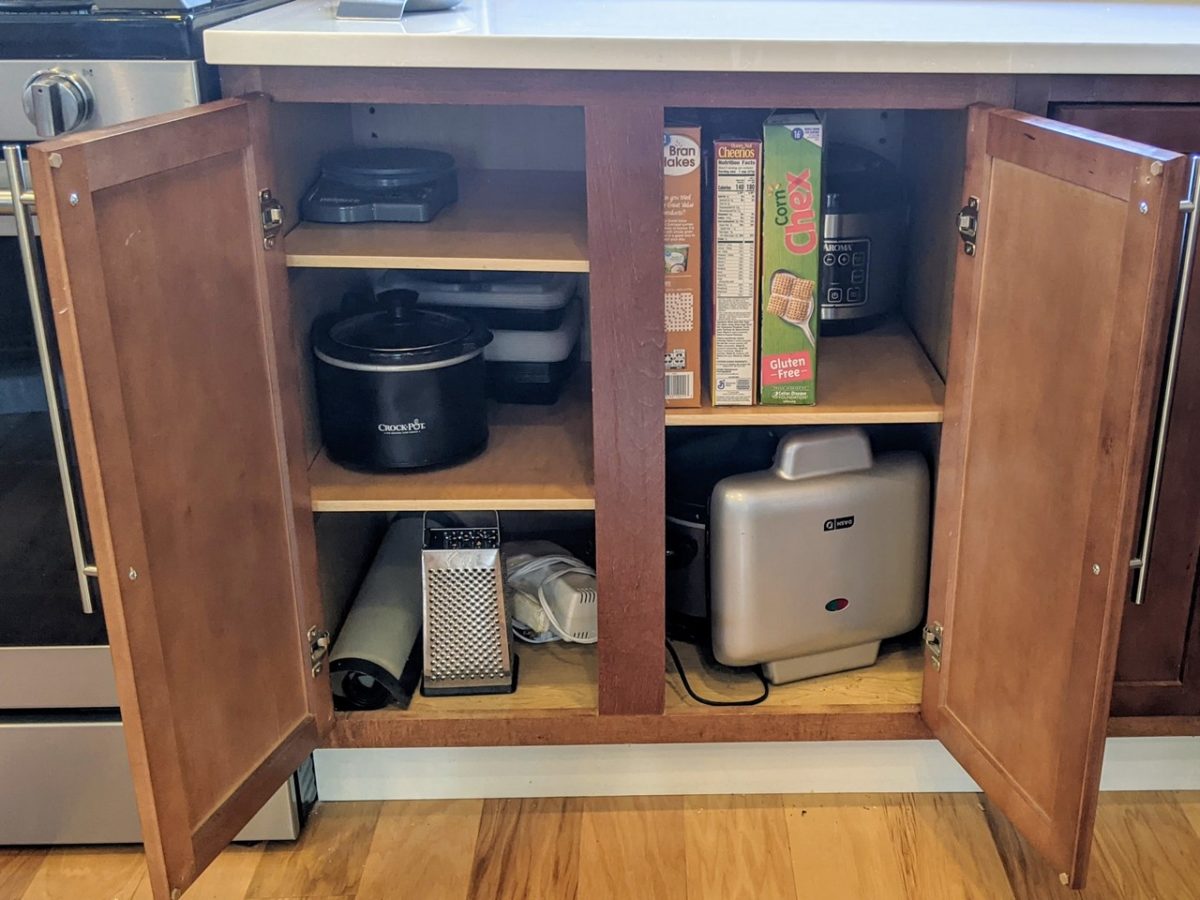
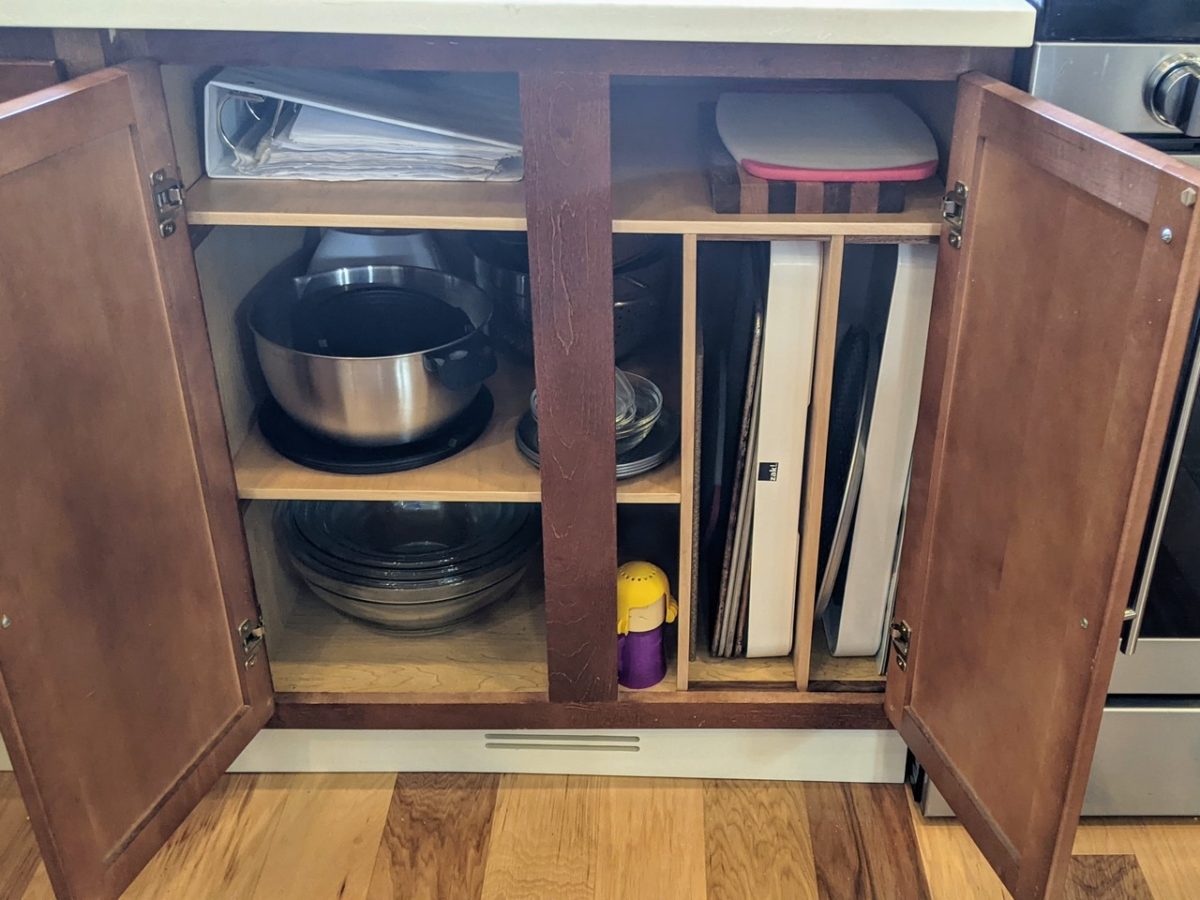
The basic concept was to just create individual storage cubbies for the different items that we generally store in these cupboards:
- Cereal
- Nesting Bowls
- Waffle Iron
- Crock Pot
- Rice Cooker
- Hand Mixer
- Small cutting boards
- Sheet pans and pizza pans
- Other/misc.
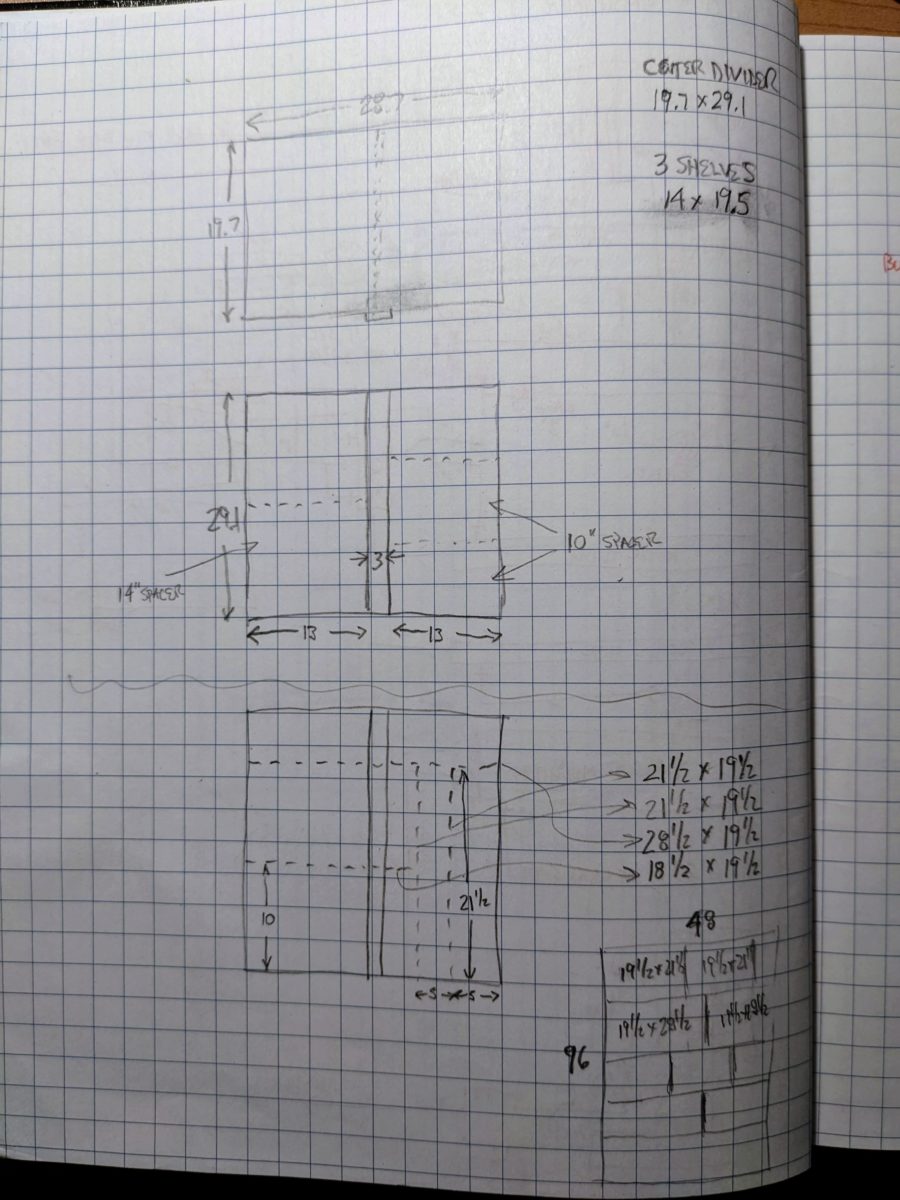
I measured the inside of the cabinets and the items that would be stored in the cabinets. After that, I spent a bit of time sketching up some ideas on how to divide up the cupboards and optimize the usable space. I knew that we needed some basic shelves for some of the medium sized items, and some taller areas for the sheet pans and things, so I came up with about (5) different size storage areas that would accommodate the different items. With some plans sketched up, it was time for construction.
Tools/Materials Used
- 1/2″ Baltic Birch Plywood
- 3/8″ Strips of Walnut
- Plywood Edge Banding
- Tightbond II Wood Glue
- Water Based Polyurethane
- Milwaukee Cordless Brad Nailer
Construction
Construction went quickly. I used 1/2″ Baltic Birch plywood for the shelves and dividers. All of the visible edges have edge banding for a nice finished look. To support the shelves I used some 3/8″ strips of walnut (any hardwood will work). Everything was pre-finished with water based polyurethane to maintain the lighter color of the birch plywood and match the existing cabinet interiors better.
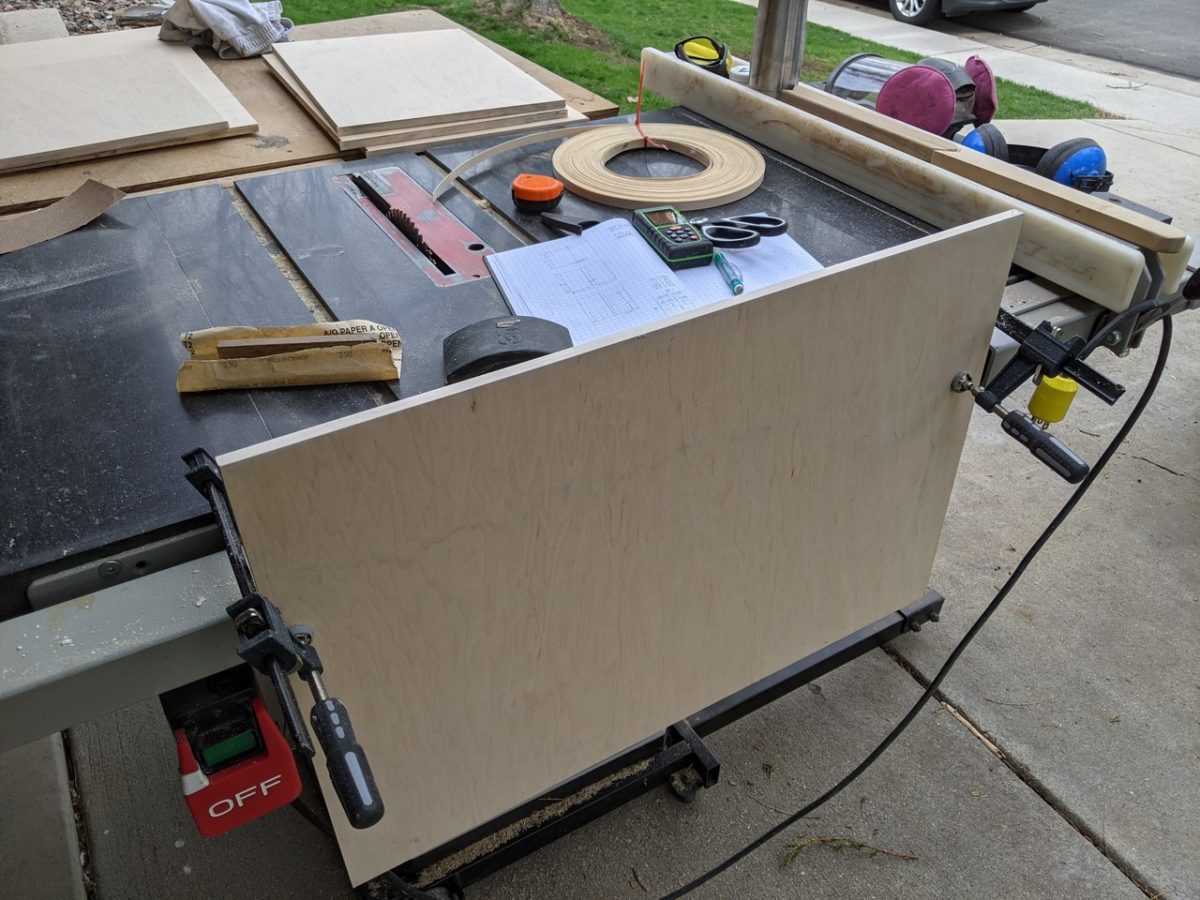
I kept the assembly simple too. Everything is just butt joints, glue, and brad nails. No fancy joinery here. I just don’t think it is necessary in this application. Nothing in the cabinets is very heavy and using strips of hardwood to support the shelves makes everything super strong.
Don’t Forget
One thing to consider if you tackle this project is the assembly sequence. Most modern cabinets have a face frame that is inset a little inside the cabinet carcass. That will prevent you from sliding shelves straight in. My cabinets also have a center mullion between the two doors that made the installation a bit more tricky. It’s nothing that you can’t work around, but don’t think that you are just going to assemble everything in the workshop and then slide it in place. More than likely, some parts will need to be assembled inside the cabinet.
Project Complete
We’ve been enjoying this project for a year now. Sometimes a simple solution works just fine. Go for it!