
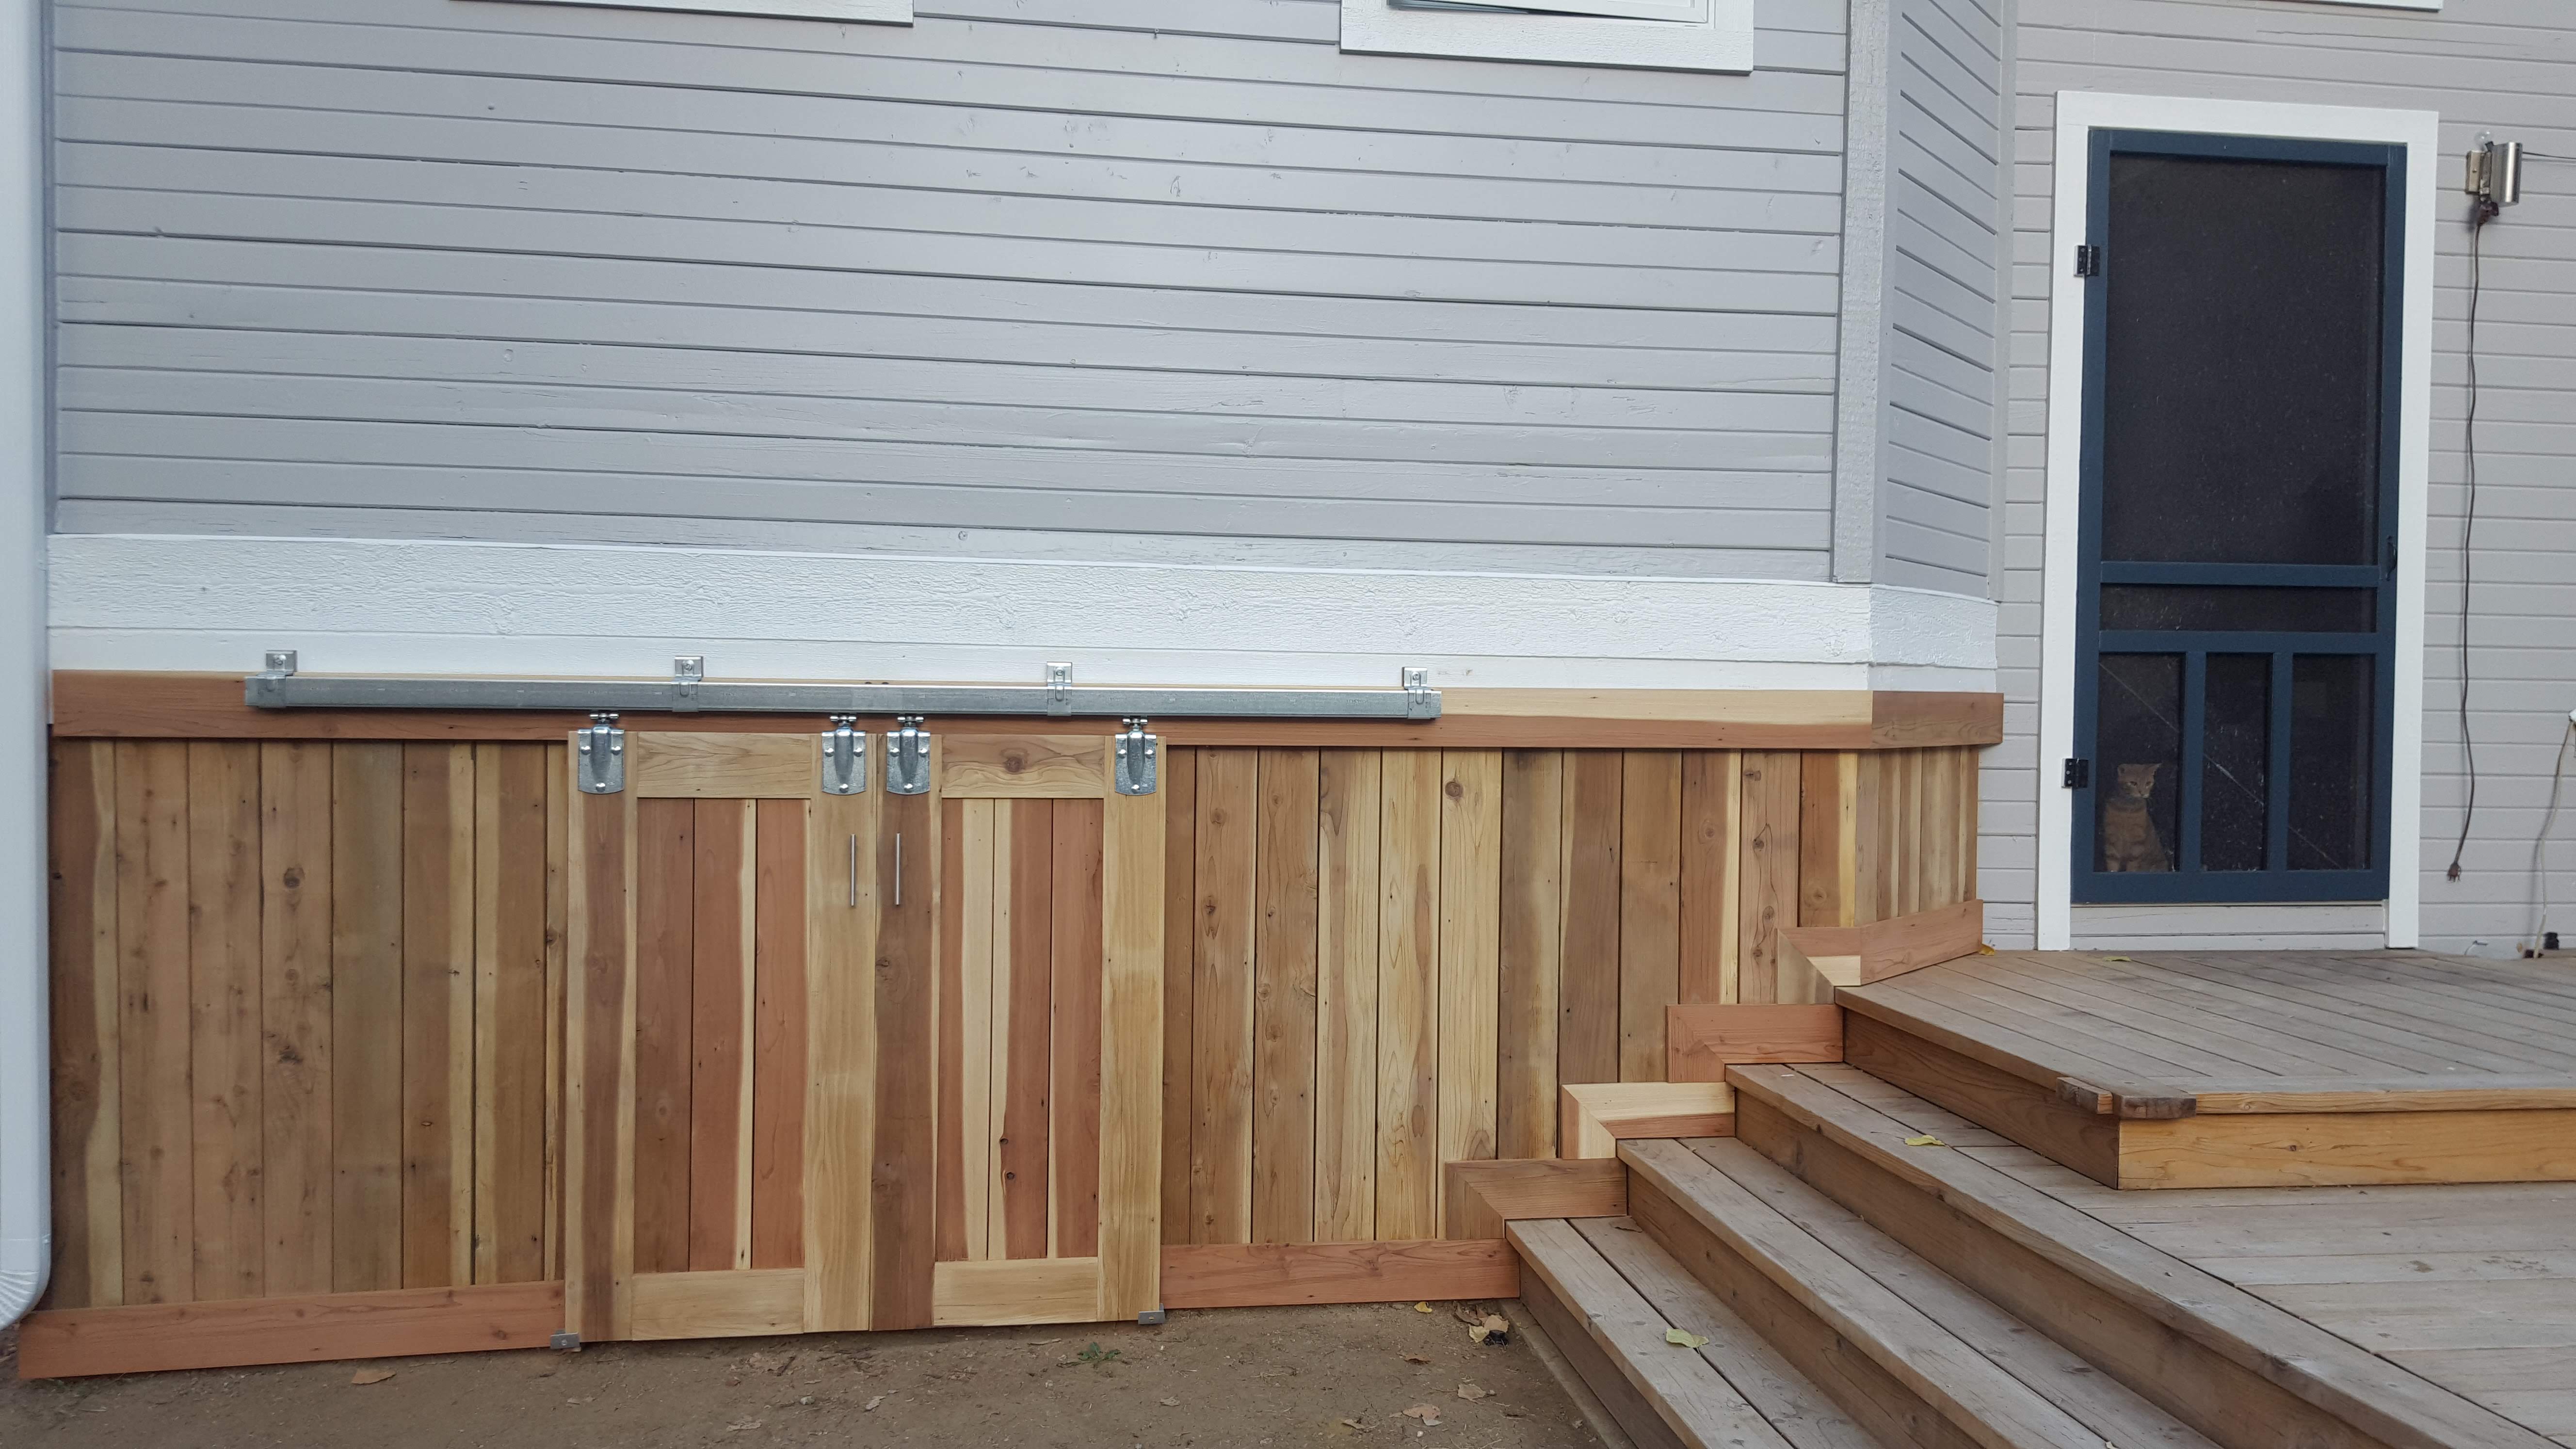
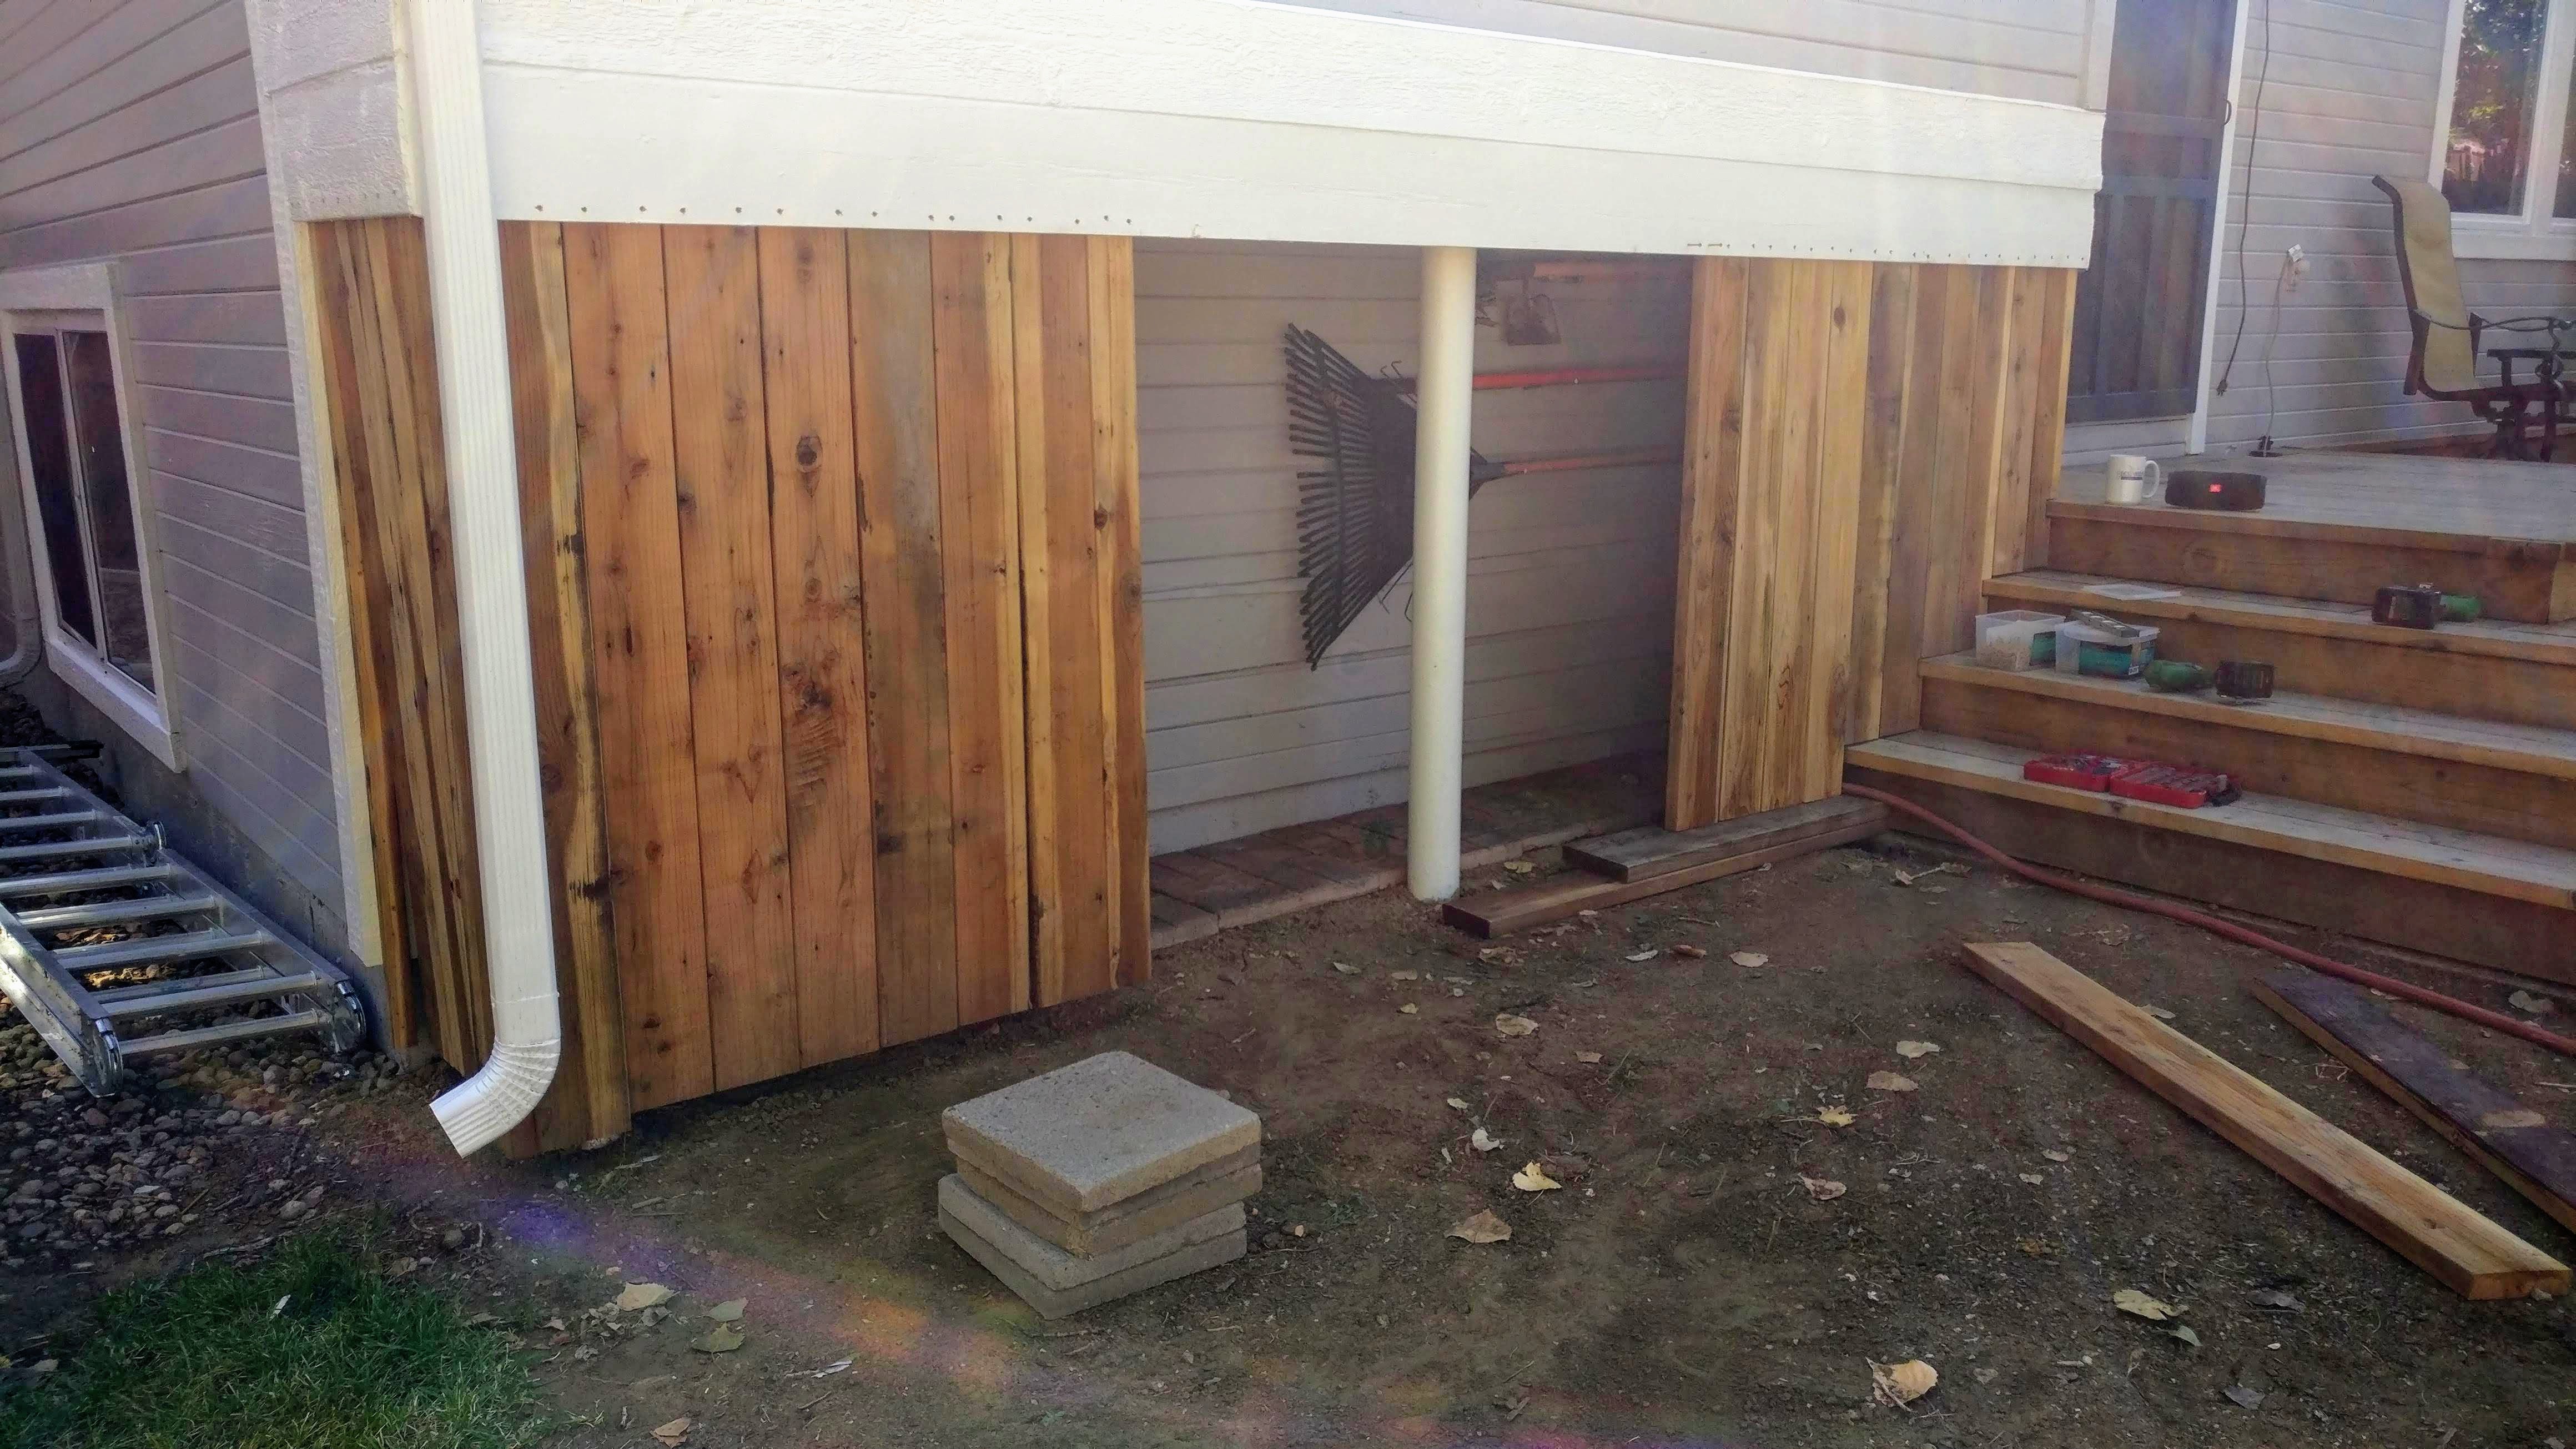
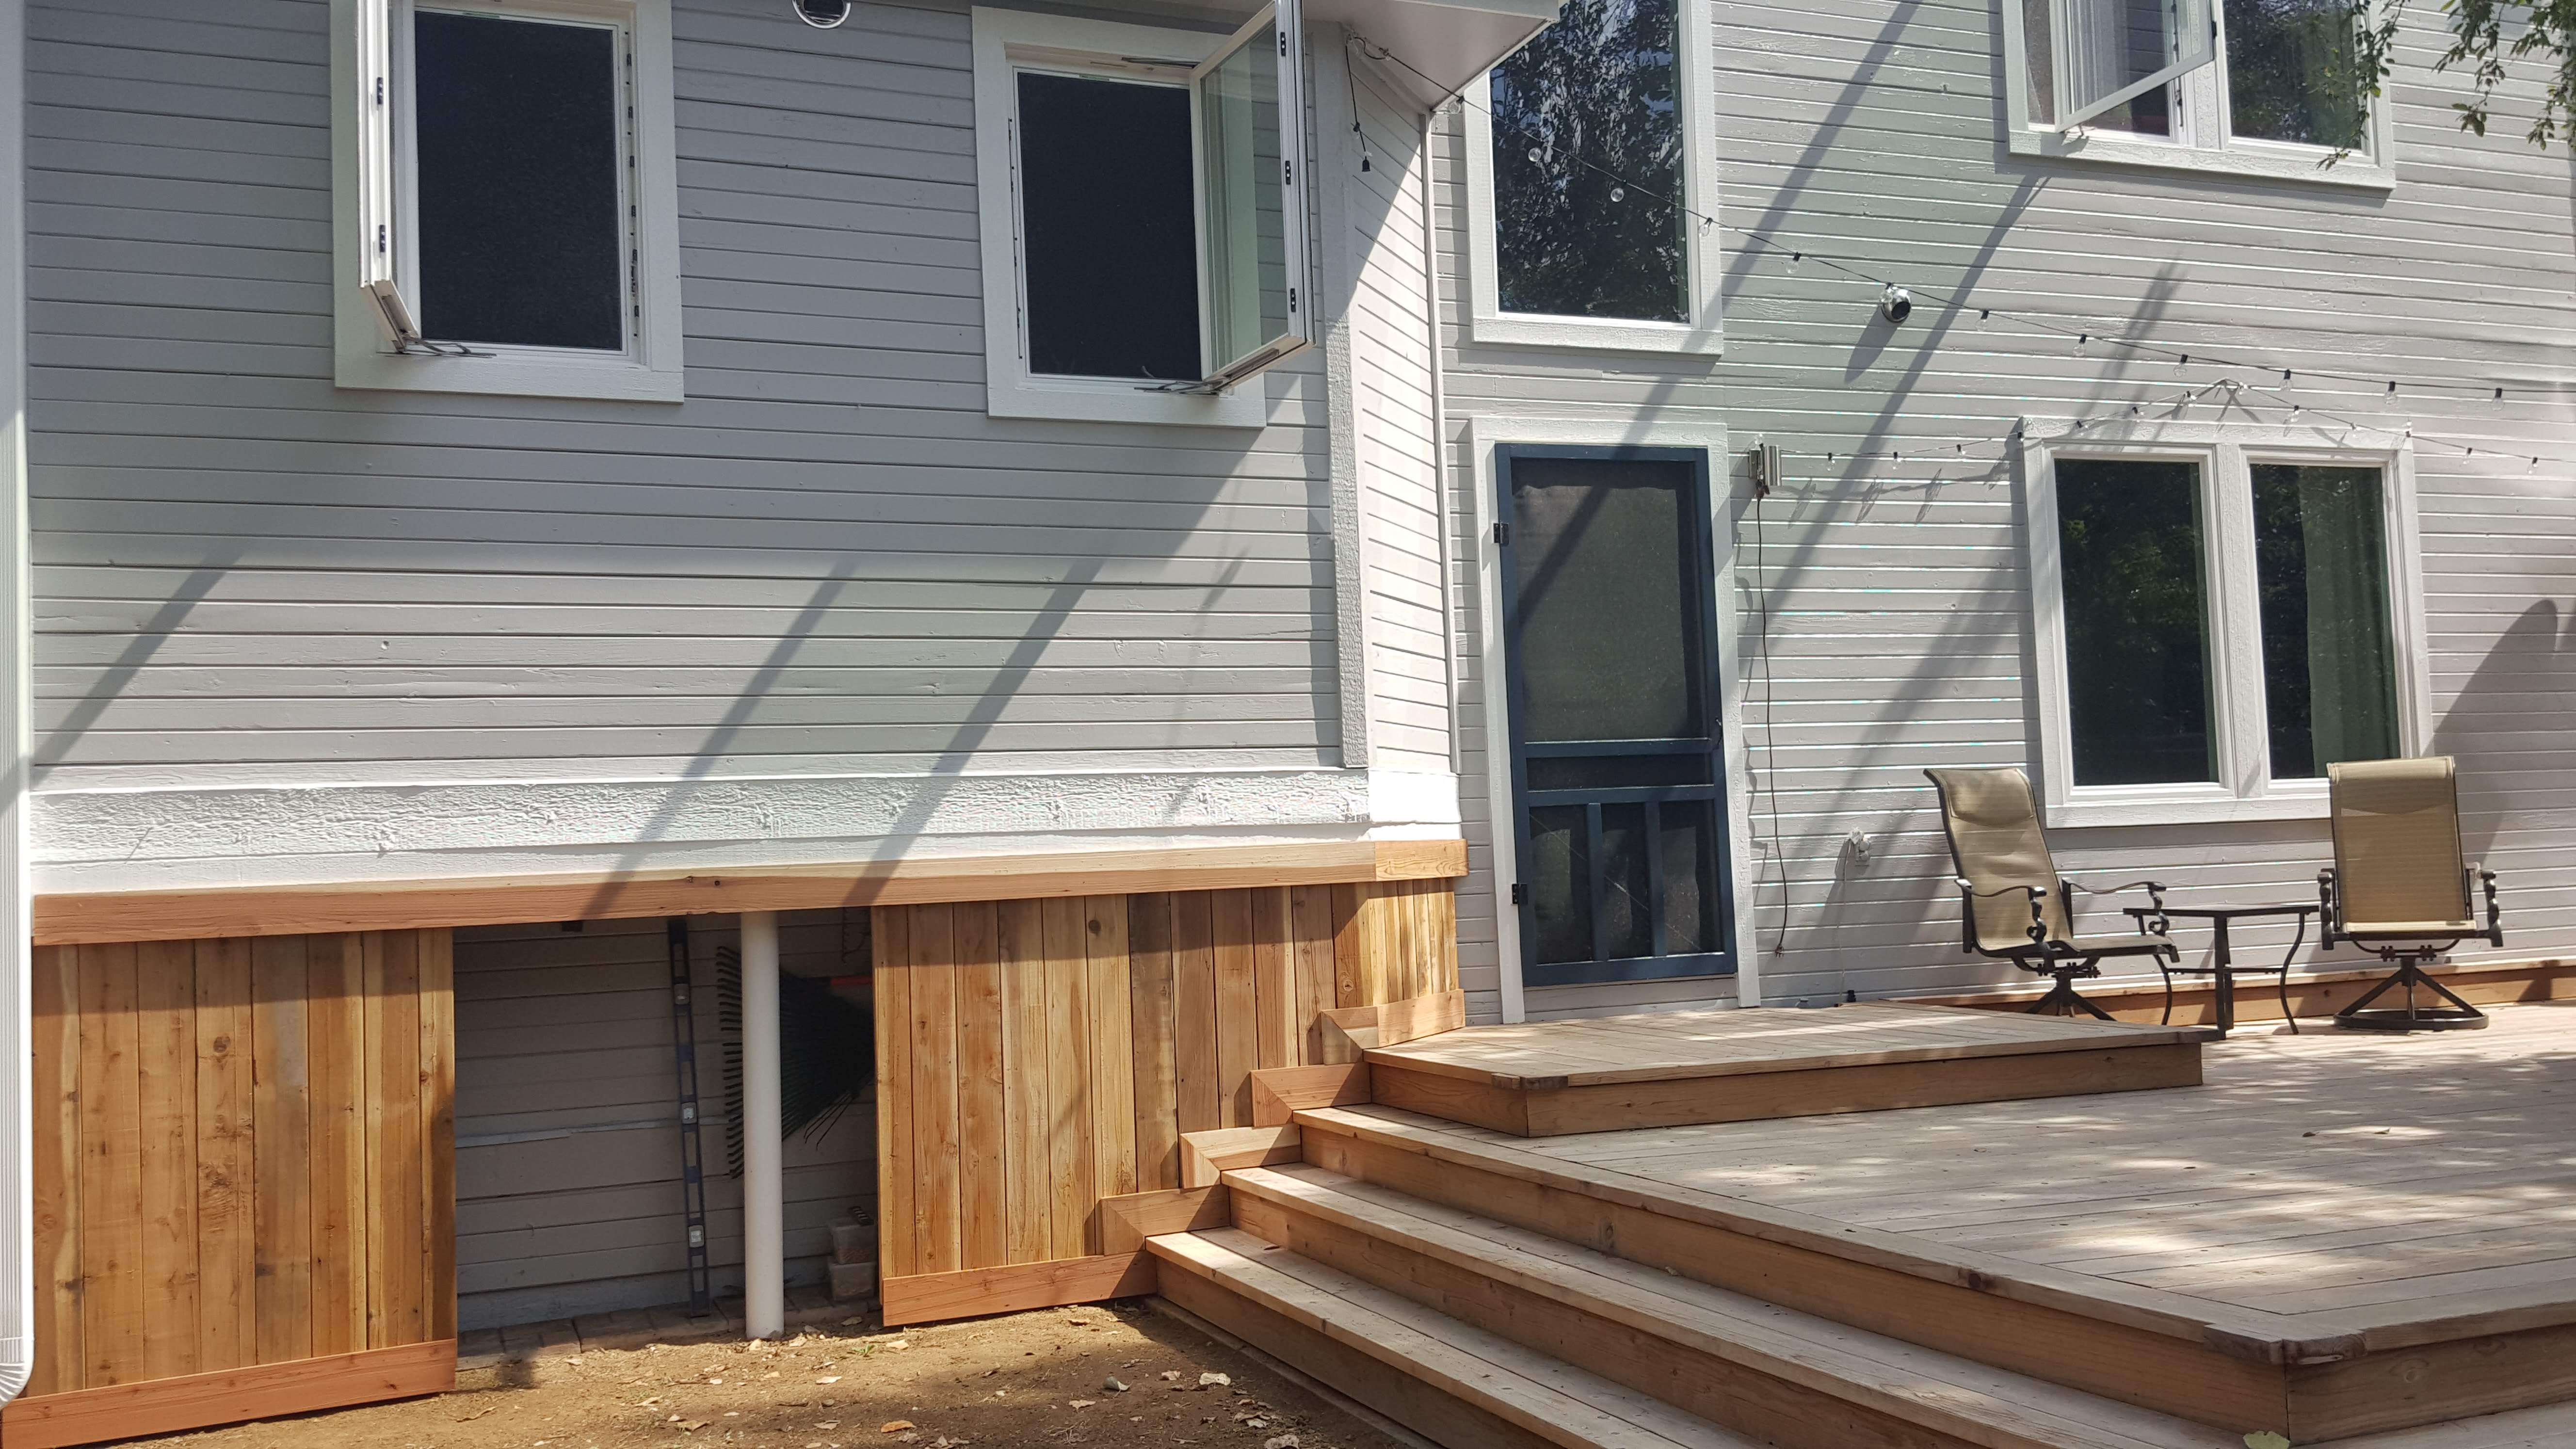
Our house has a bumped-out area in the back where the kitchen extends out past the lower section of the house. This created an odd space in the backyard that is a bit unsightly. To fix the issue, I decided to close the lower area in to create a garden tool storage area with barn doors. This was my first barn door installation experience. Leslie and I agree – This is a huge improvement for the look of our backyard!
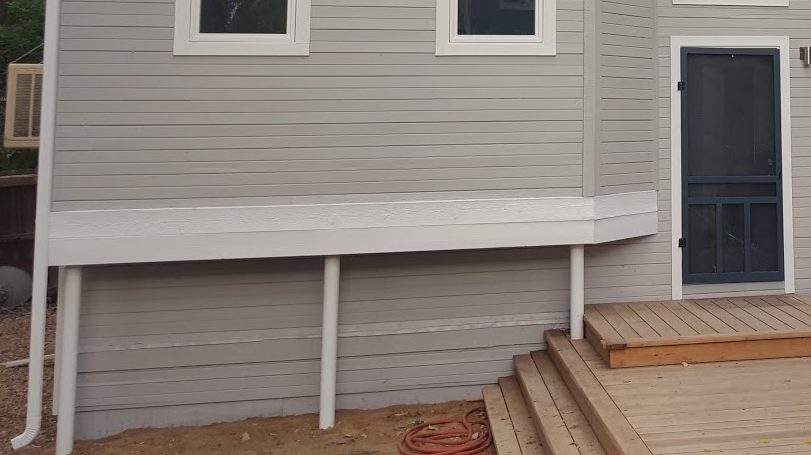
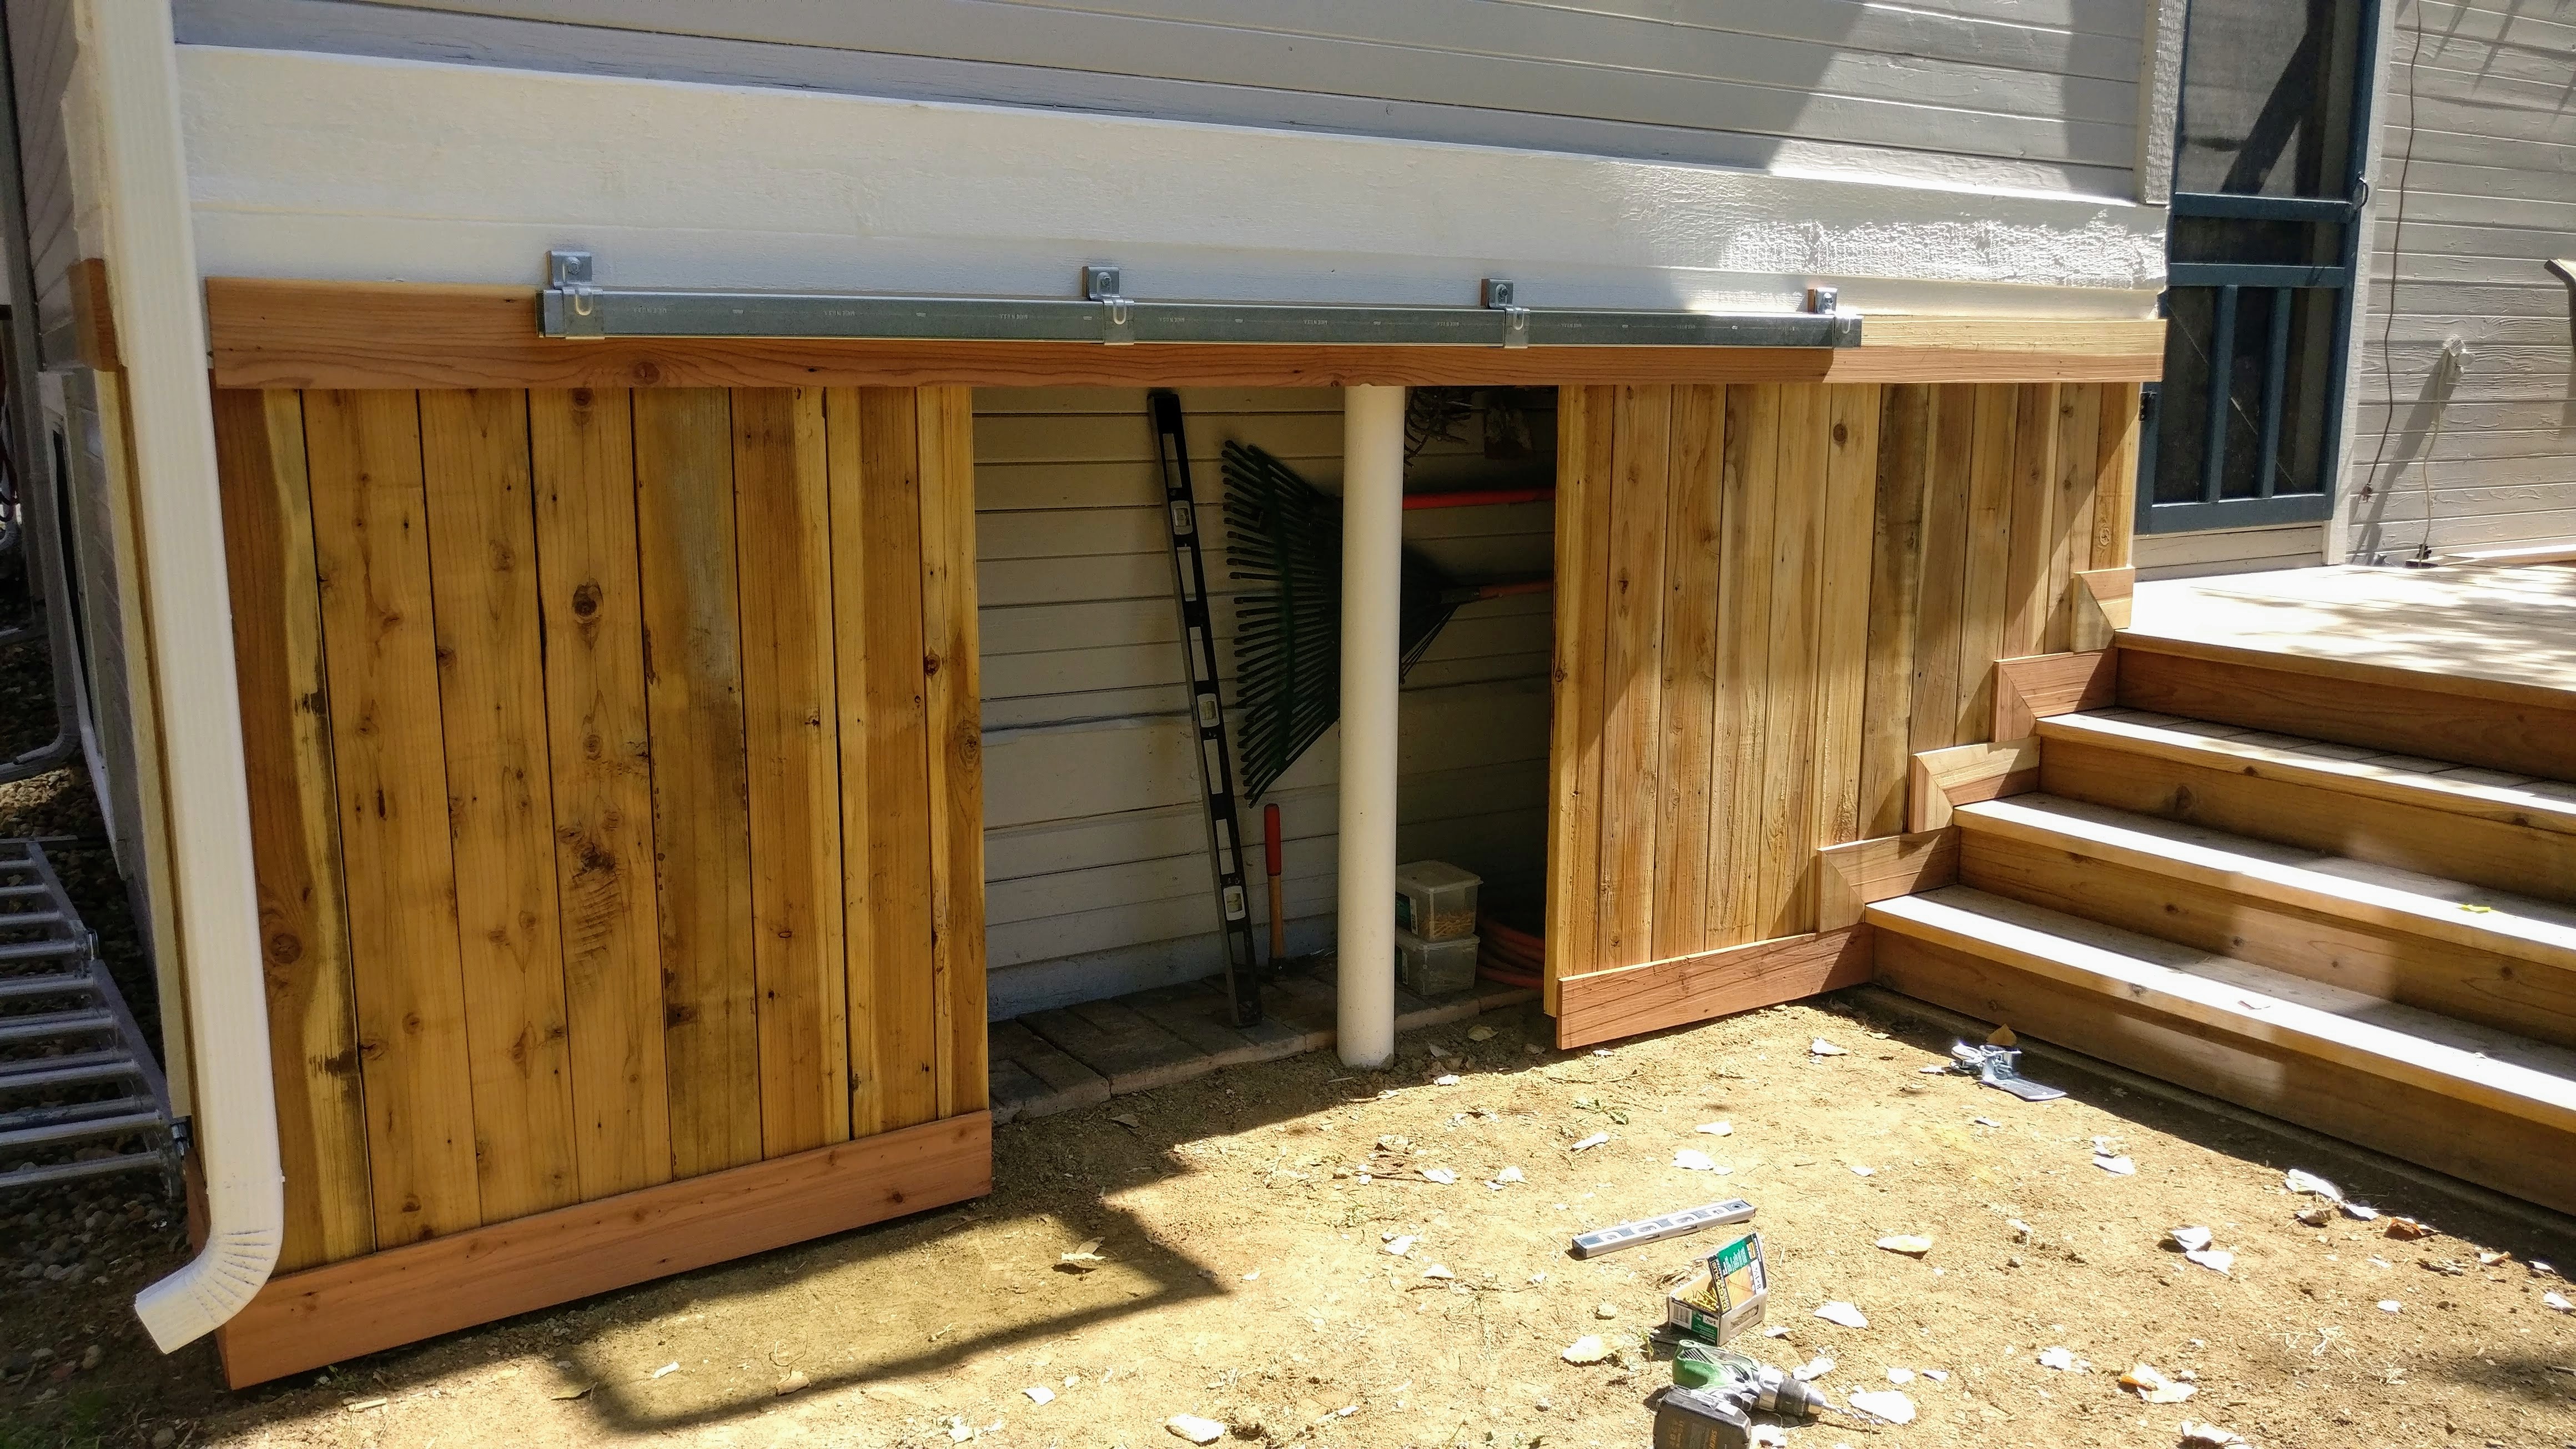
Before & After
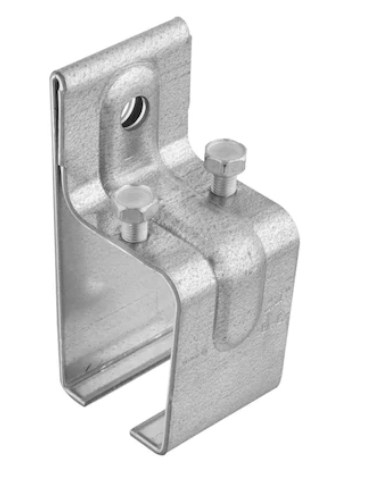
The Hardware
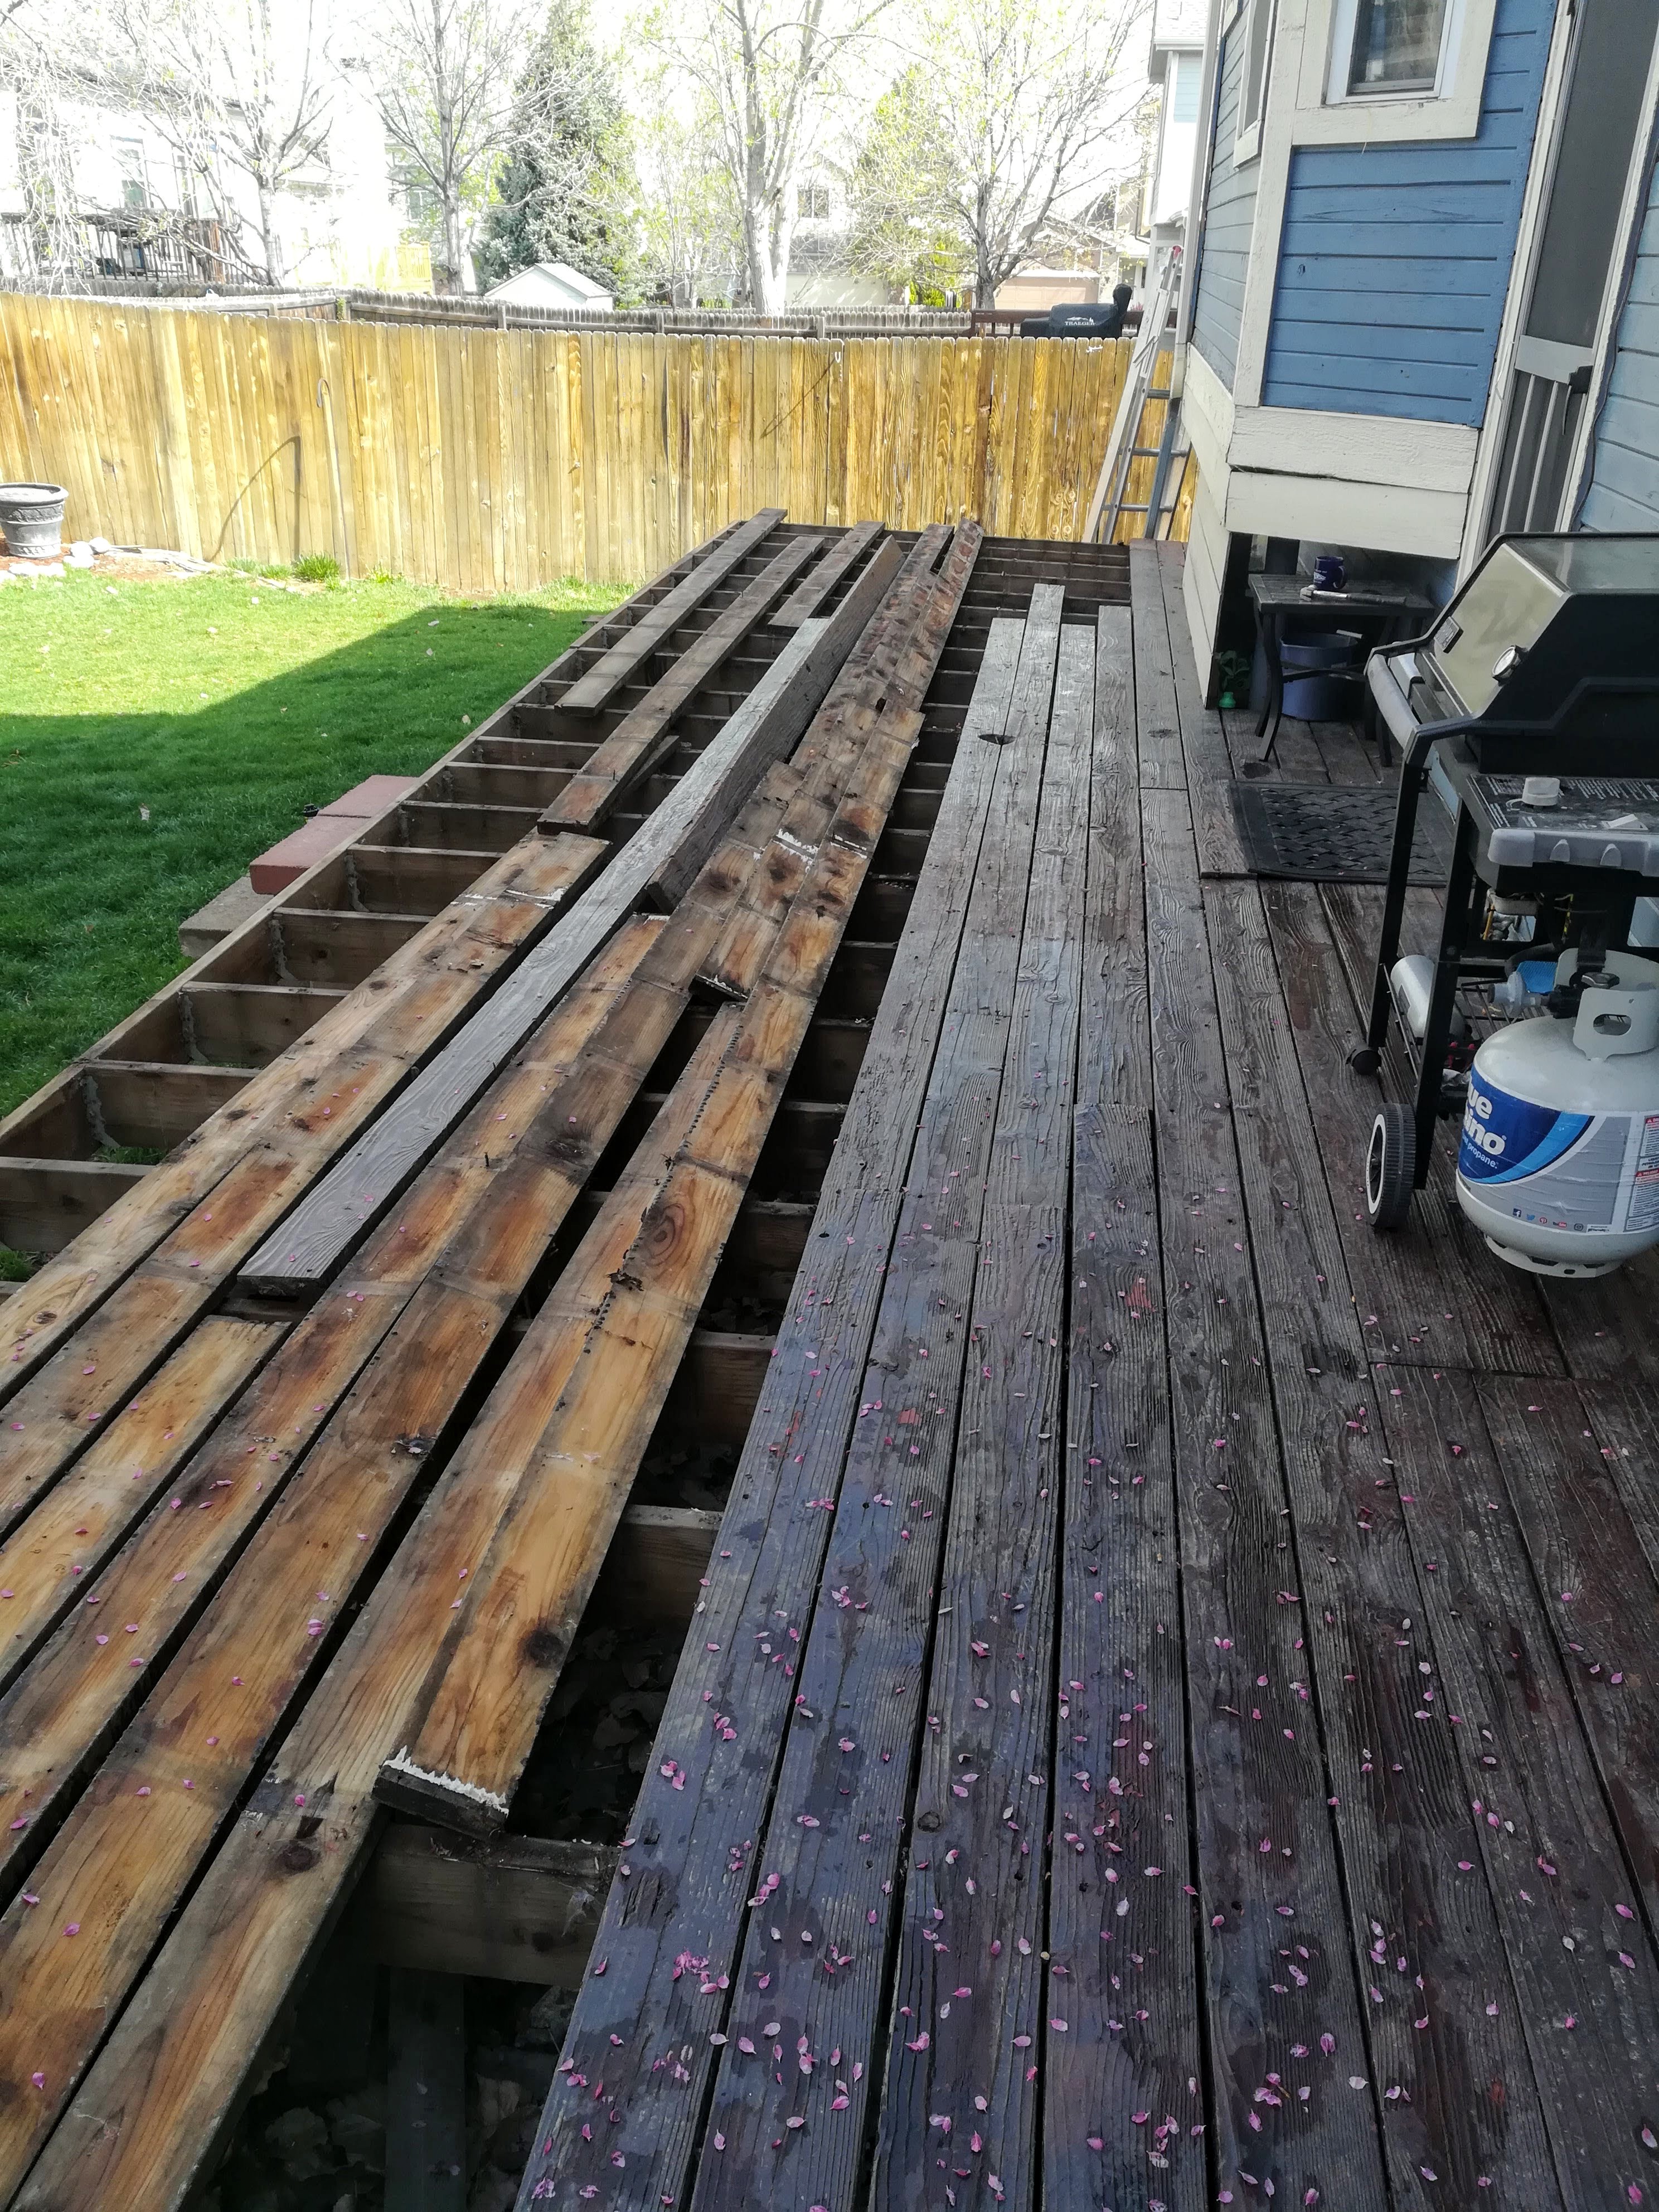
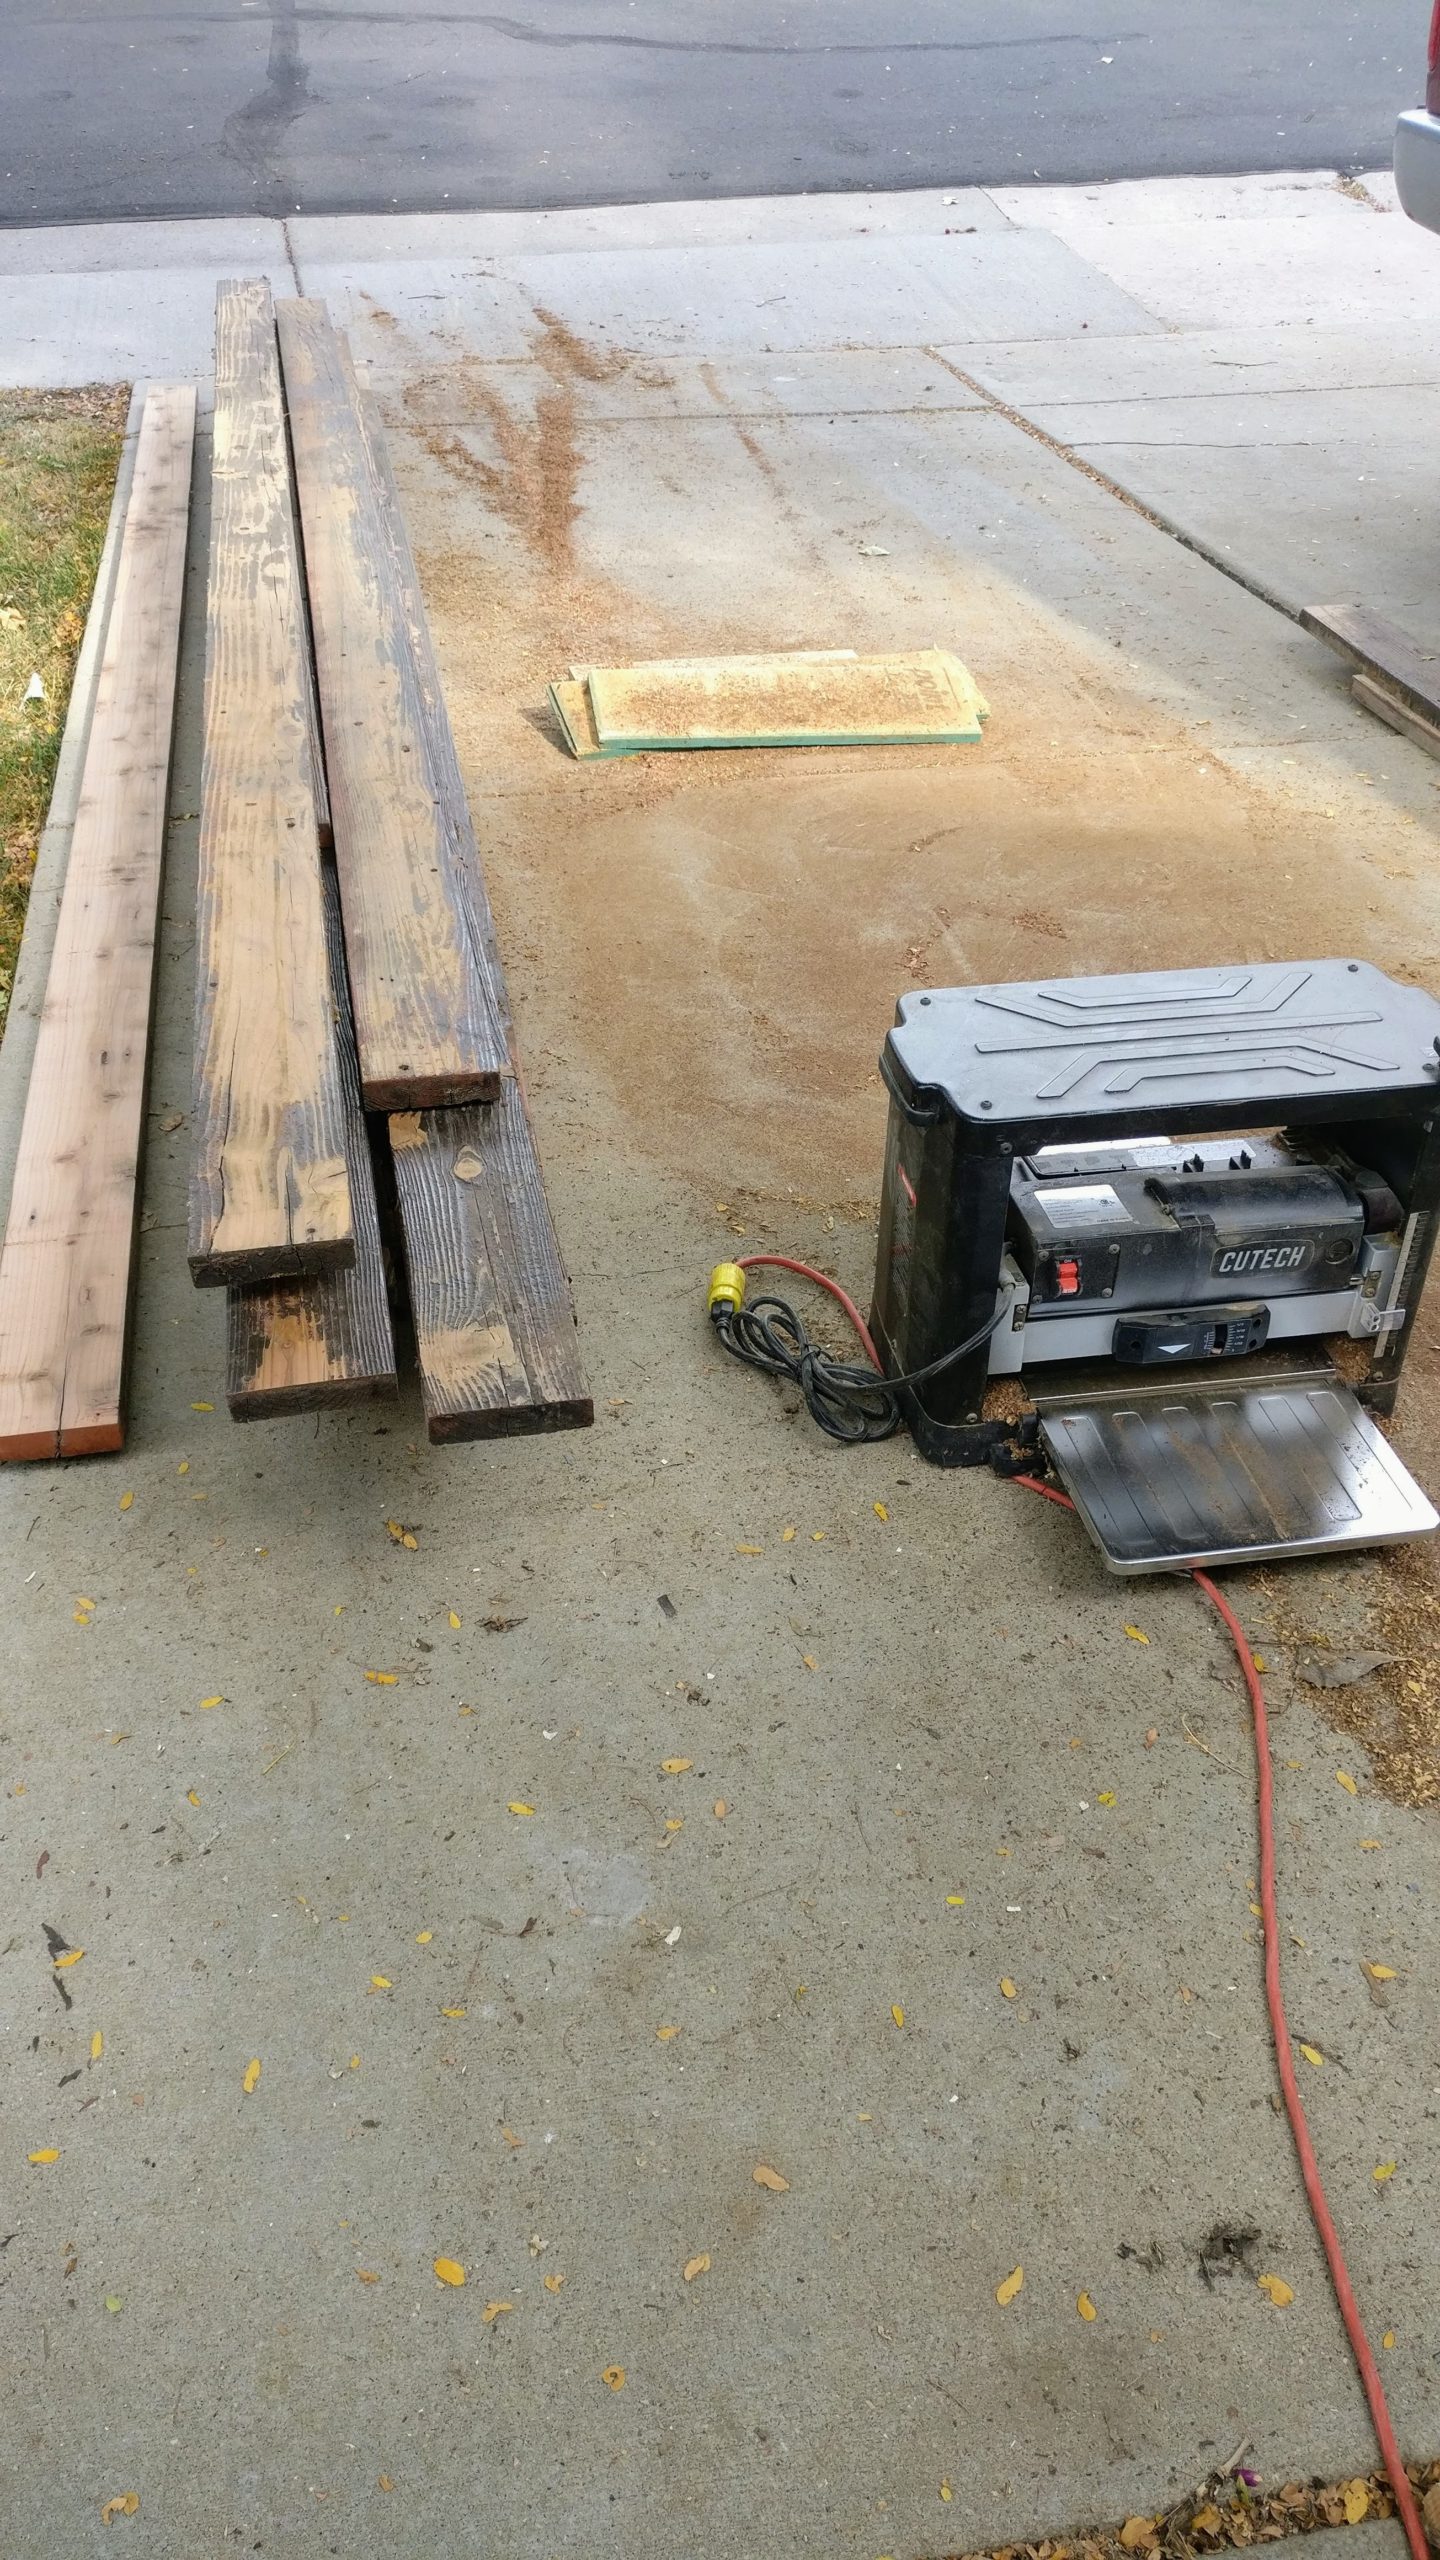
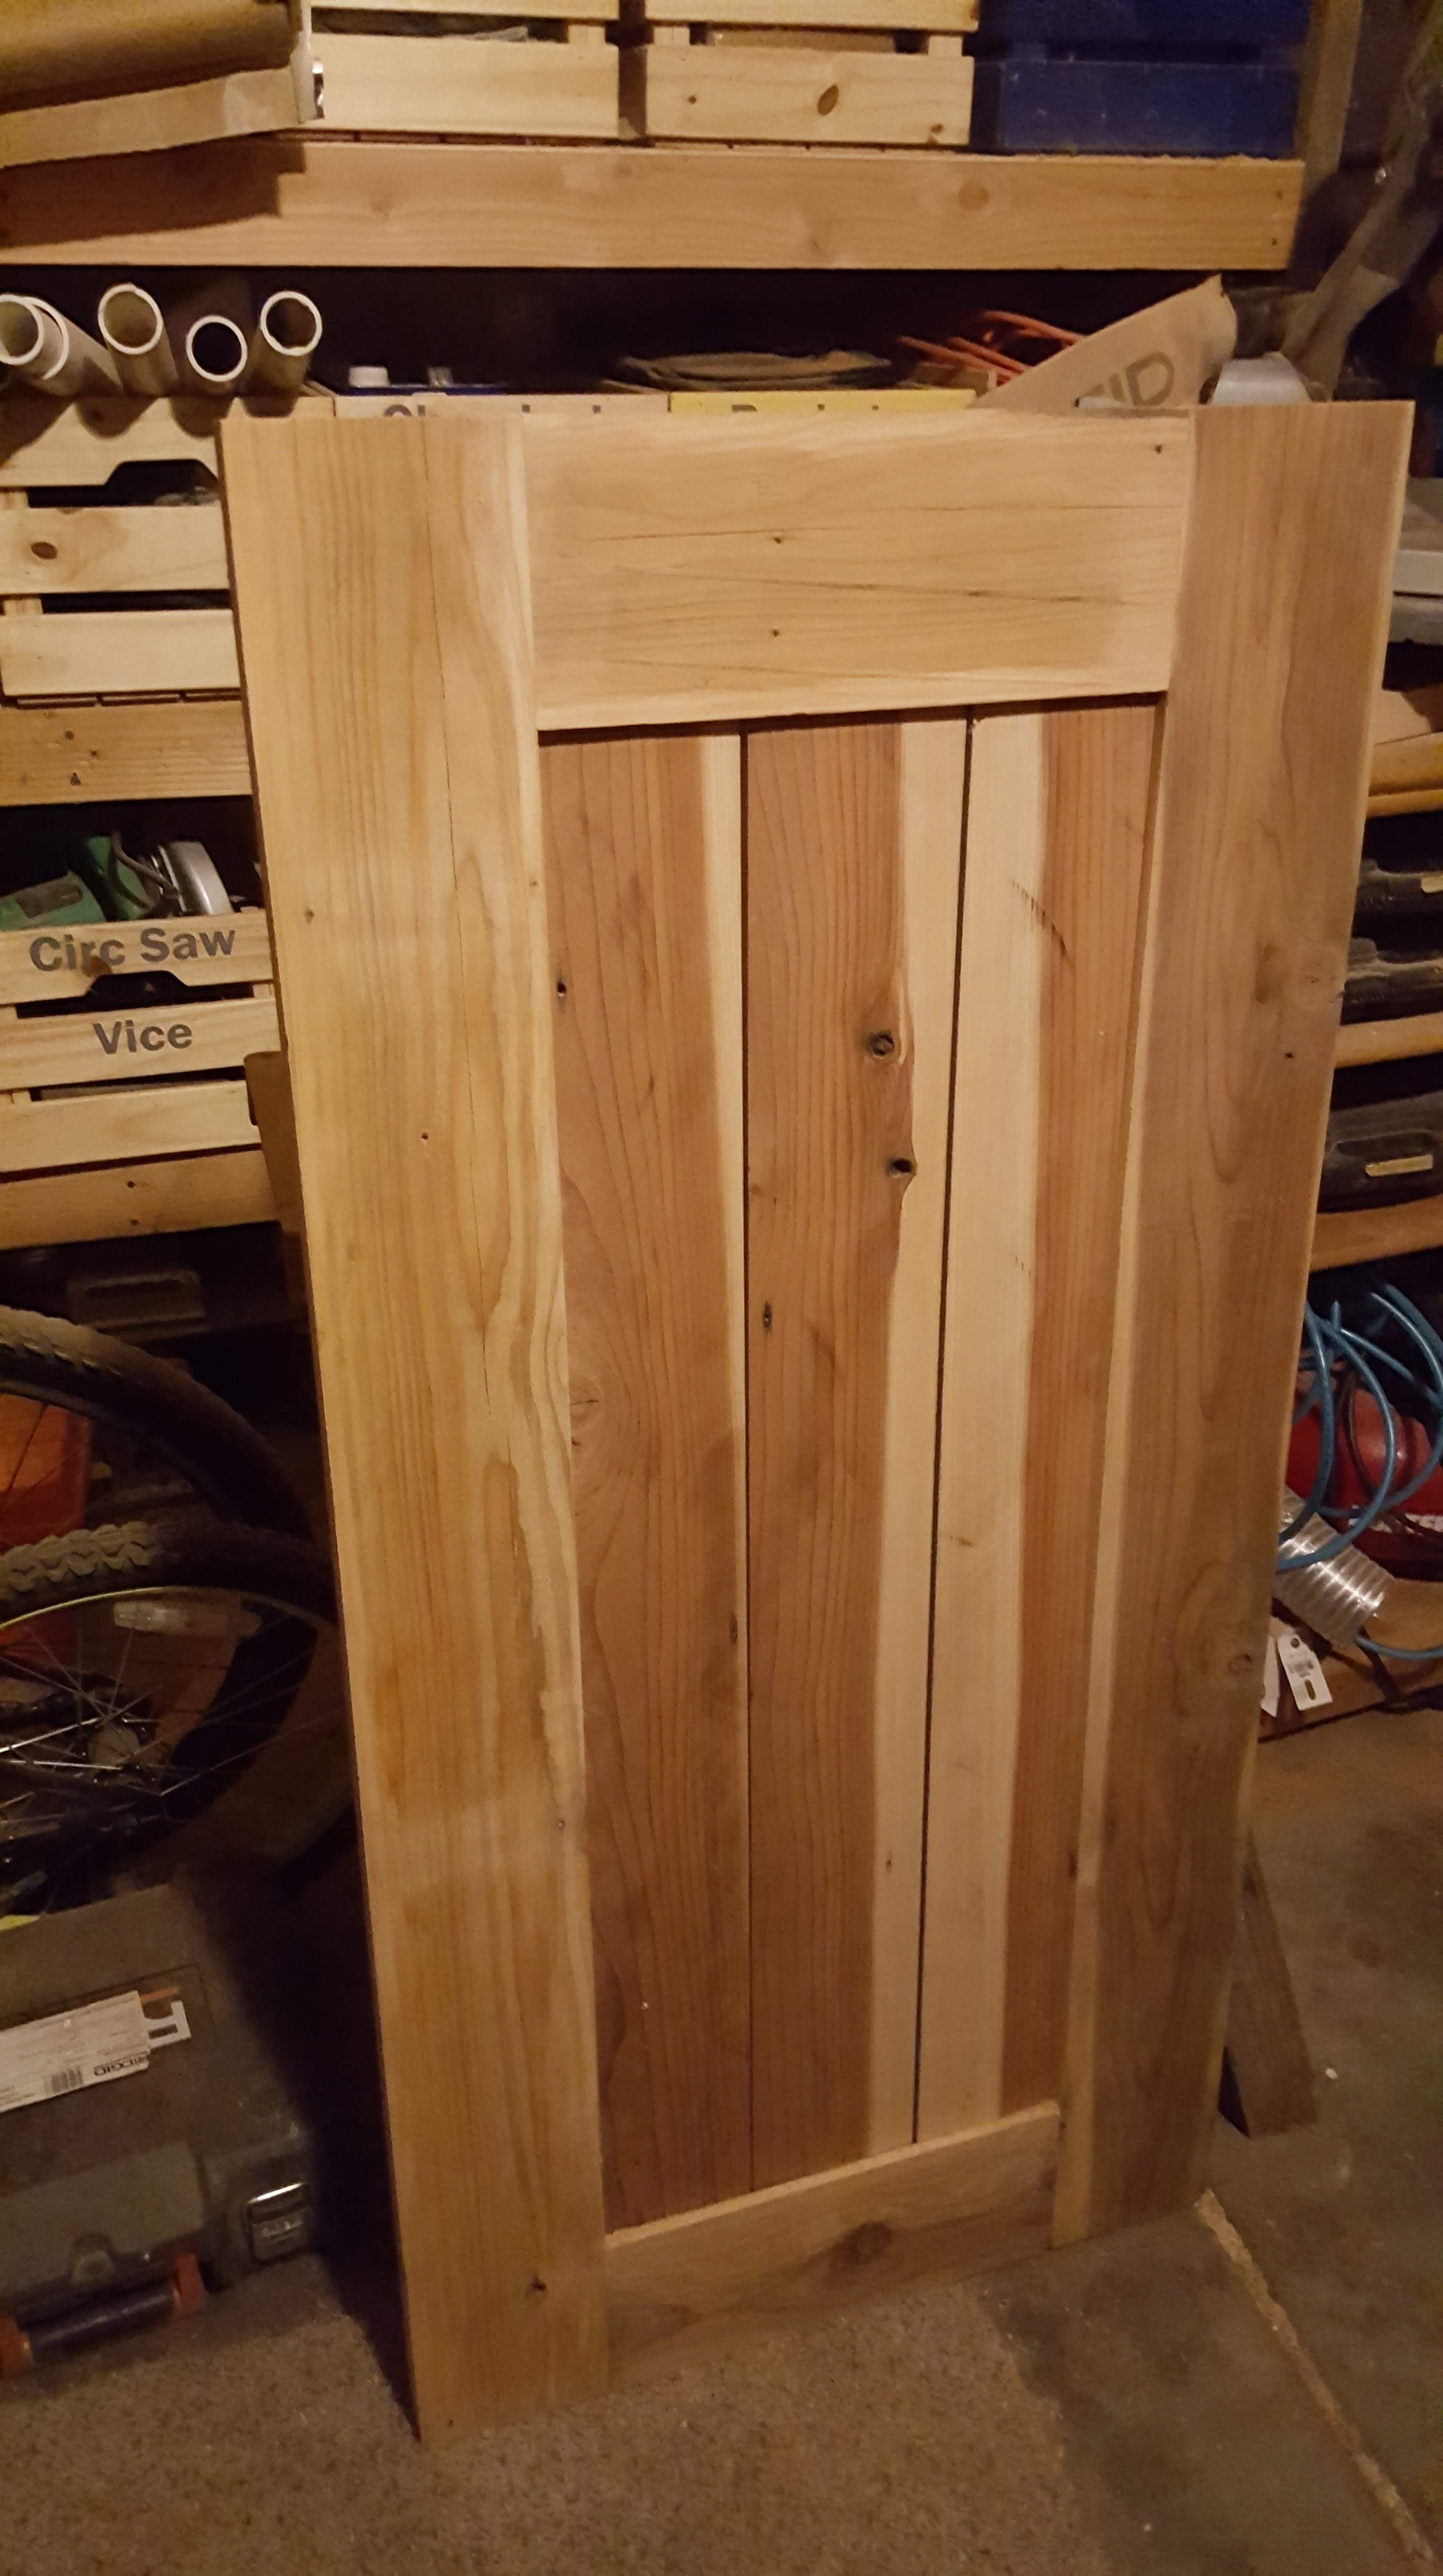
I recycled cedar lumber from our old deck for this project, so the cost was limited to just the cost of the barn door hardware (~$110).
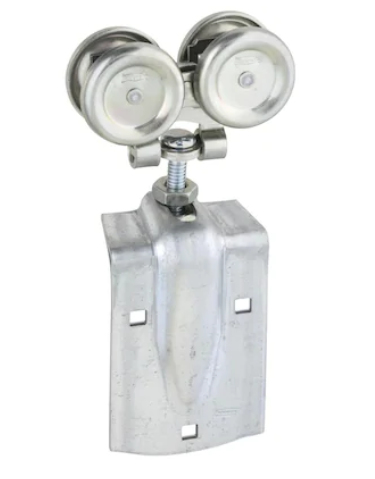 |
qty (2) sets of (2) rollers for the (2) doors (Lowe’s) | (2) x $30 = $60 |
 |
(1) 8ft track (Lowe’s) | (1) x $25 = $25 |
|
|
(4) track top brackets (Lowe’s) |
(4) x $5 = $20 |
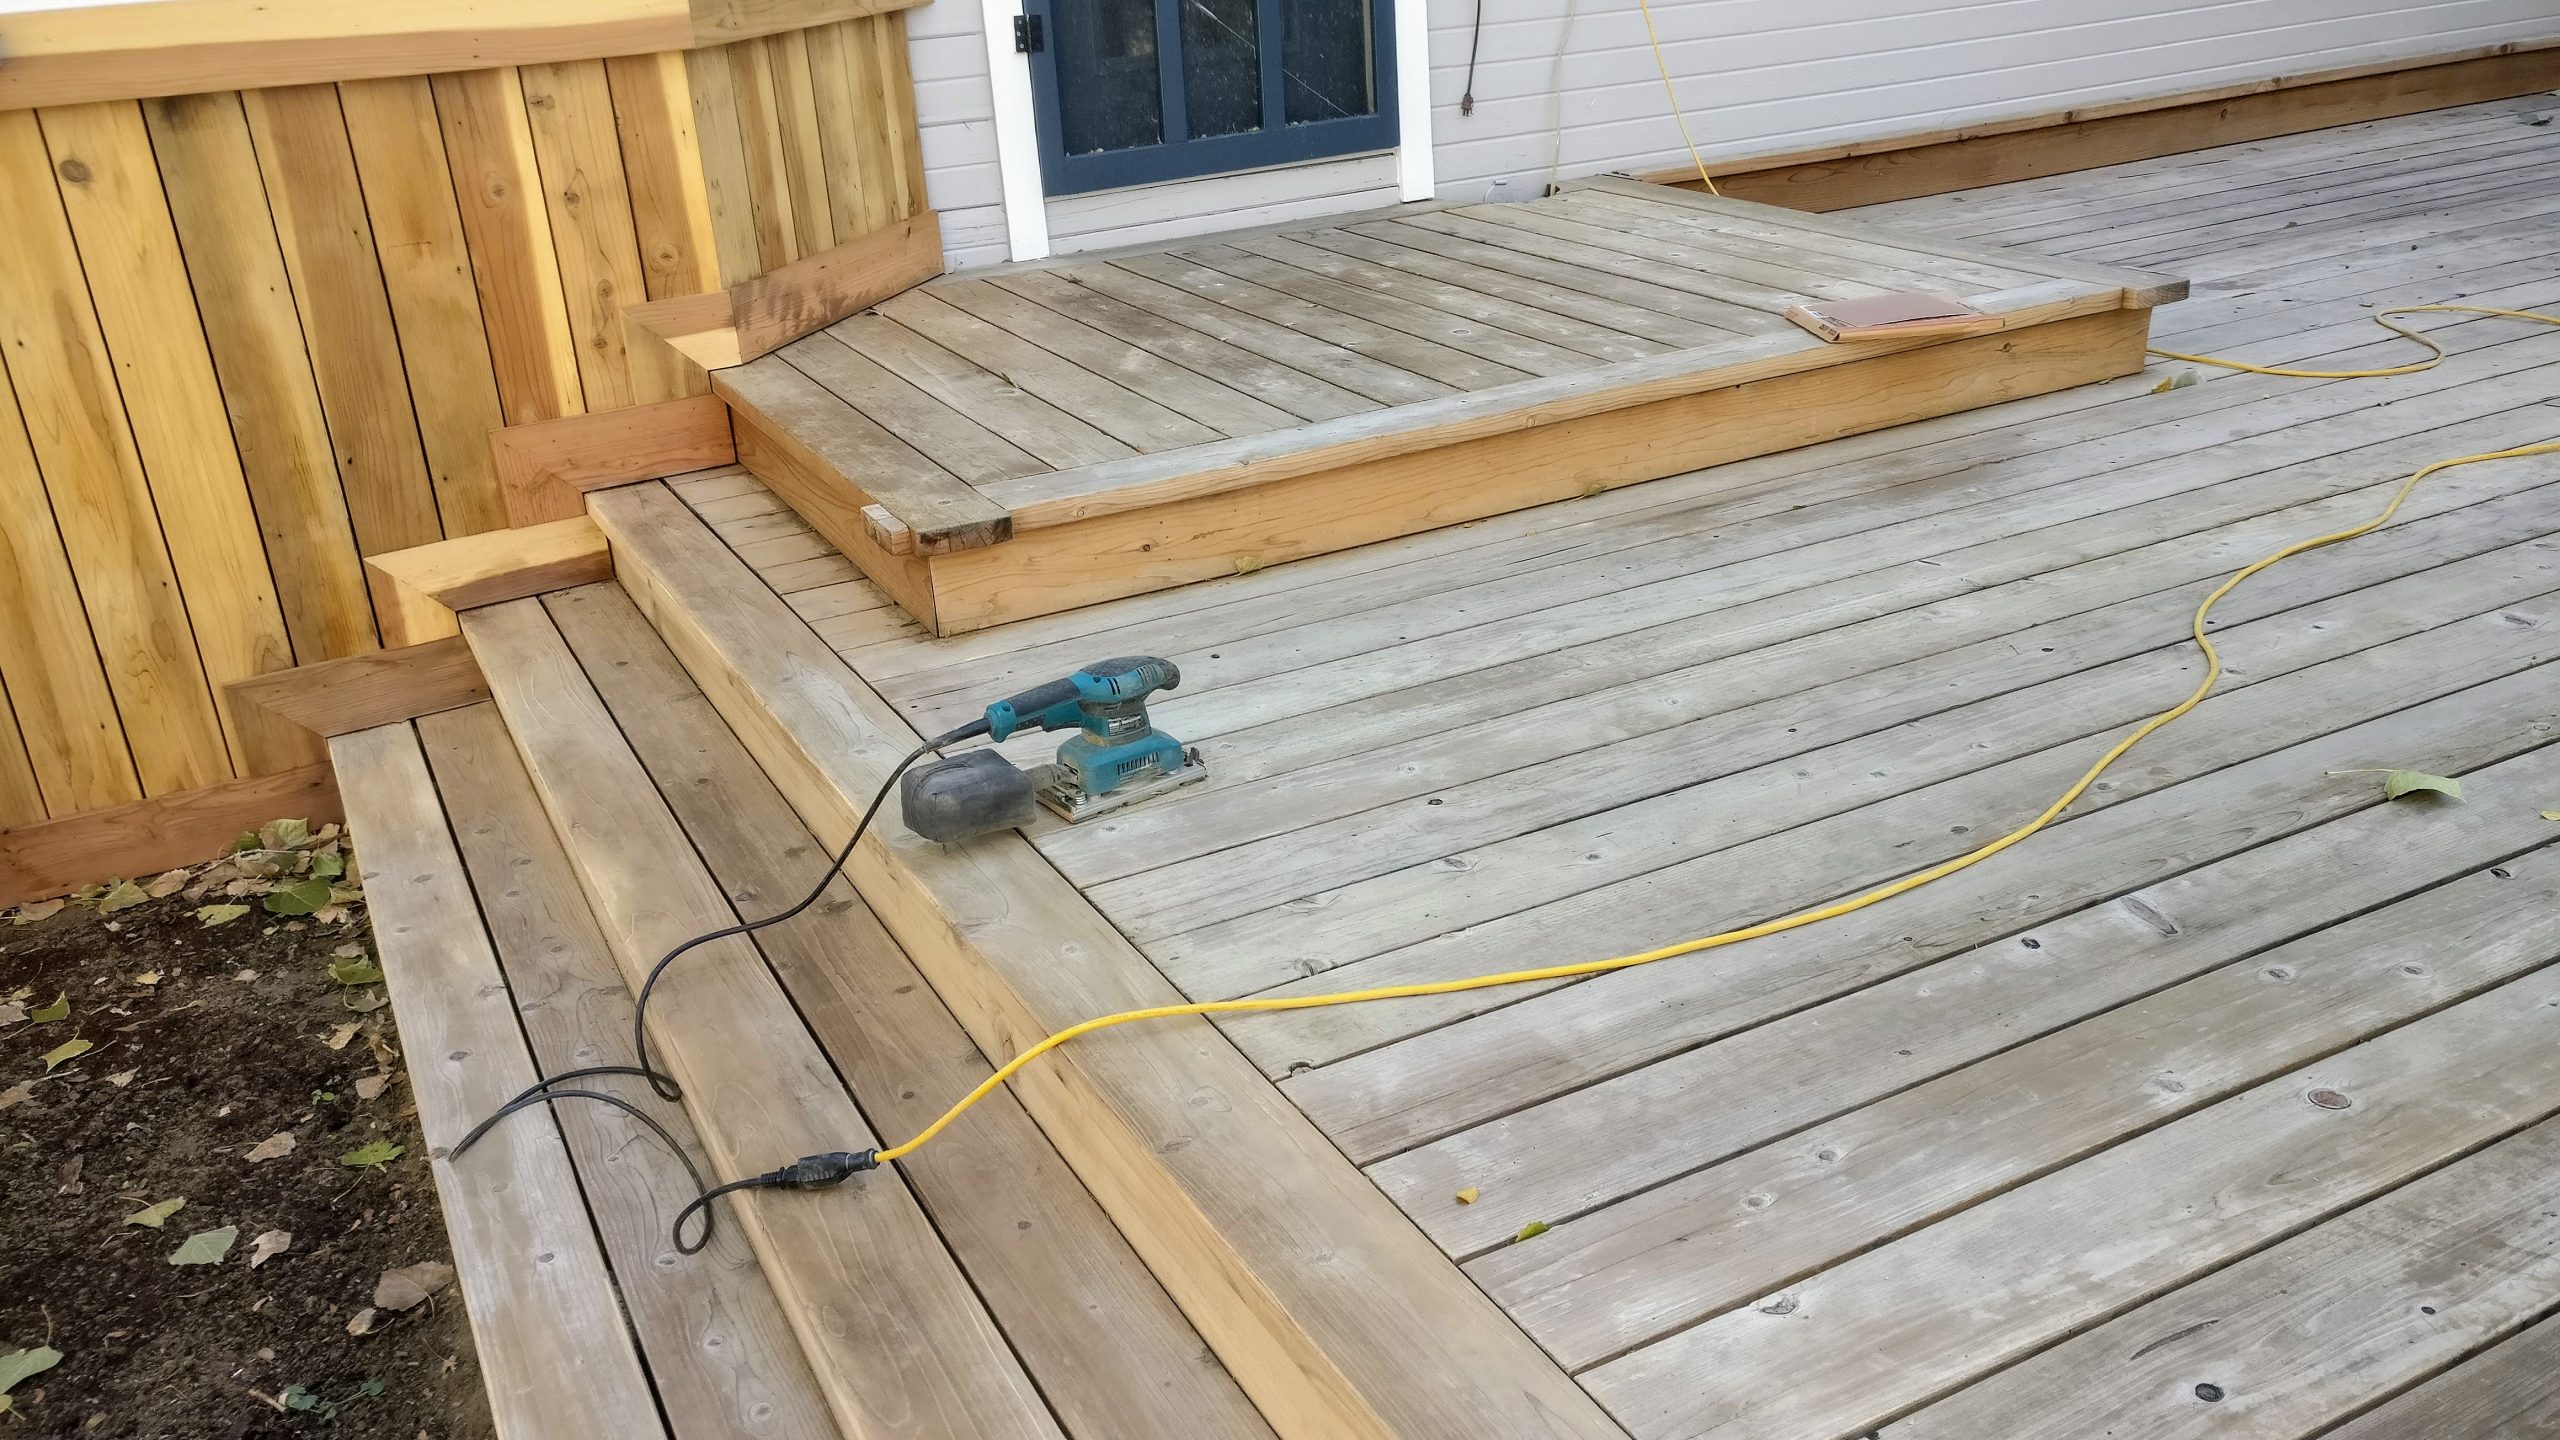
Construction Photos
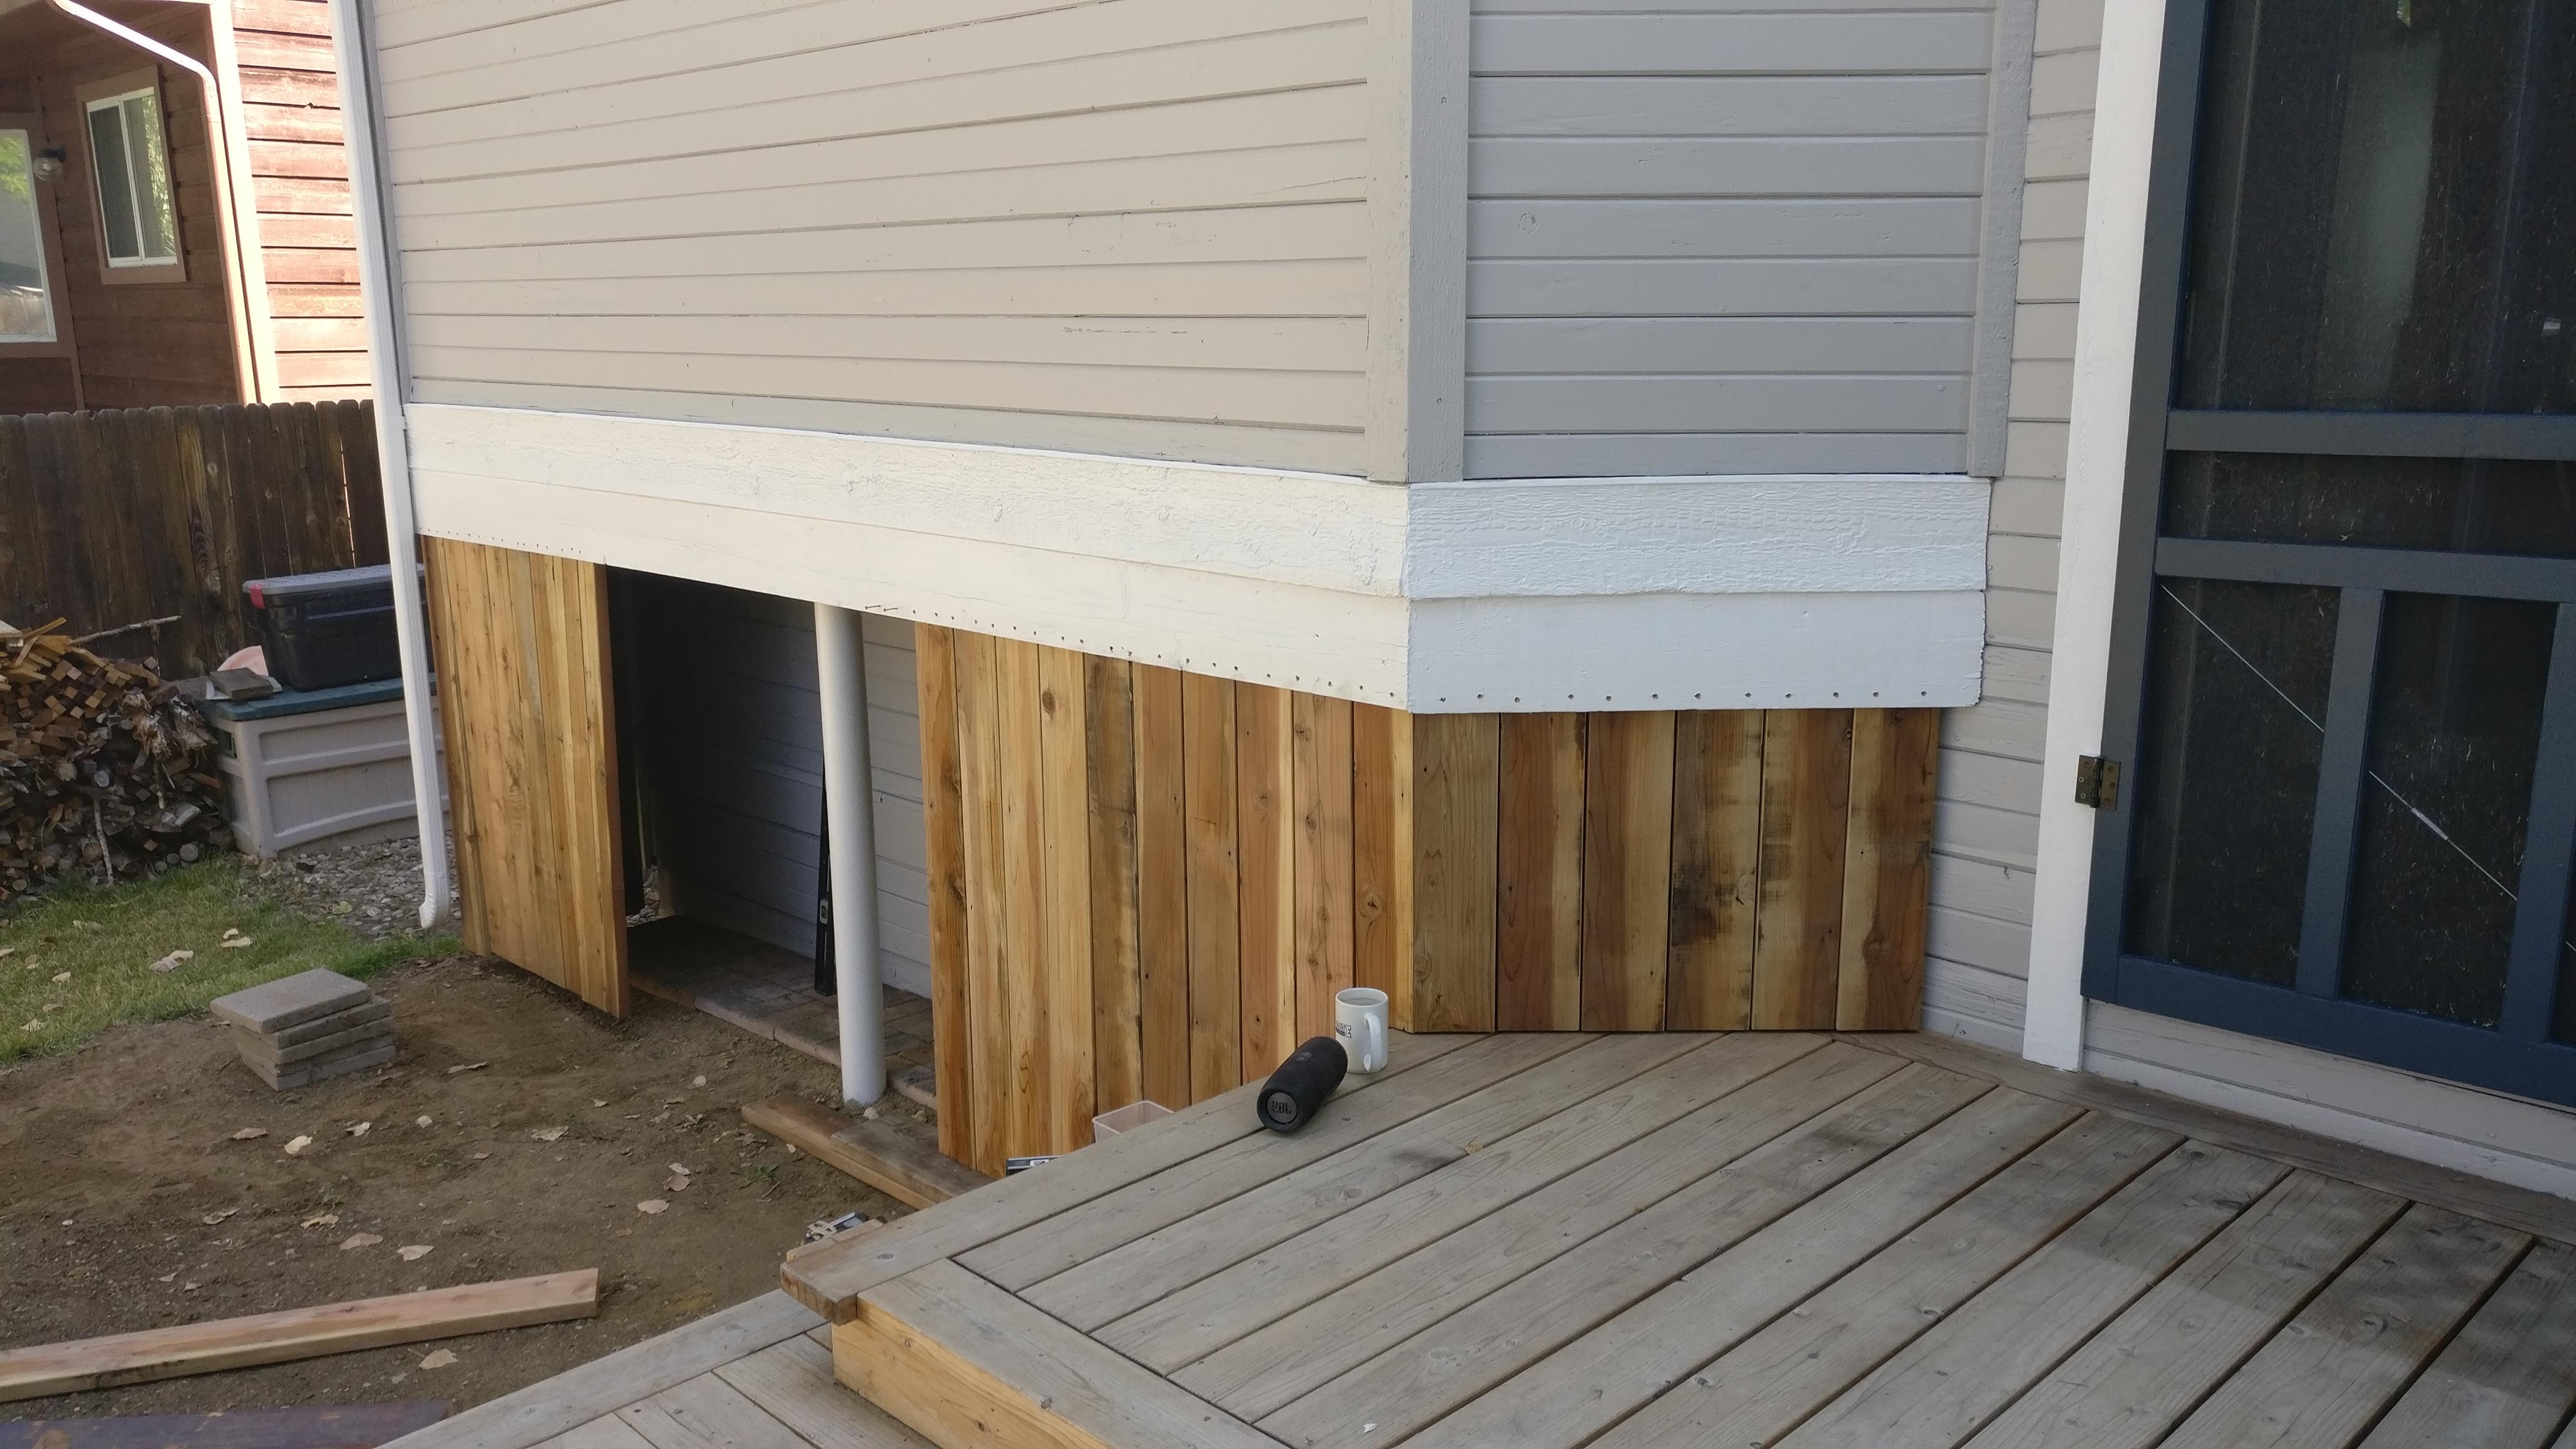
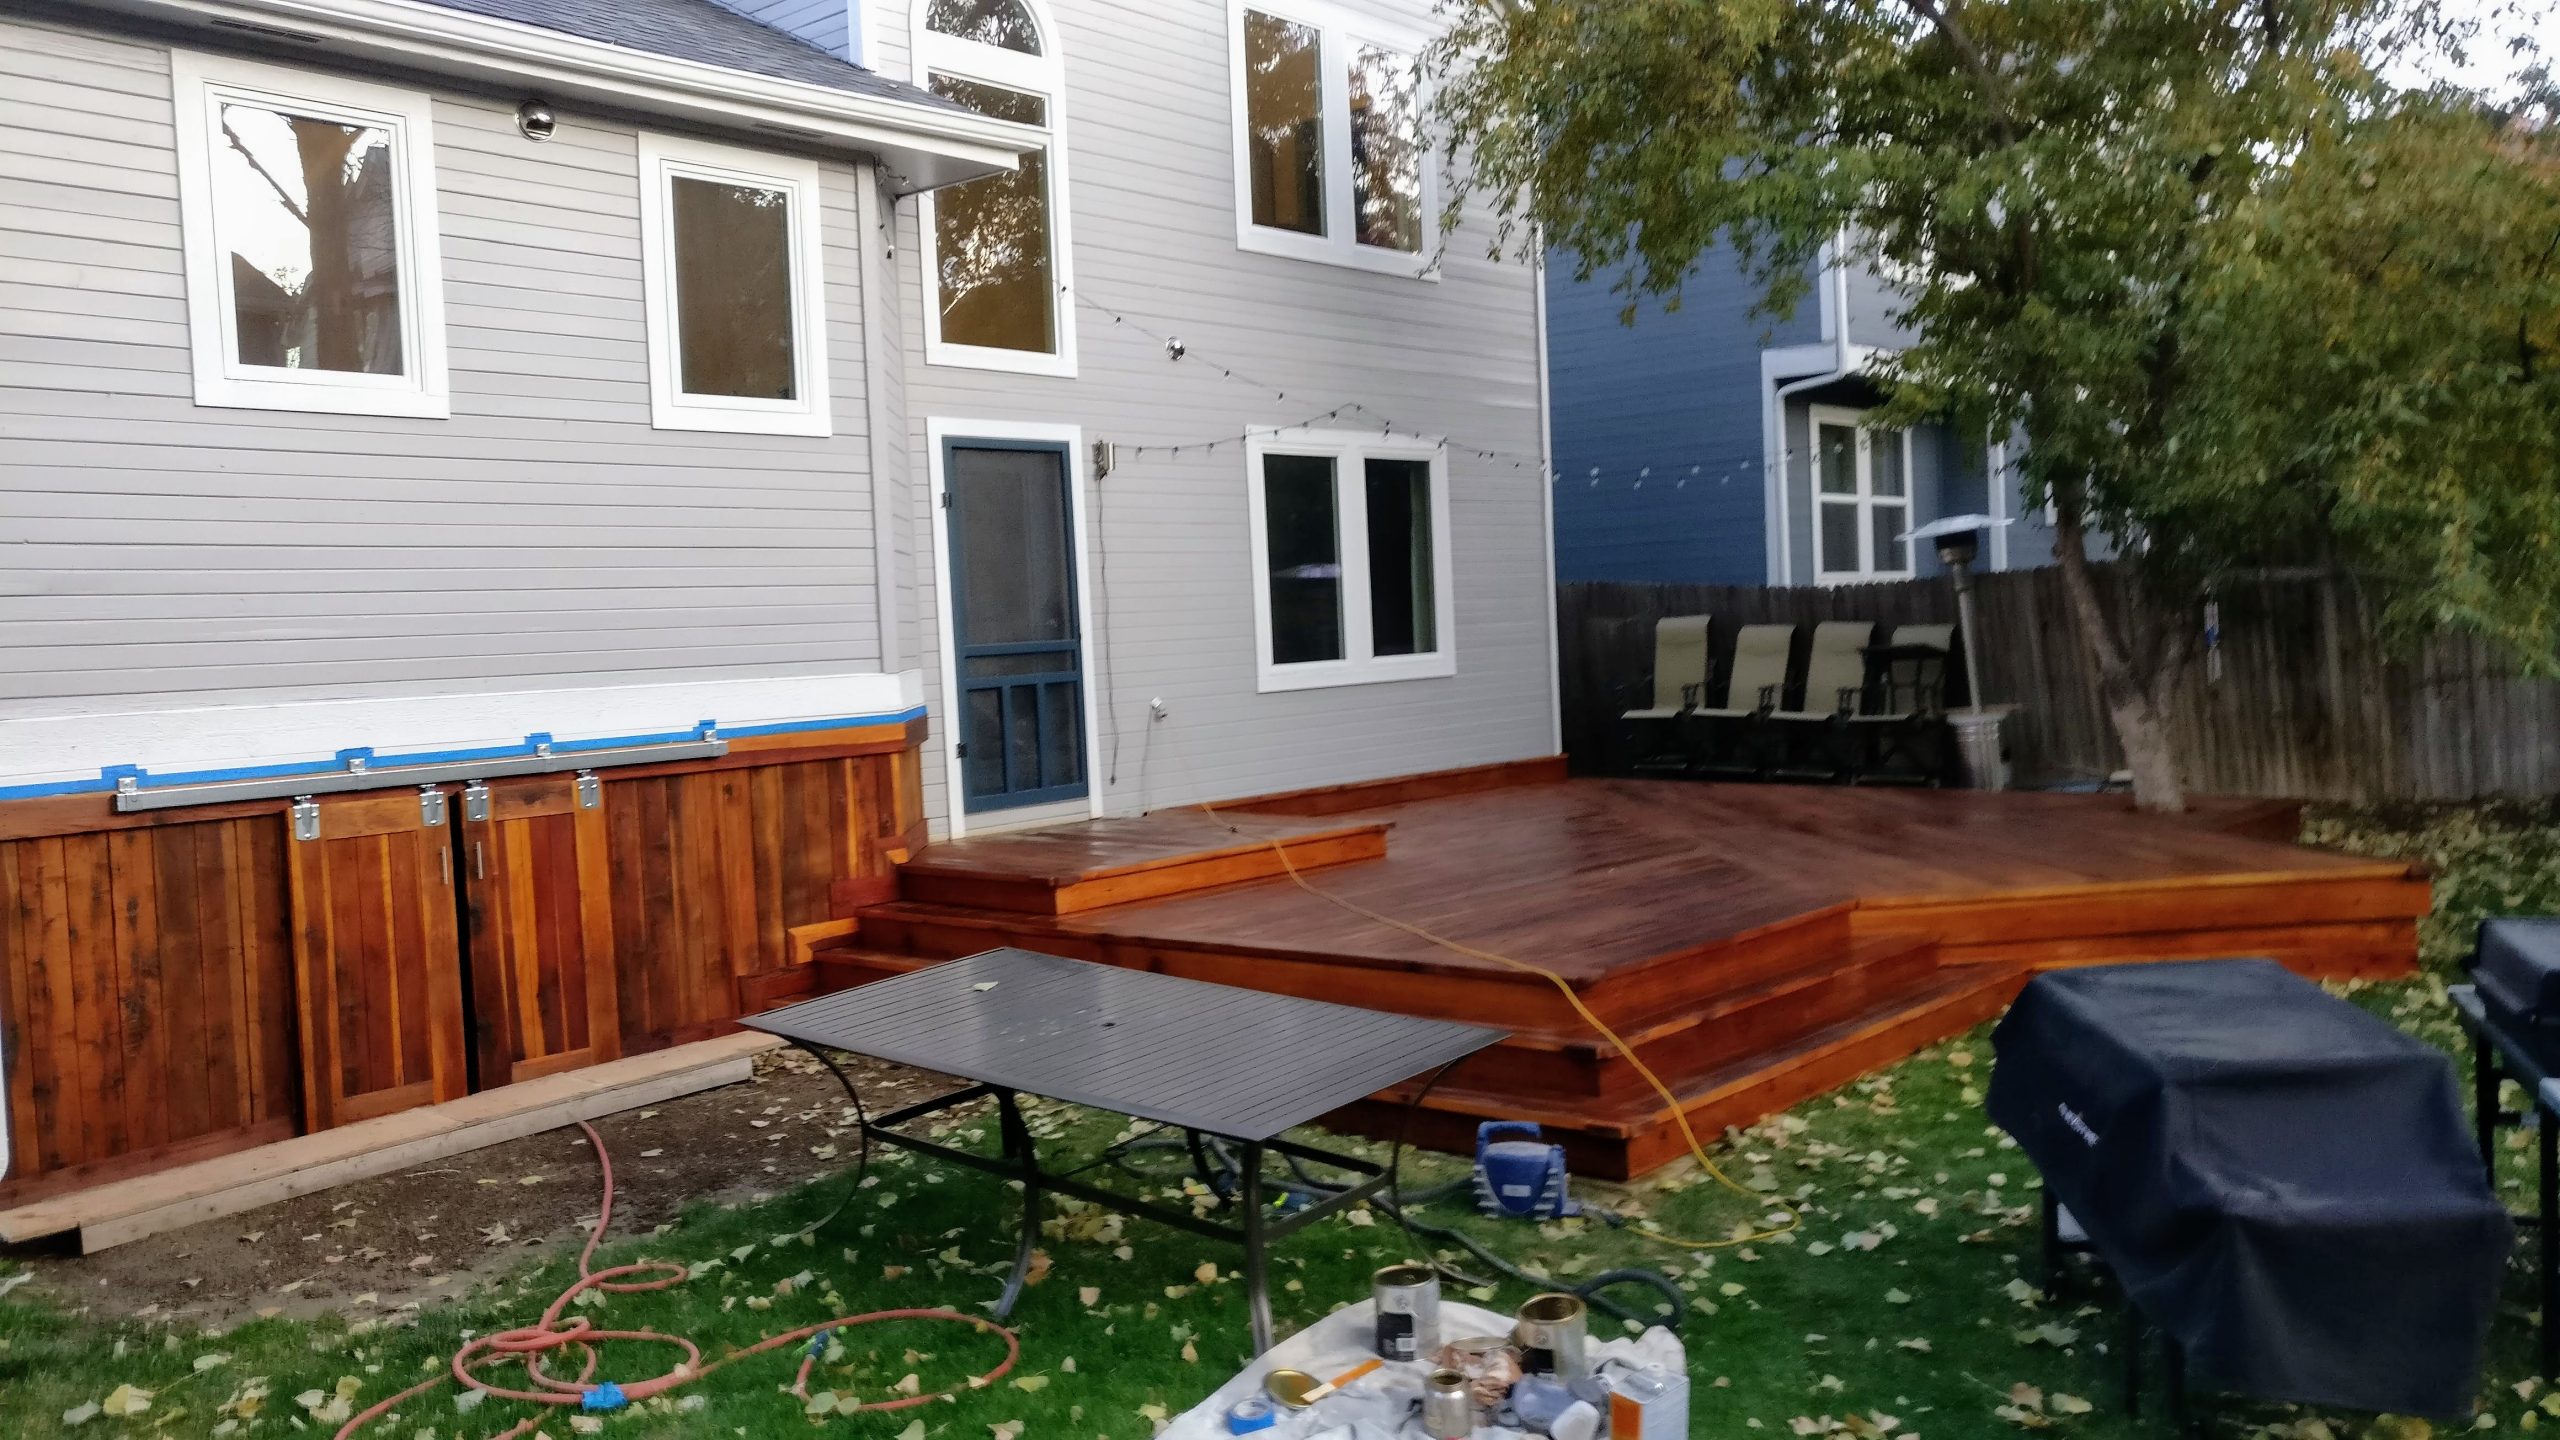
This project really turned out great. I’m glad that I was able to get this done. After replacing quite a few windows, getting the house painted, and finishing this project, the exterior of our house is looking really nice now.
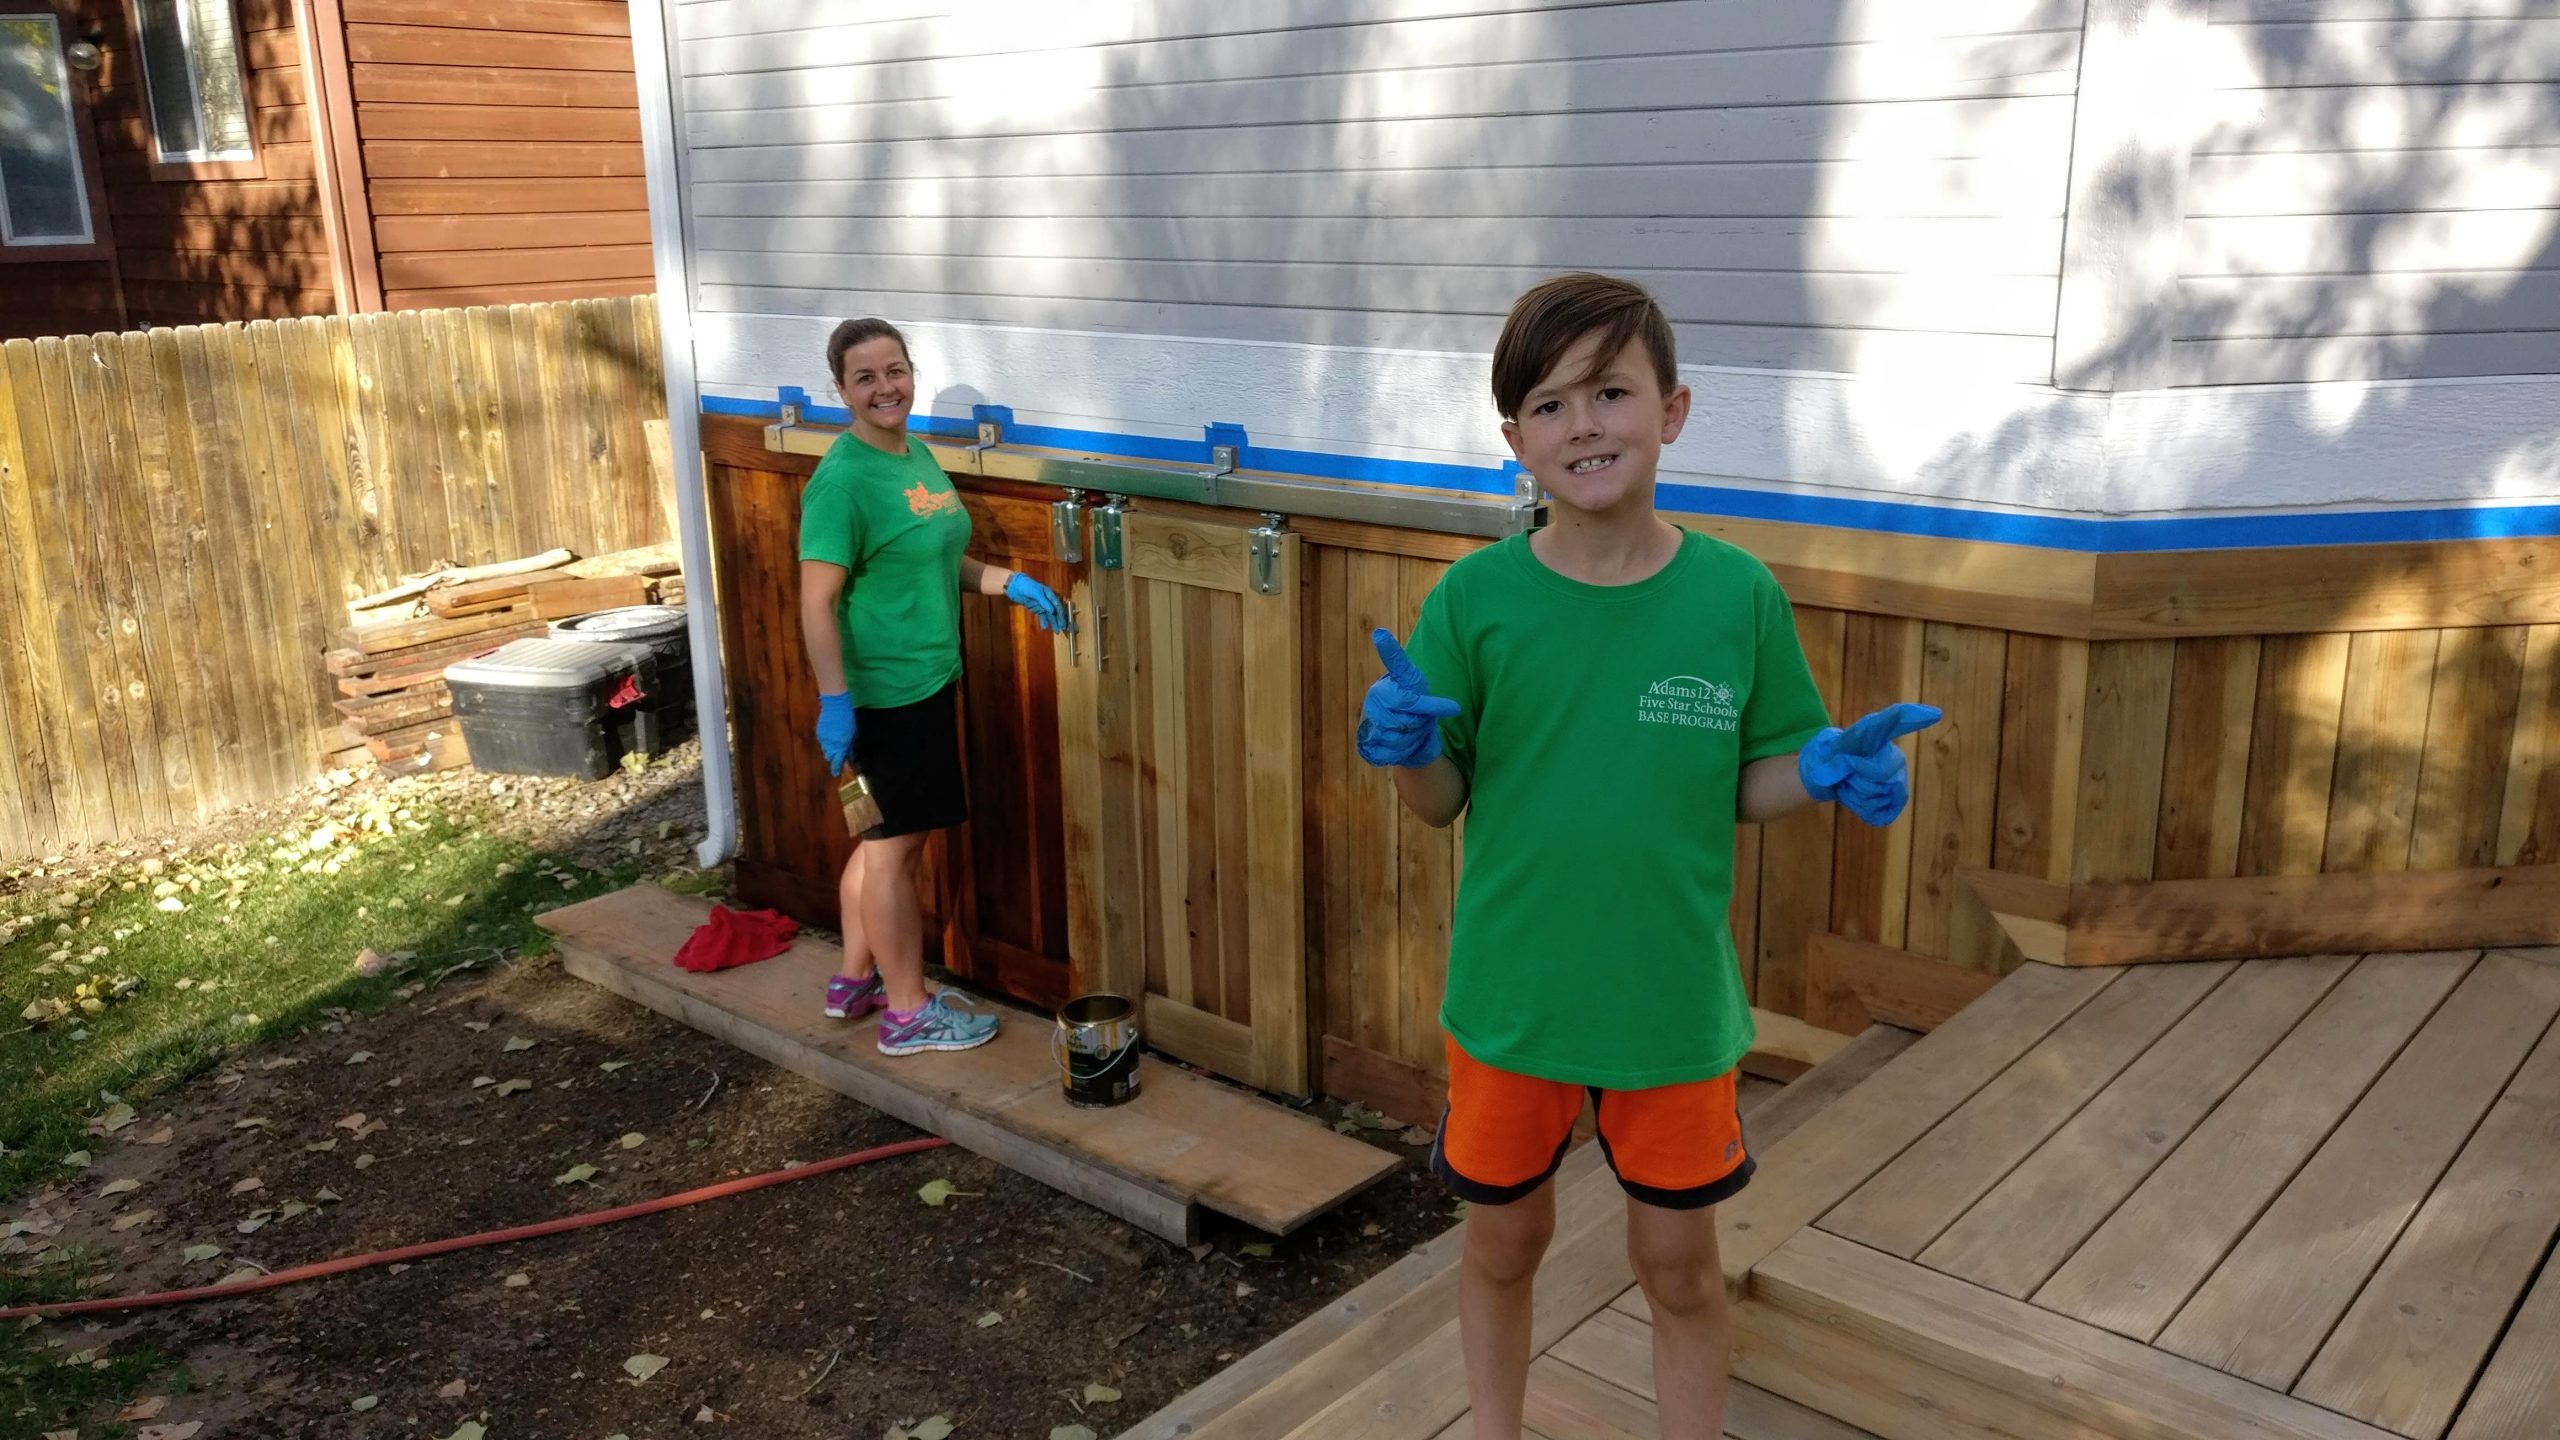
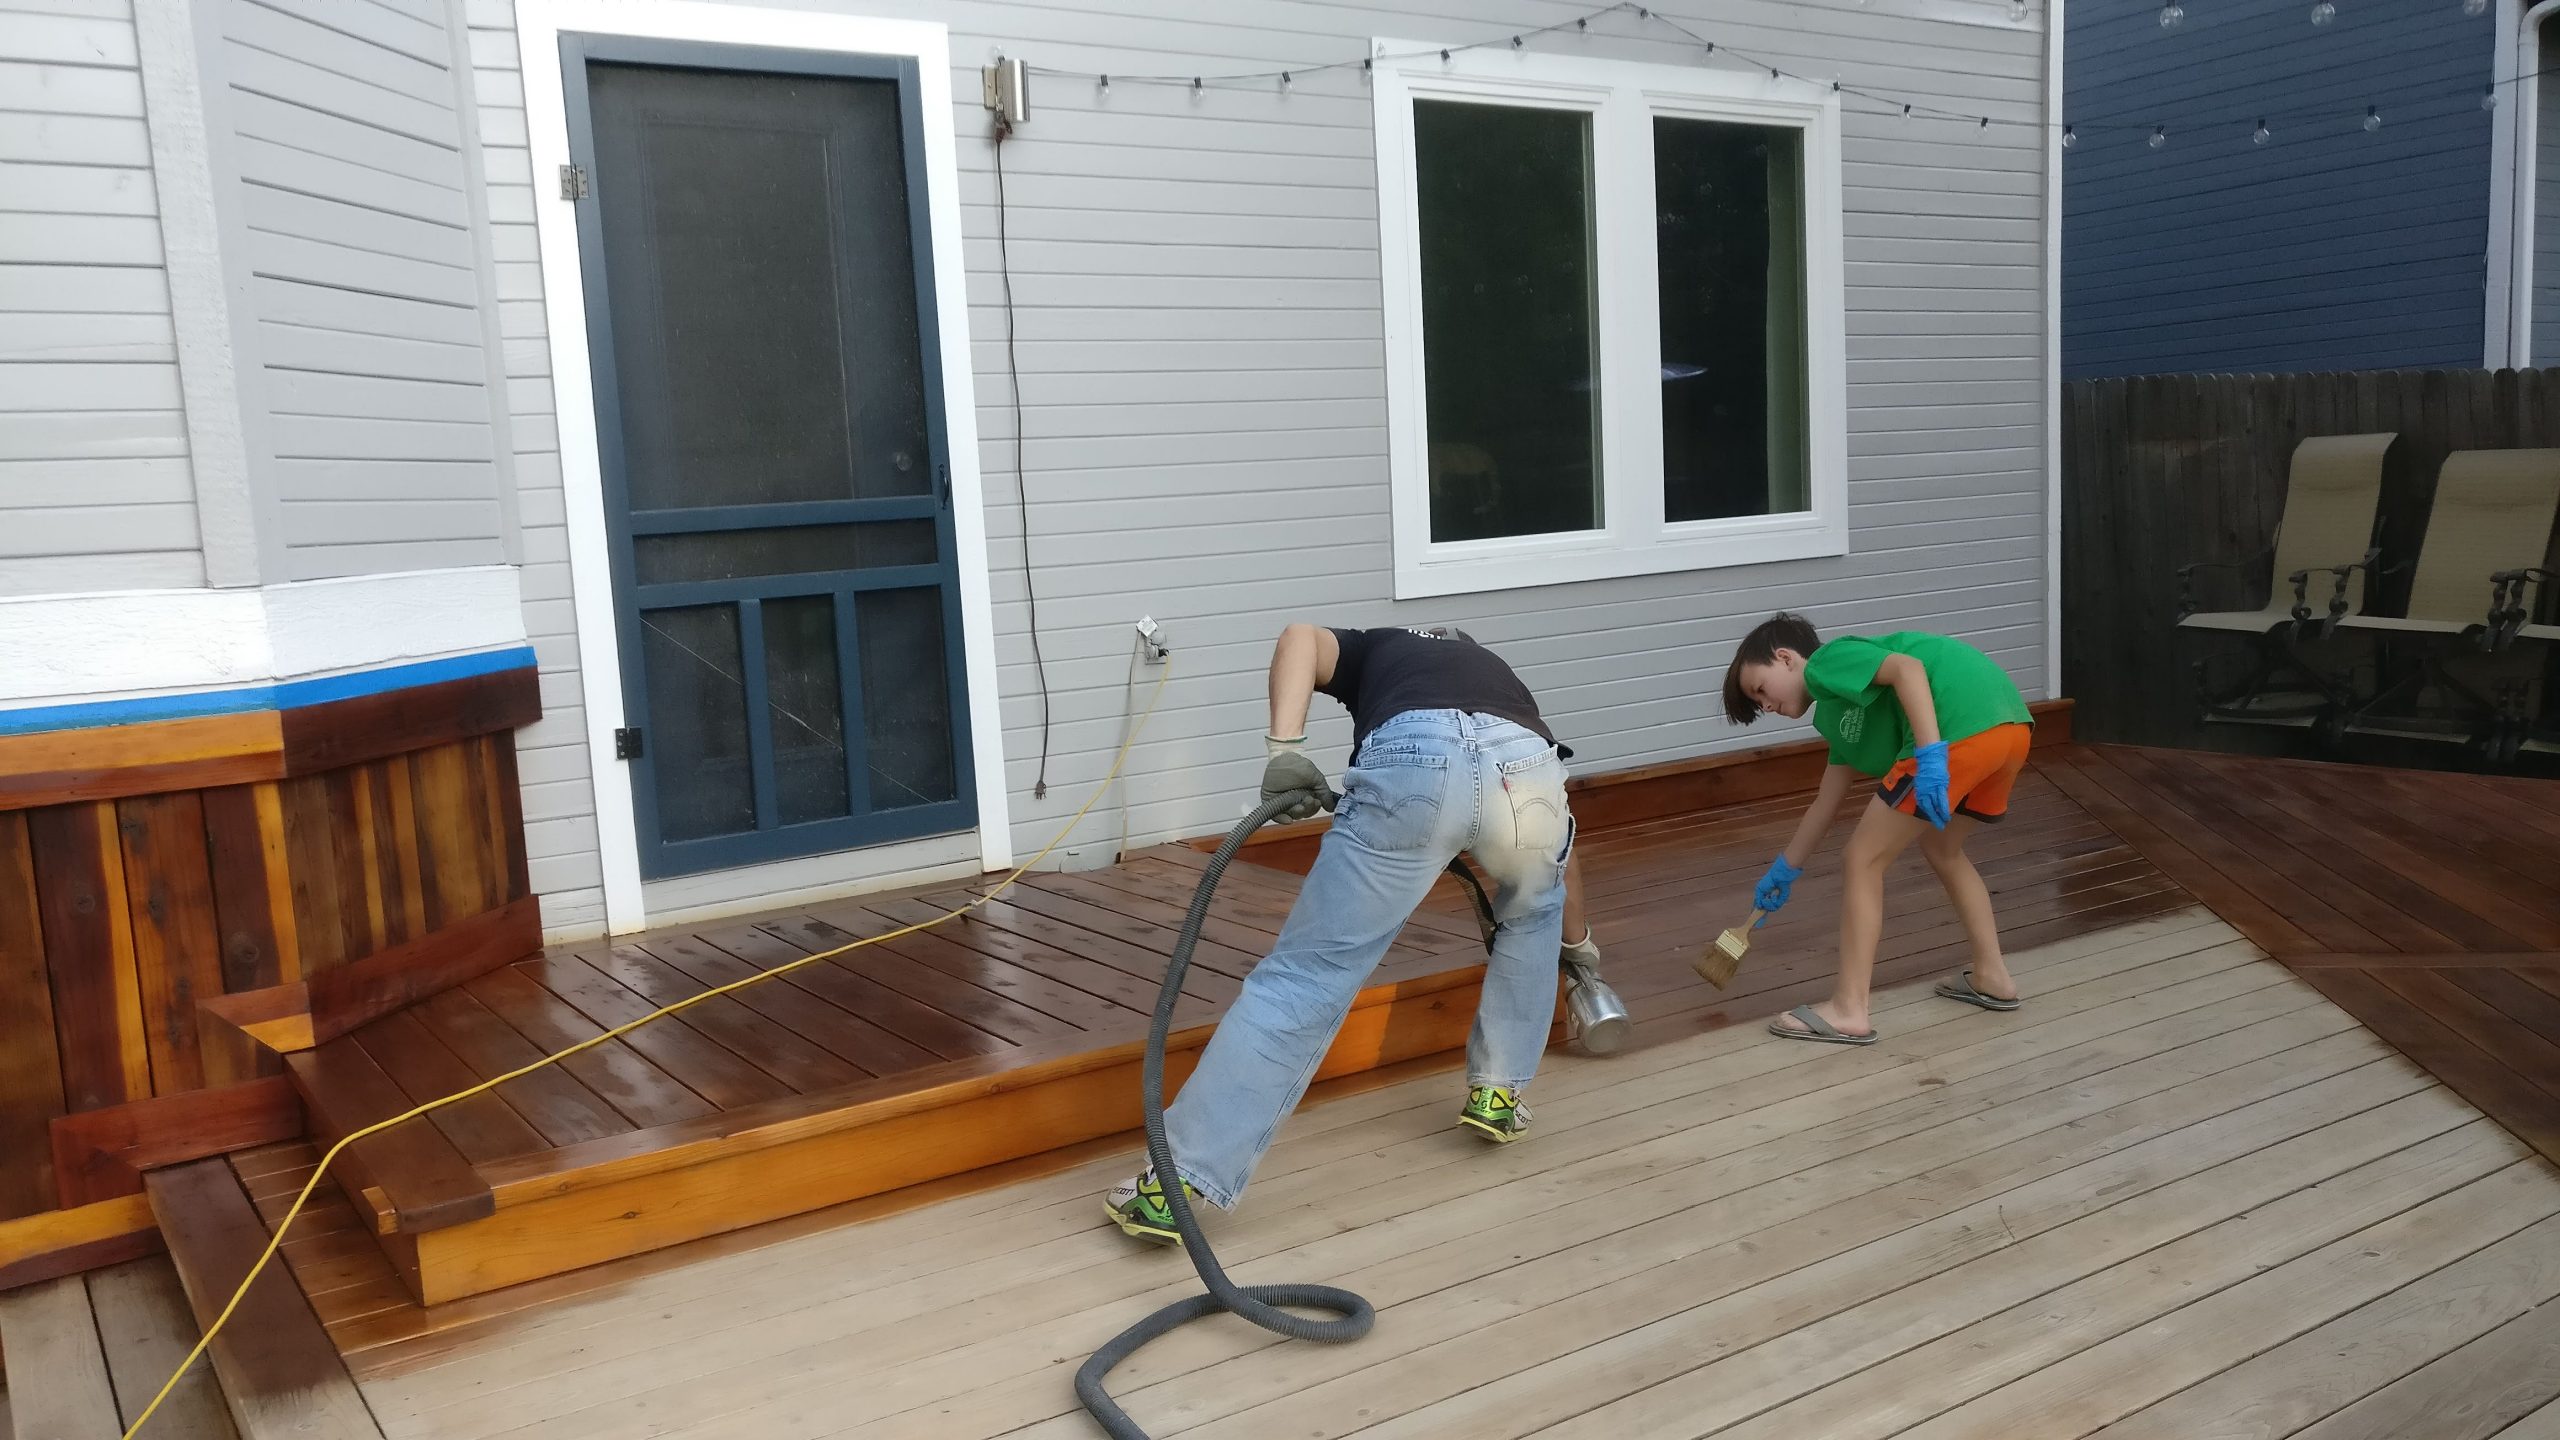
Update: A month later we did a little weekend family project to seal the deck and this new garden storage area. Leslie and Reece were a great help and we finished this off in one weekend afternoon. It looks even better now.
FYI… I was really dissatisfied with the original sealer that I used on the deck (Total Wood Peservative – TWP), so I did a lot of research on what would really work well for this application and I found another product called PPG Proluxe. Others might know this product by the name of Sikkens. PPG bought out that company, but it is still the same quality stuff.
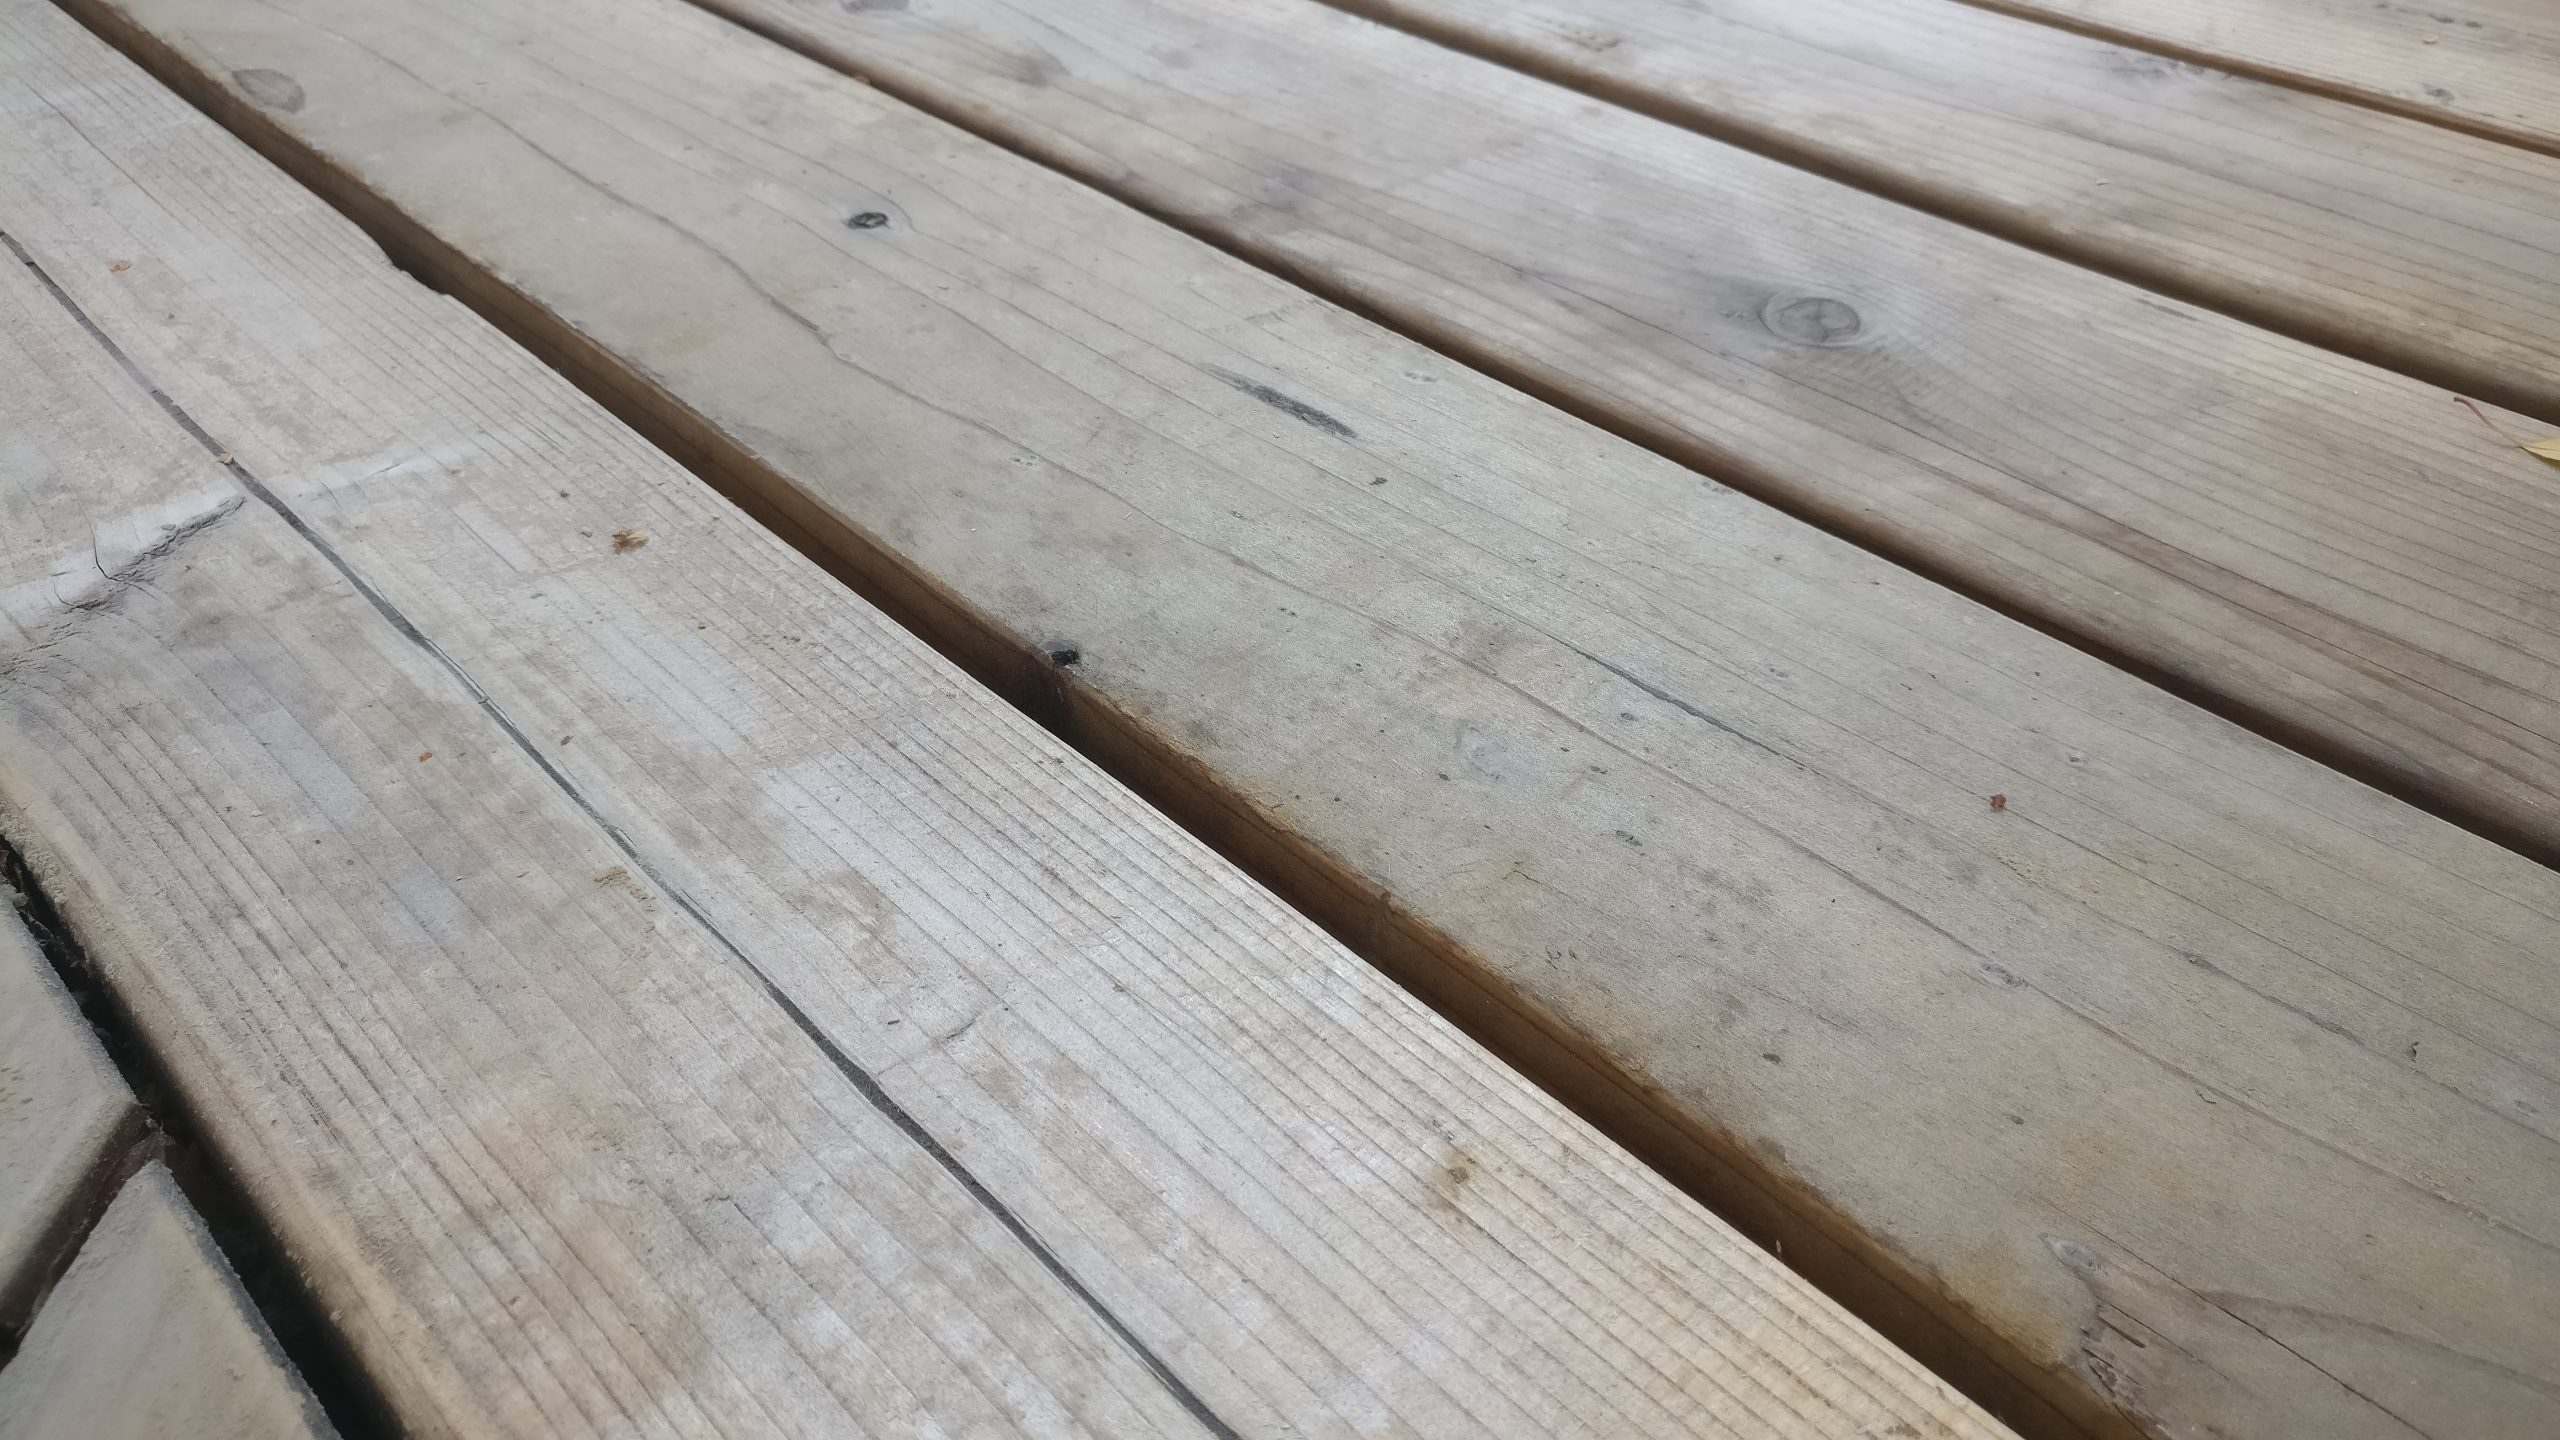
I chose the “Cedar SRD Exterior Transparent Matte Wood Finish”. We only had time to apply one coat before the weather got a bit too cold… they recommend two coats… but it still looks good after making it through the winter. I’m really pleased so far with this deck sealer. I’ll probably put another coat on this spring just to freshen it up again and thicken the protection. The Colorado sun can be tough on things, but we deal with it. 🙂
Till next time…