
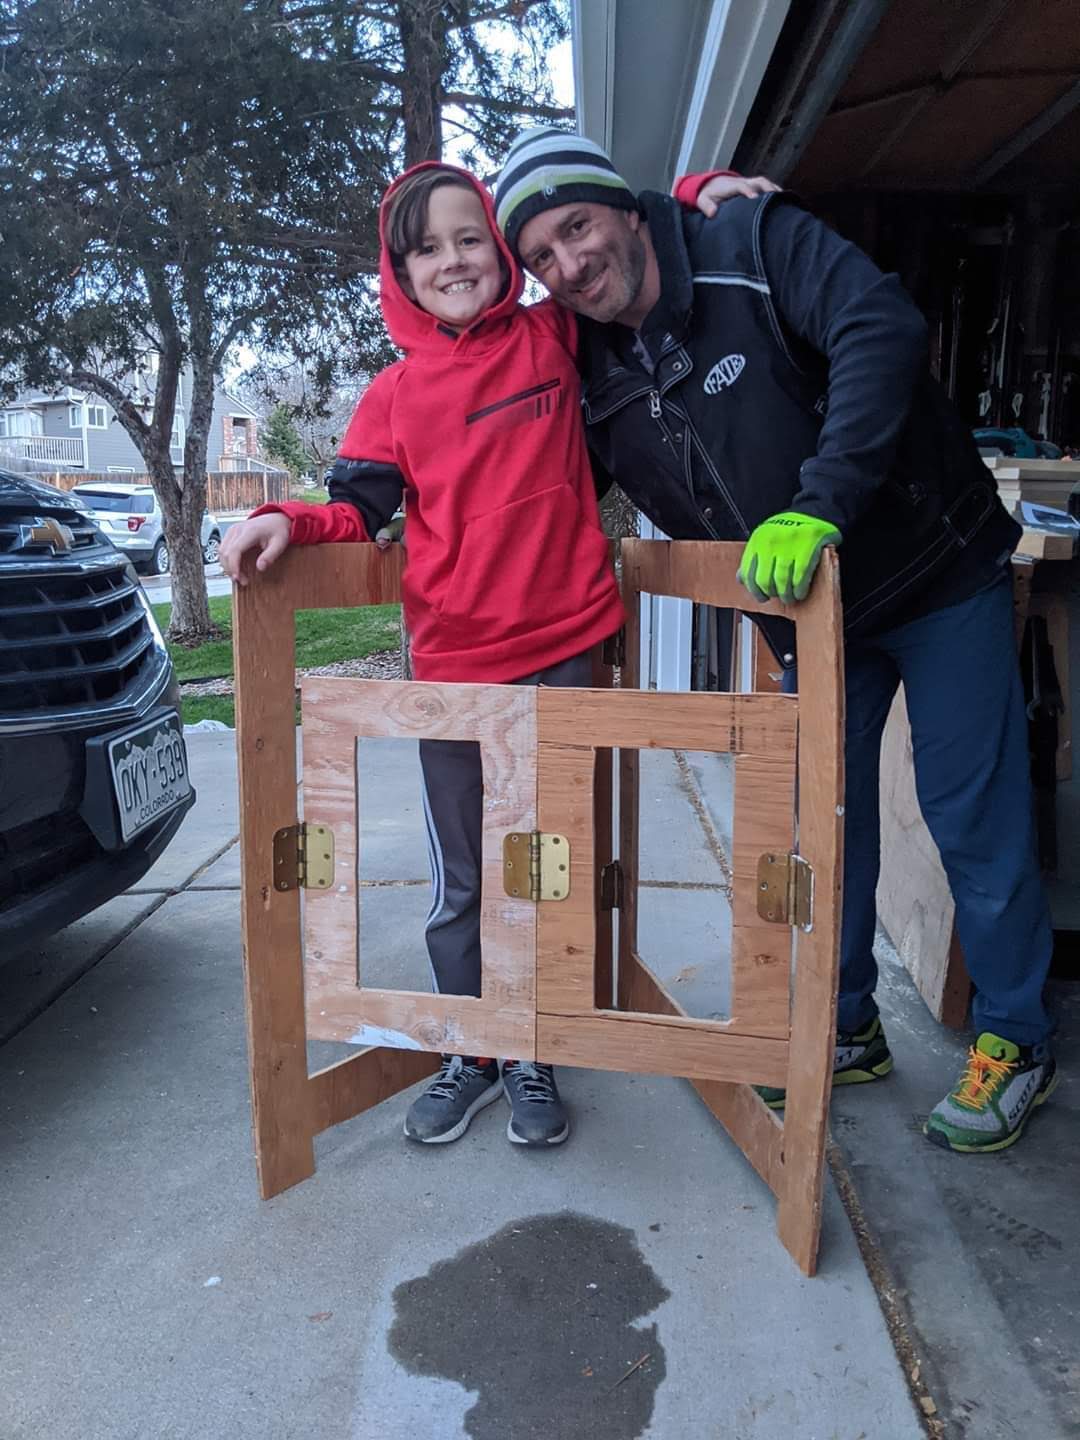
Recently, my son, Reece and I had a great time working on a little project together. We built a pair of hinged-frame sawhorses that will be great to have around the shop. They are a unique design that I think will be pretty useful. Here is how we did it…
Background
It seems a bit strange to me that I’ve never had a set of sawhorses. I’ve done tons of projects over the years, but I’ve always made it work by using my benches, or the tablesaw, or even the ground as my work surface.
Recently though, I’ve started working on a new project to build a dining table and I’m going to need a better way to work on the top.
Materials
- Approximately 2/3 sheet of 1/2″ plywood per saw horse (we made 2)
- (7) standard door hinges per saw horse
- The original plans used piano hinges, but I had lots of old hinges saved up from old doors that I had replaced.
- Hinge screws
Tools
Pretty simple… anyone can build these!
- Jig saw / Circular saw
- Drill / Screw Driver
The Design
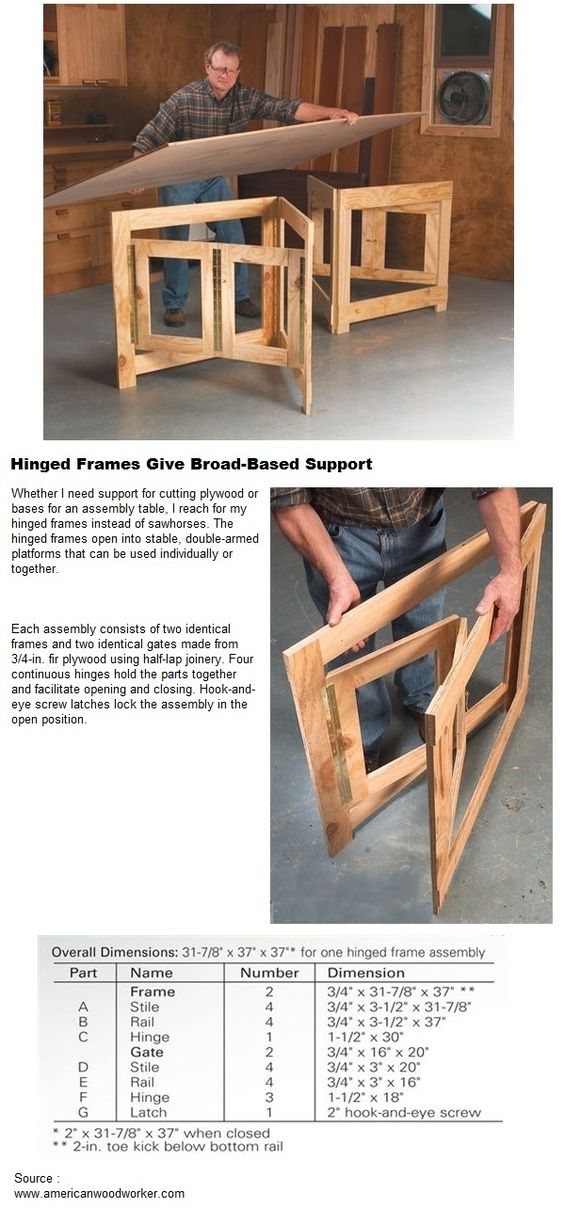
While researching (aka Googling) saw horse designs, I came across an interesting design that I thought would work well for me. I wanted something that was portable, compact, and sturdy. It seemed like this design would check all of those boxes, so I decided to give it a try.
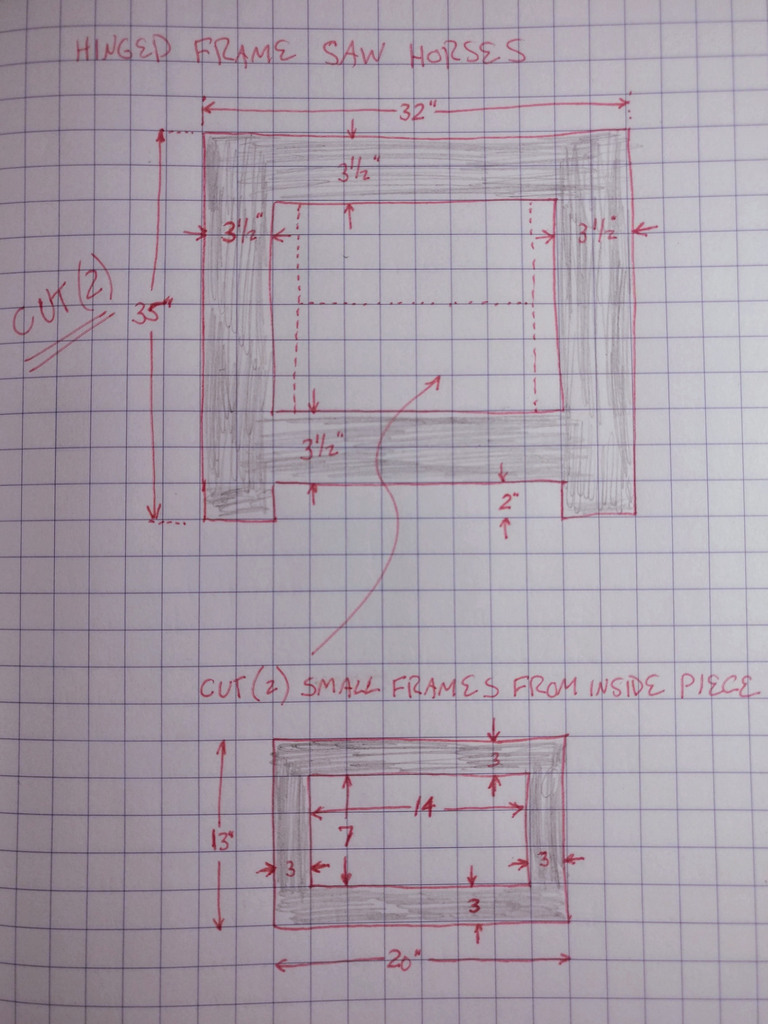
I did simplify the construction though. Rather than building up the frames with rail and stile type construction, we just drew out the frames on the plywood and cut out the frame pieces with the jigsaw. Quick and easy.
One other thing to note on this design is that these saw horses can be used in (2) orientations. One of them is show in the photos above. The other configuration is more like a traditional saw horse where the peak of the hinged triangle is at the top. That changes the elevation by a few inches and may work better in some situations. Primarily though, I like to use them in the orientation shown in the photos.
I was also looking for a design that wasn’t too time consuming to build. Some people love spending time building shop projects, but I’m not one of them. My shop does not look fancy, but I’m still able to crank out the projects!
The Build
The plans that we used…
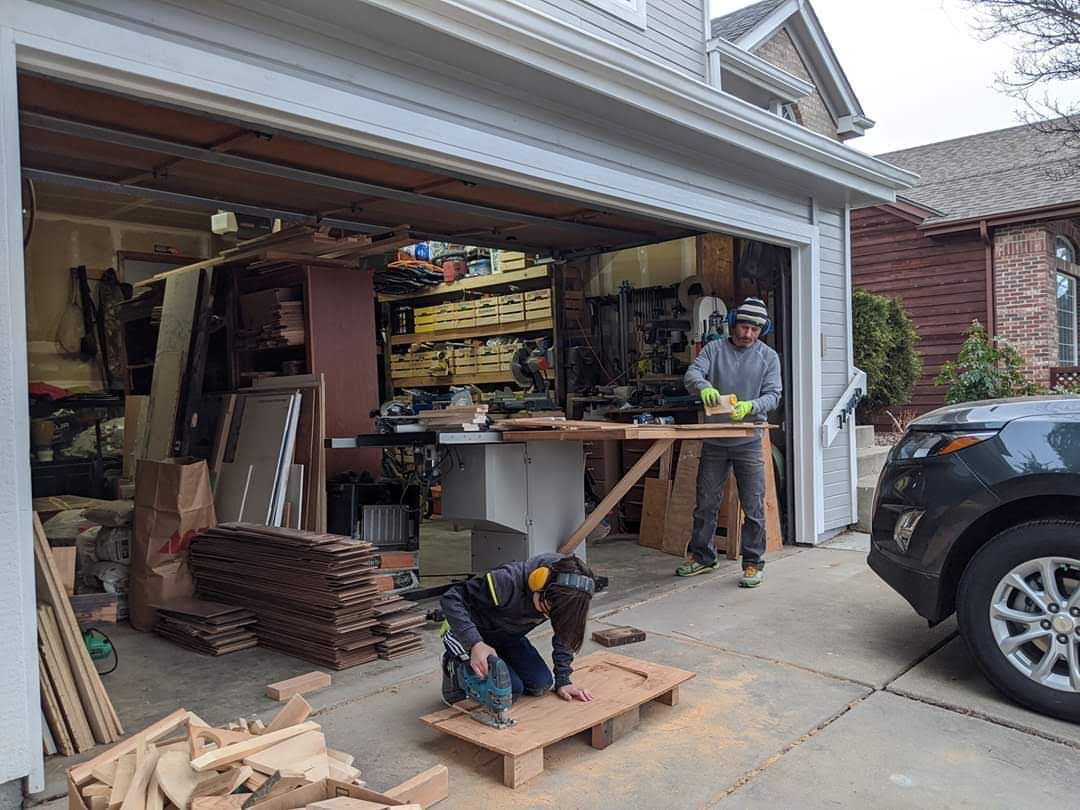
Reece was the jigsaw master for this project!
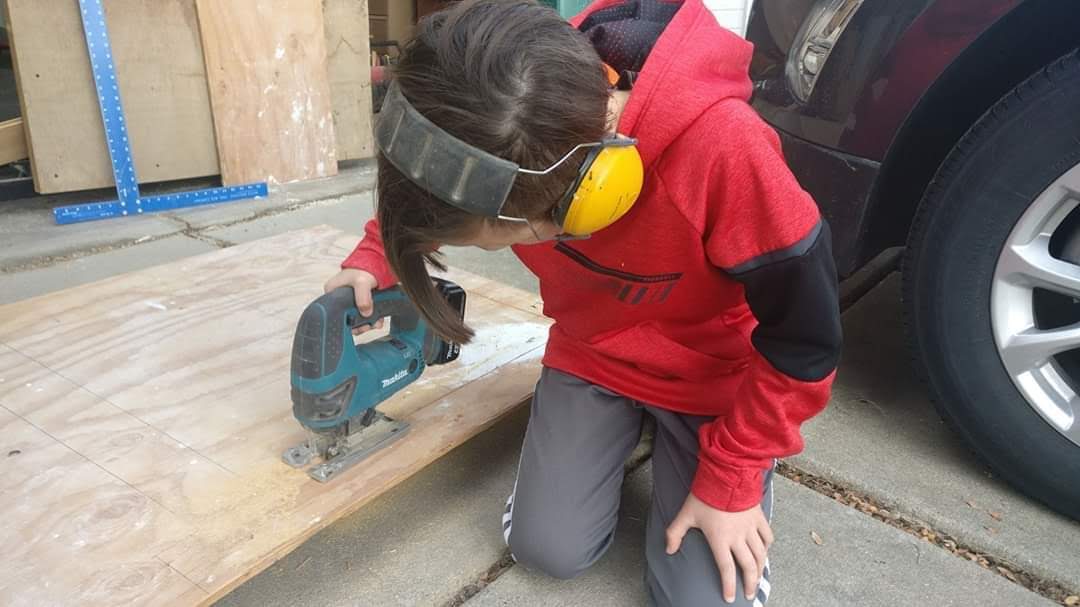
After that it was just a matter of screwing on a bunch of hinges.
The hinge screws were a bit long, so I ground off the part sticking through with my grinder.
The Finished Product
We had a lot of fun and Reece learned how to use a new tool!
Reece demonstrates how they fold up for storage. 🙂
And I put them to use on their first project…
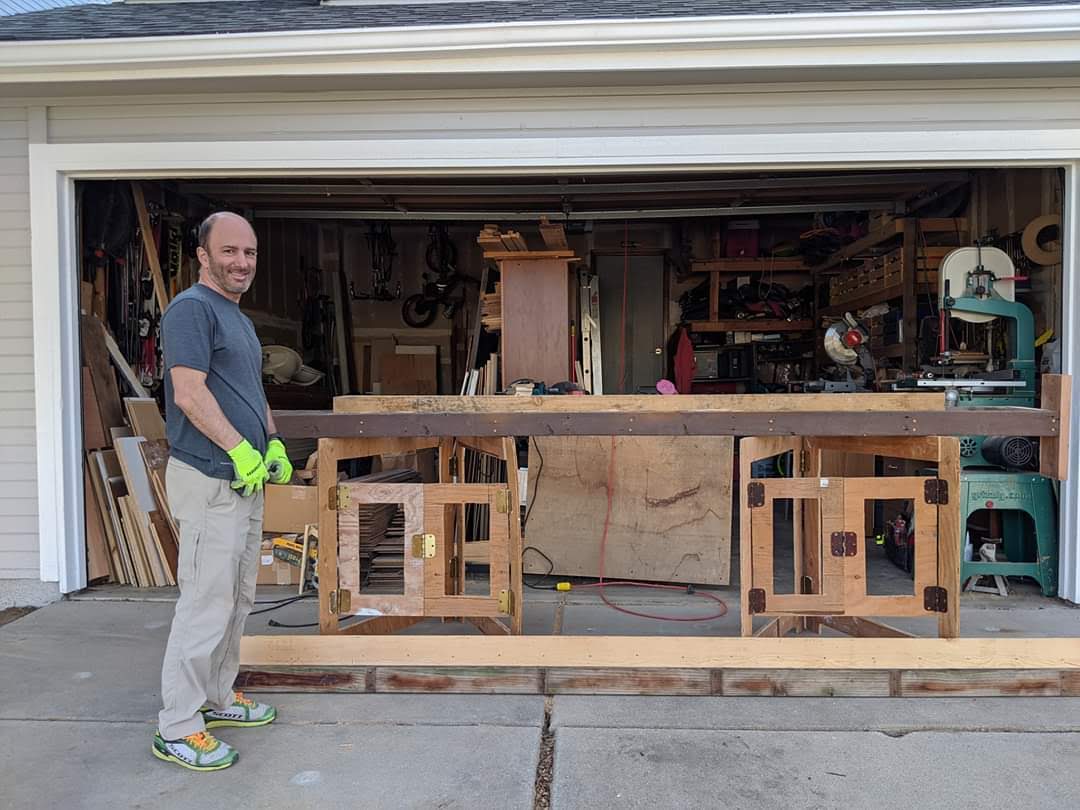
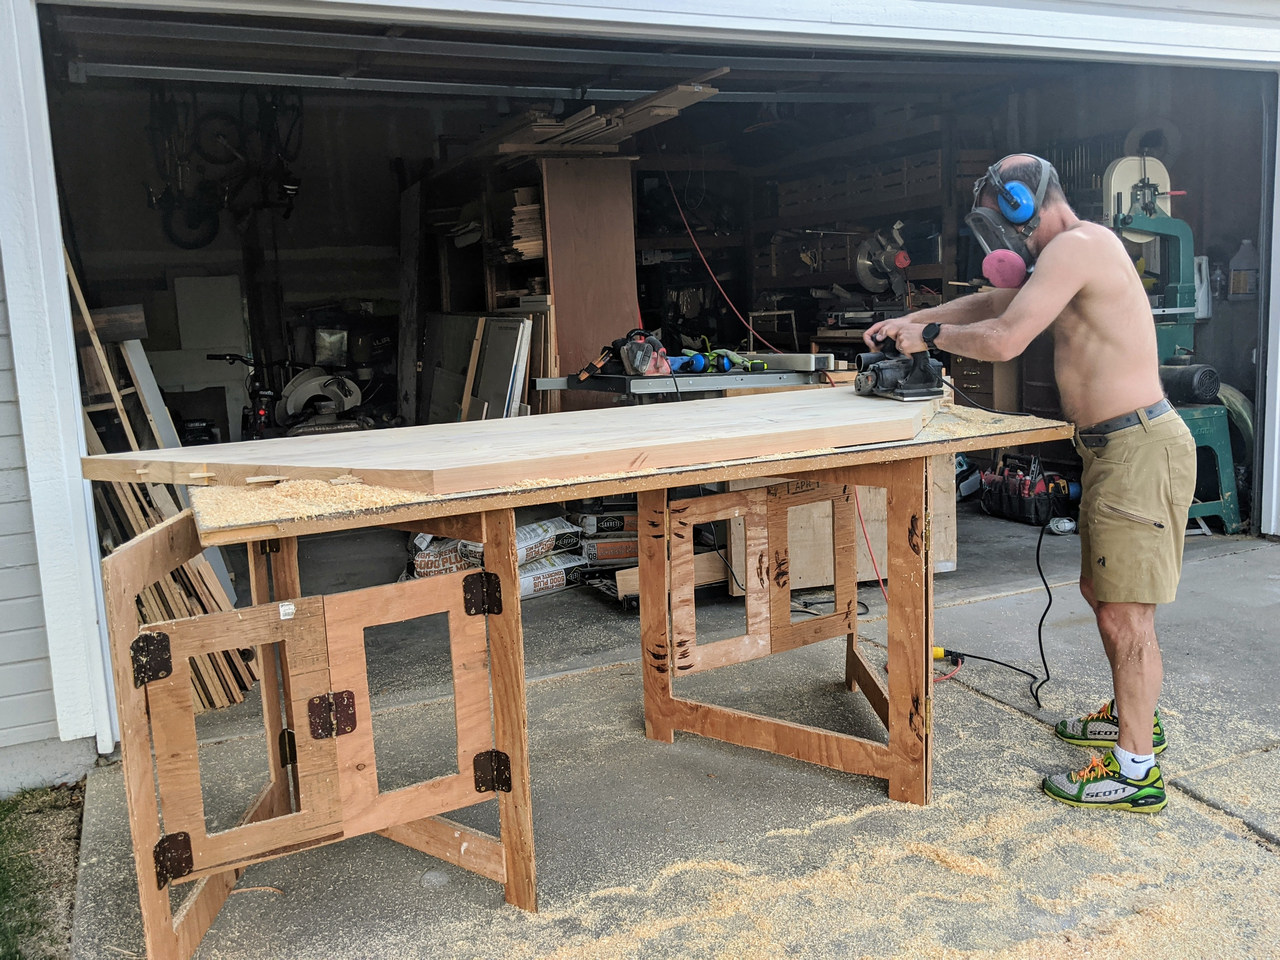
You can see in these last pictures that I ended up putting (2) hinges on the side of each of the middle frames. This really stiffened up the design and made it sturdier. I’d definitely recommend this, or using piano hinges like the original design called for.
I’ve been using these “saw horses” quite a bit already and they are pretty handy. We built these for absolutely $0 with plywood and hinges that I had laying around the shop, but I may consider building a “nicer” set with better plywood in the future.
Reece and I definitely had a great time working on this father and son project in the garage!
Till next time…