
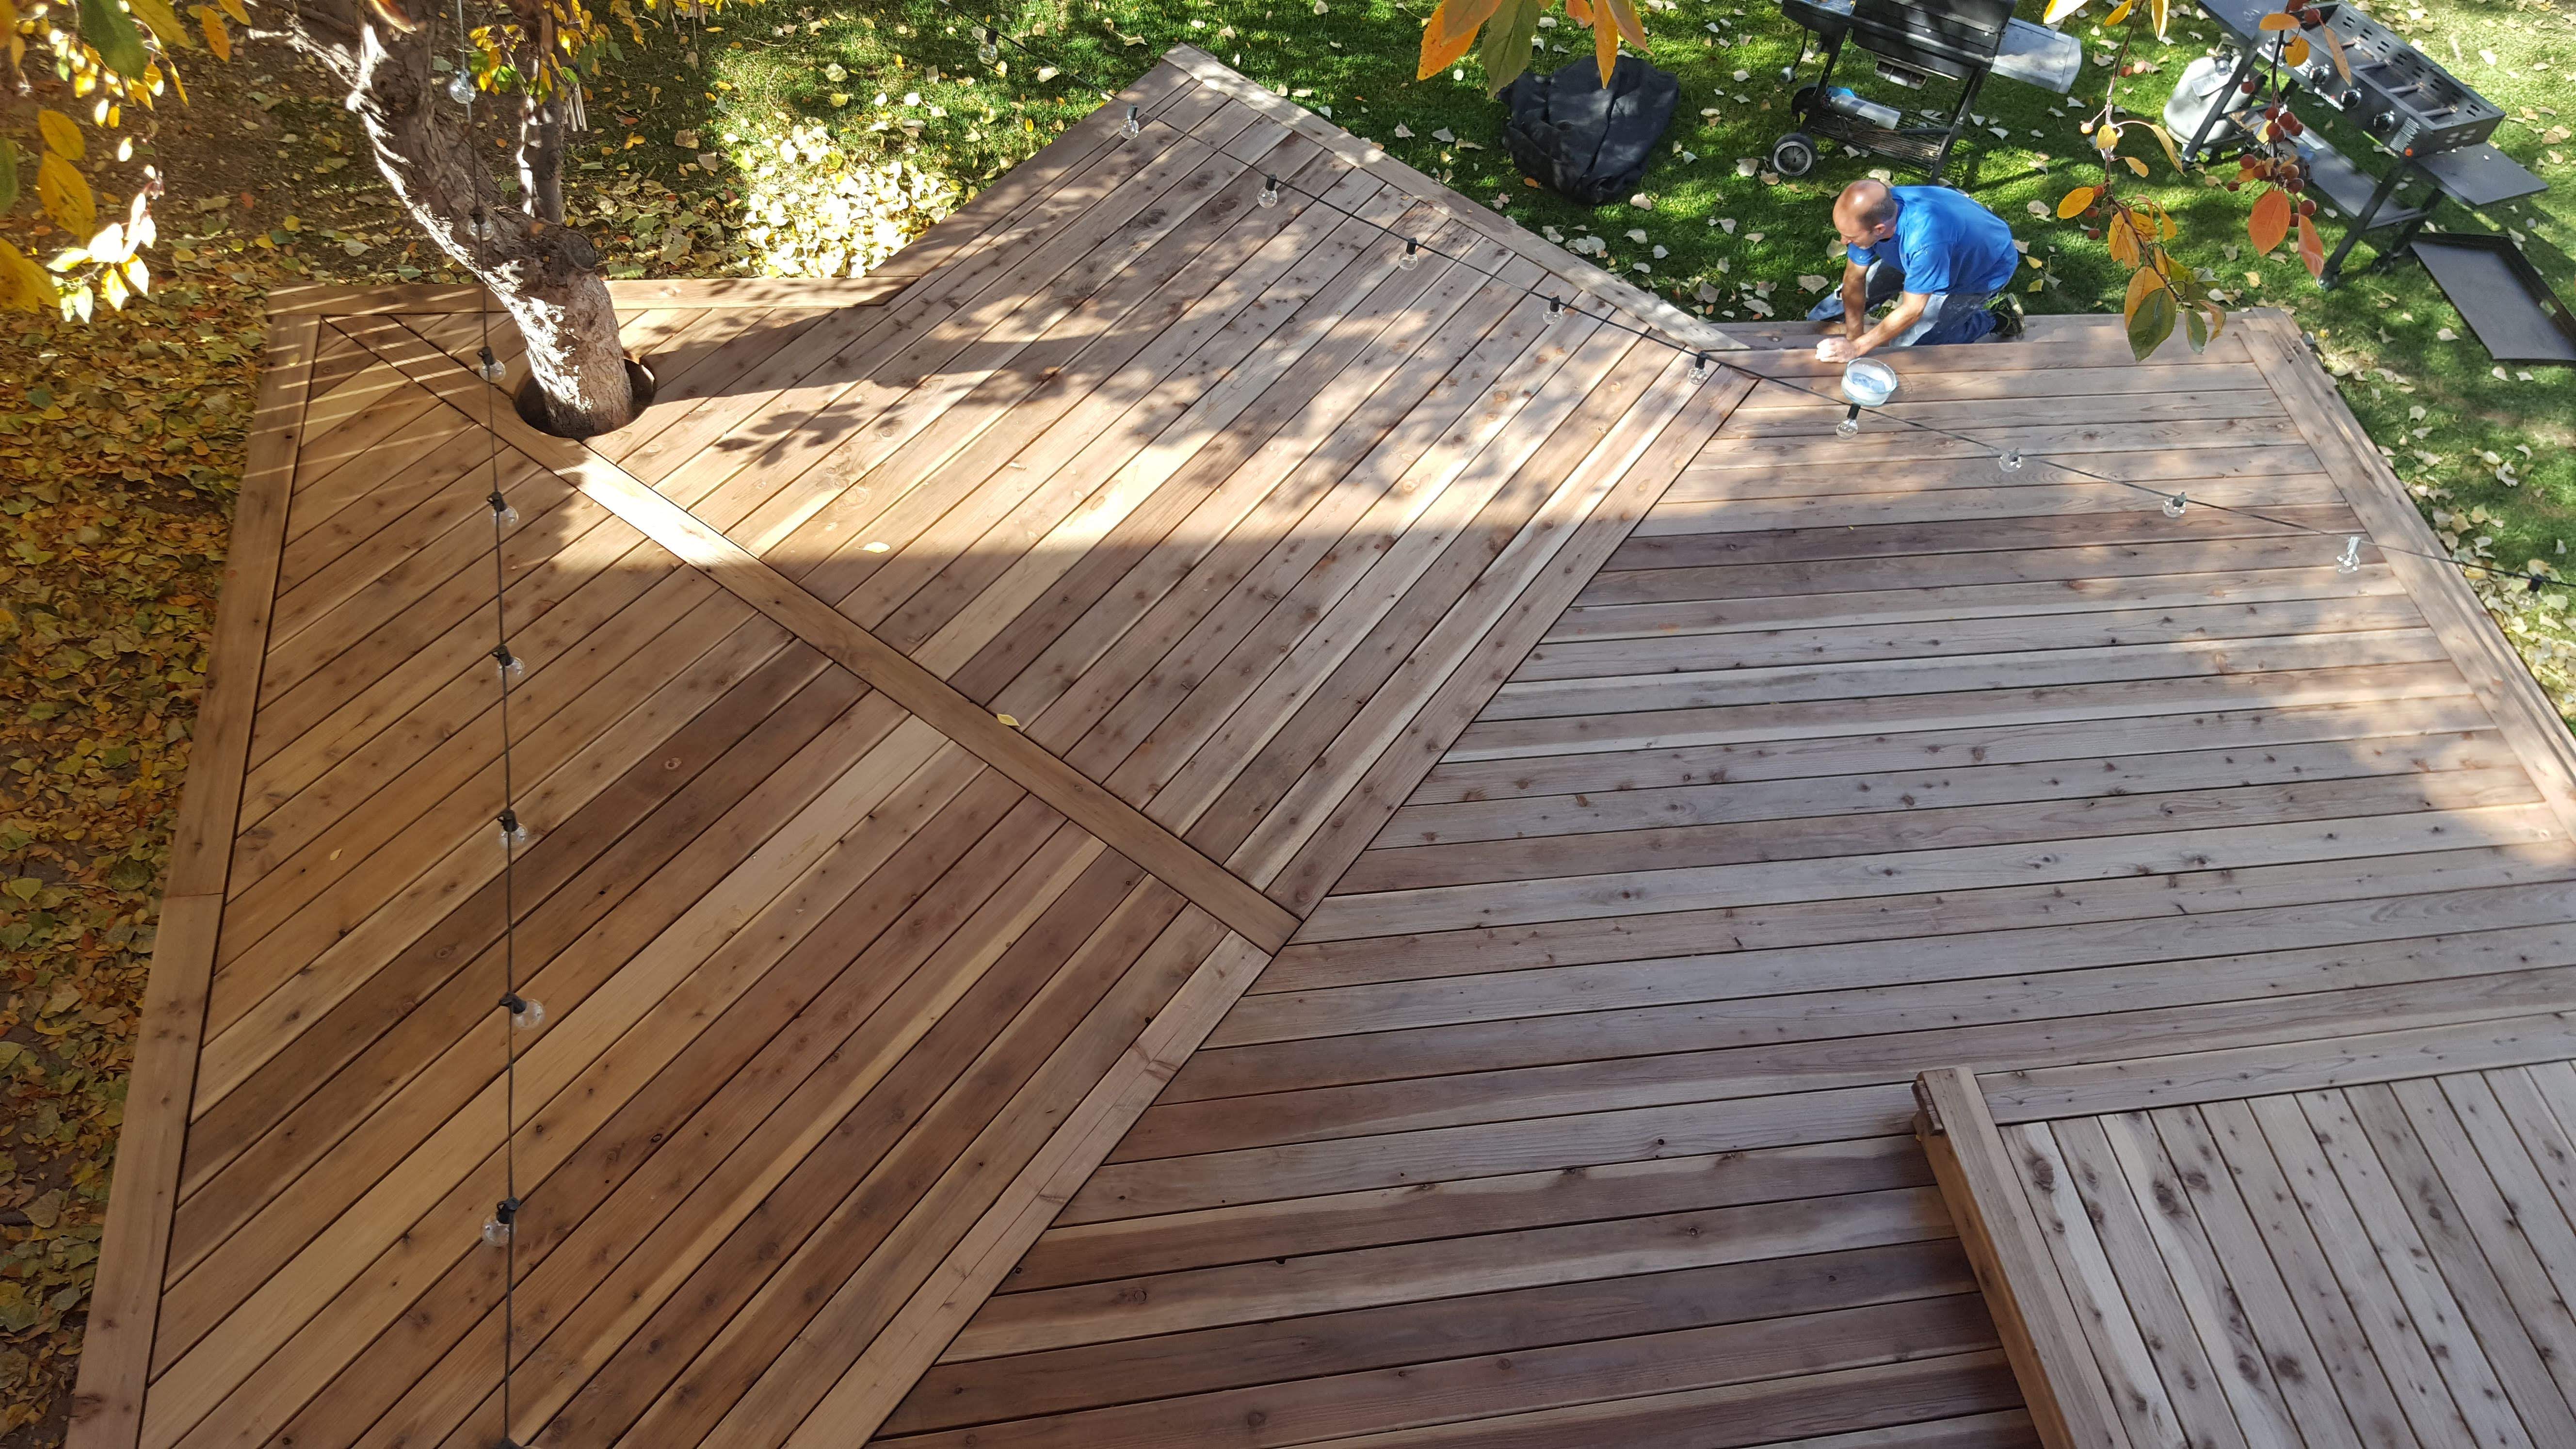
When I built our new deck last summer, I knew that I wanted to build something nice. I wanted to build a craftsman’s deck… Something that looked great and would last a long time. As part of this process, I knew that I wanted the top of the deck to be really clean. One key element of that would be a hidden fastening system. No screws in the top of the deck boards!
What method did you use?
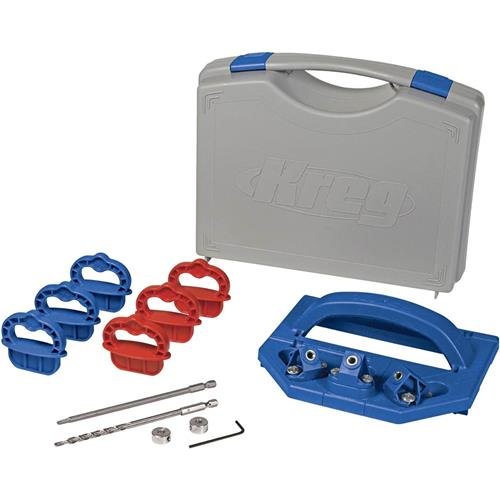
There are quite a few options to accomplish this now. I decided to go with a very simple solution. The Kreg deck jig. This jig will work with most types of decking, so I should be able to use it on future projects too. It can be used with natural wood decking or composite decking and the thickness of the boards does not matter either. You do have to use specialty Kreg deck screws with this jig also.
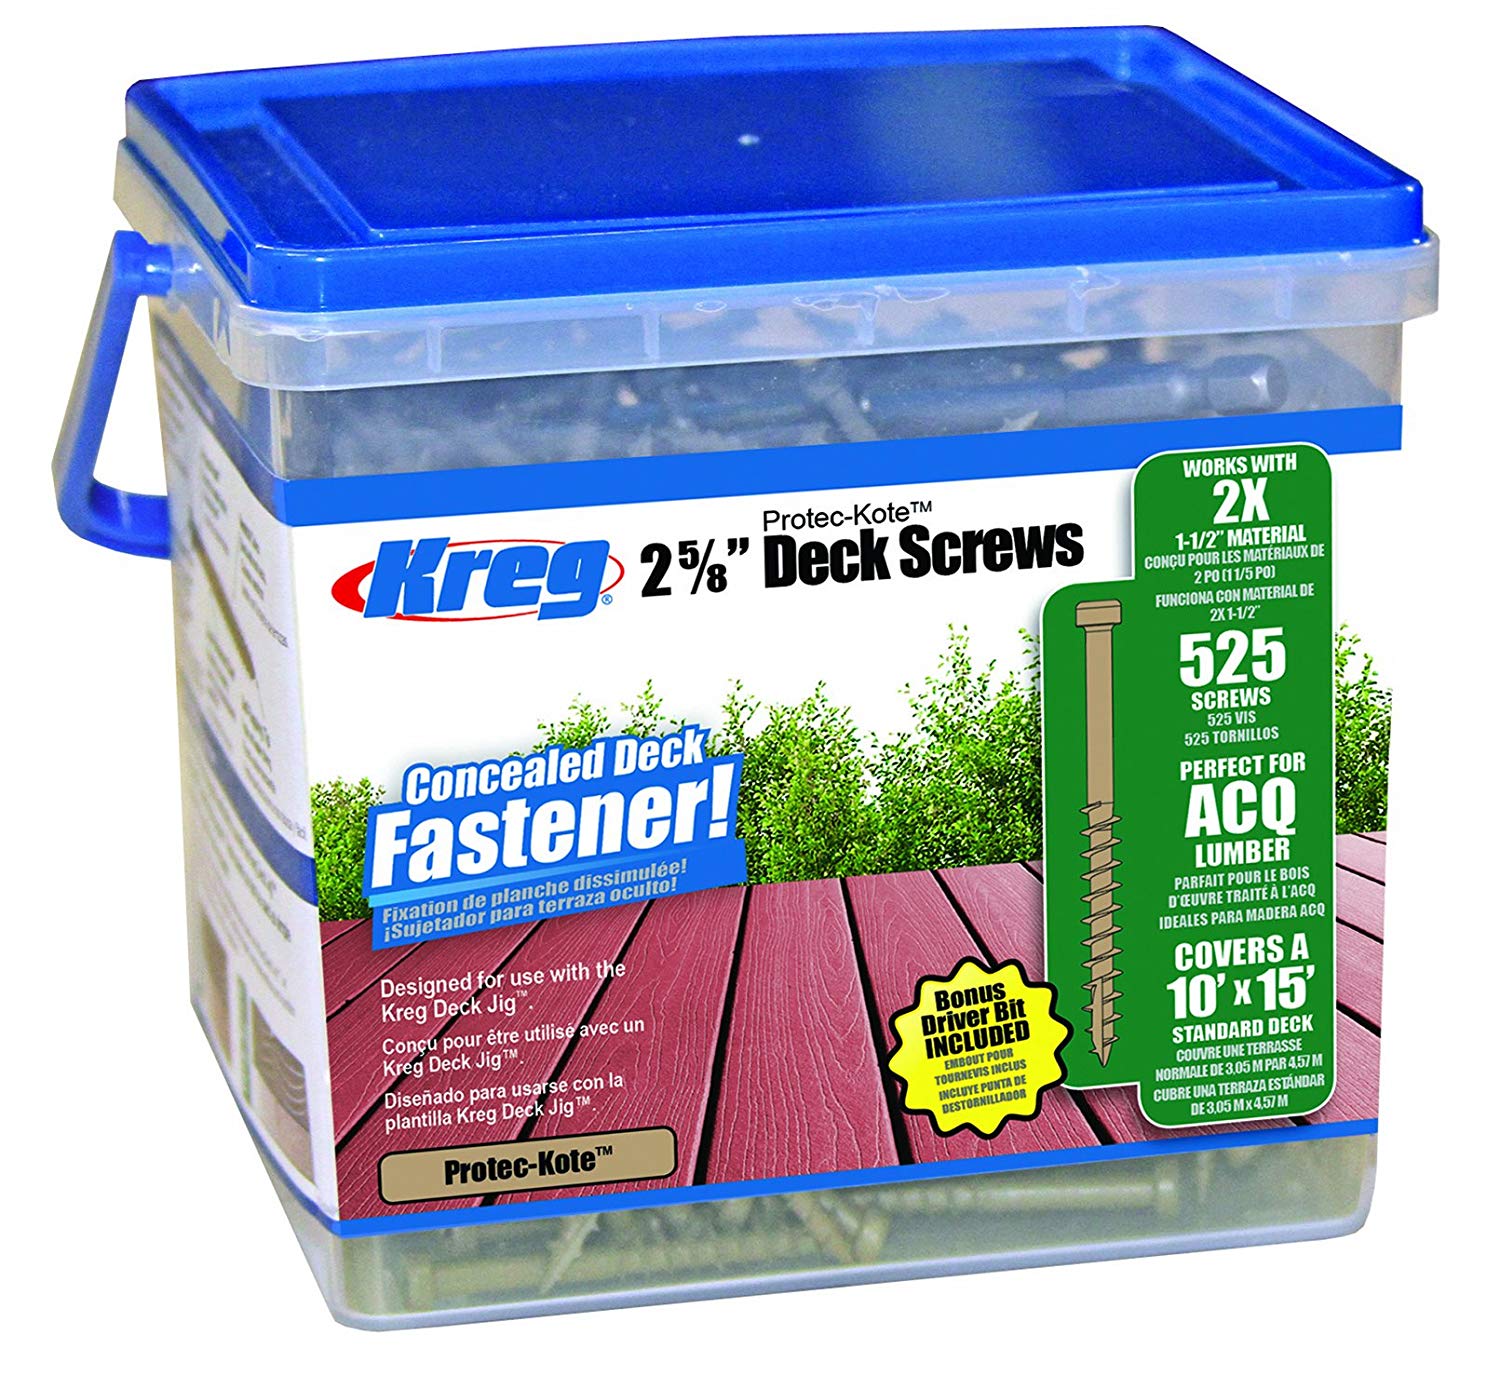
I actually chose to use CAMO Edge Deck Screws (2-3/8″ ProTech) instead of the Kreg deck screws. They also fit in the jig, and I like their design better than the Kreg screws. The only problem with this method is that they use a different star-drive style bit and when you use this bit with the jig it will only drive the screw in about 3/4 of the way. You have to finish driving the screw in after you remove the jig, which takes a few seconds more, but is not a deal breaker for me.

It is also worth noting that there are different types of screws for different materials: stainless steel, and a few different coated type screws. There are also different lengths of screws for different material thicknesses.
How does it work?
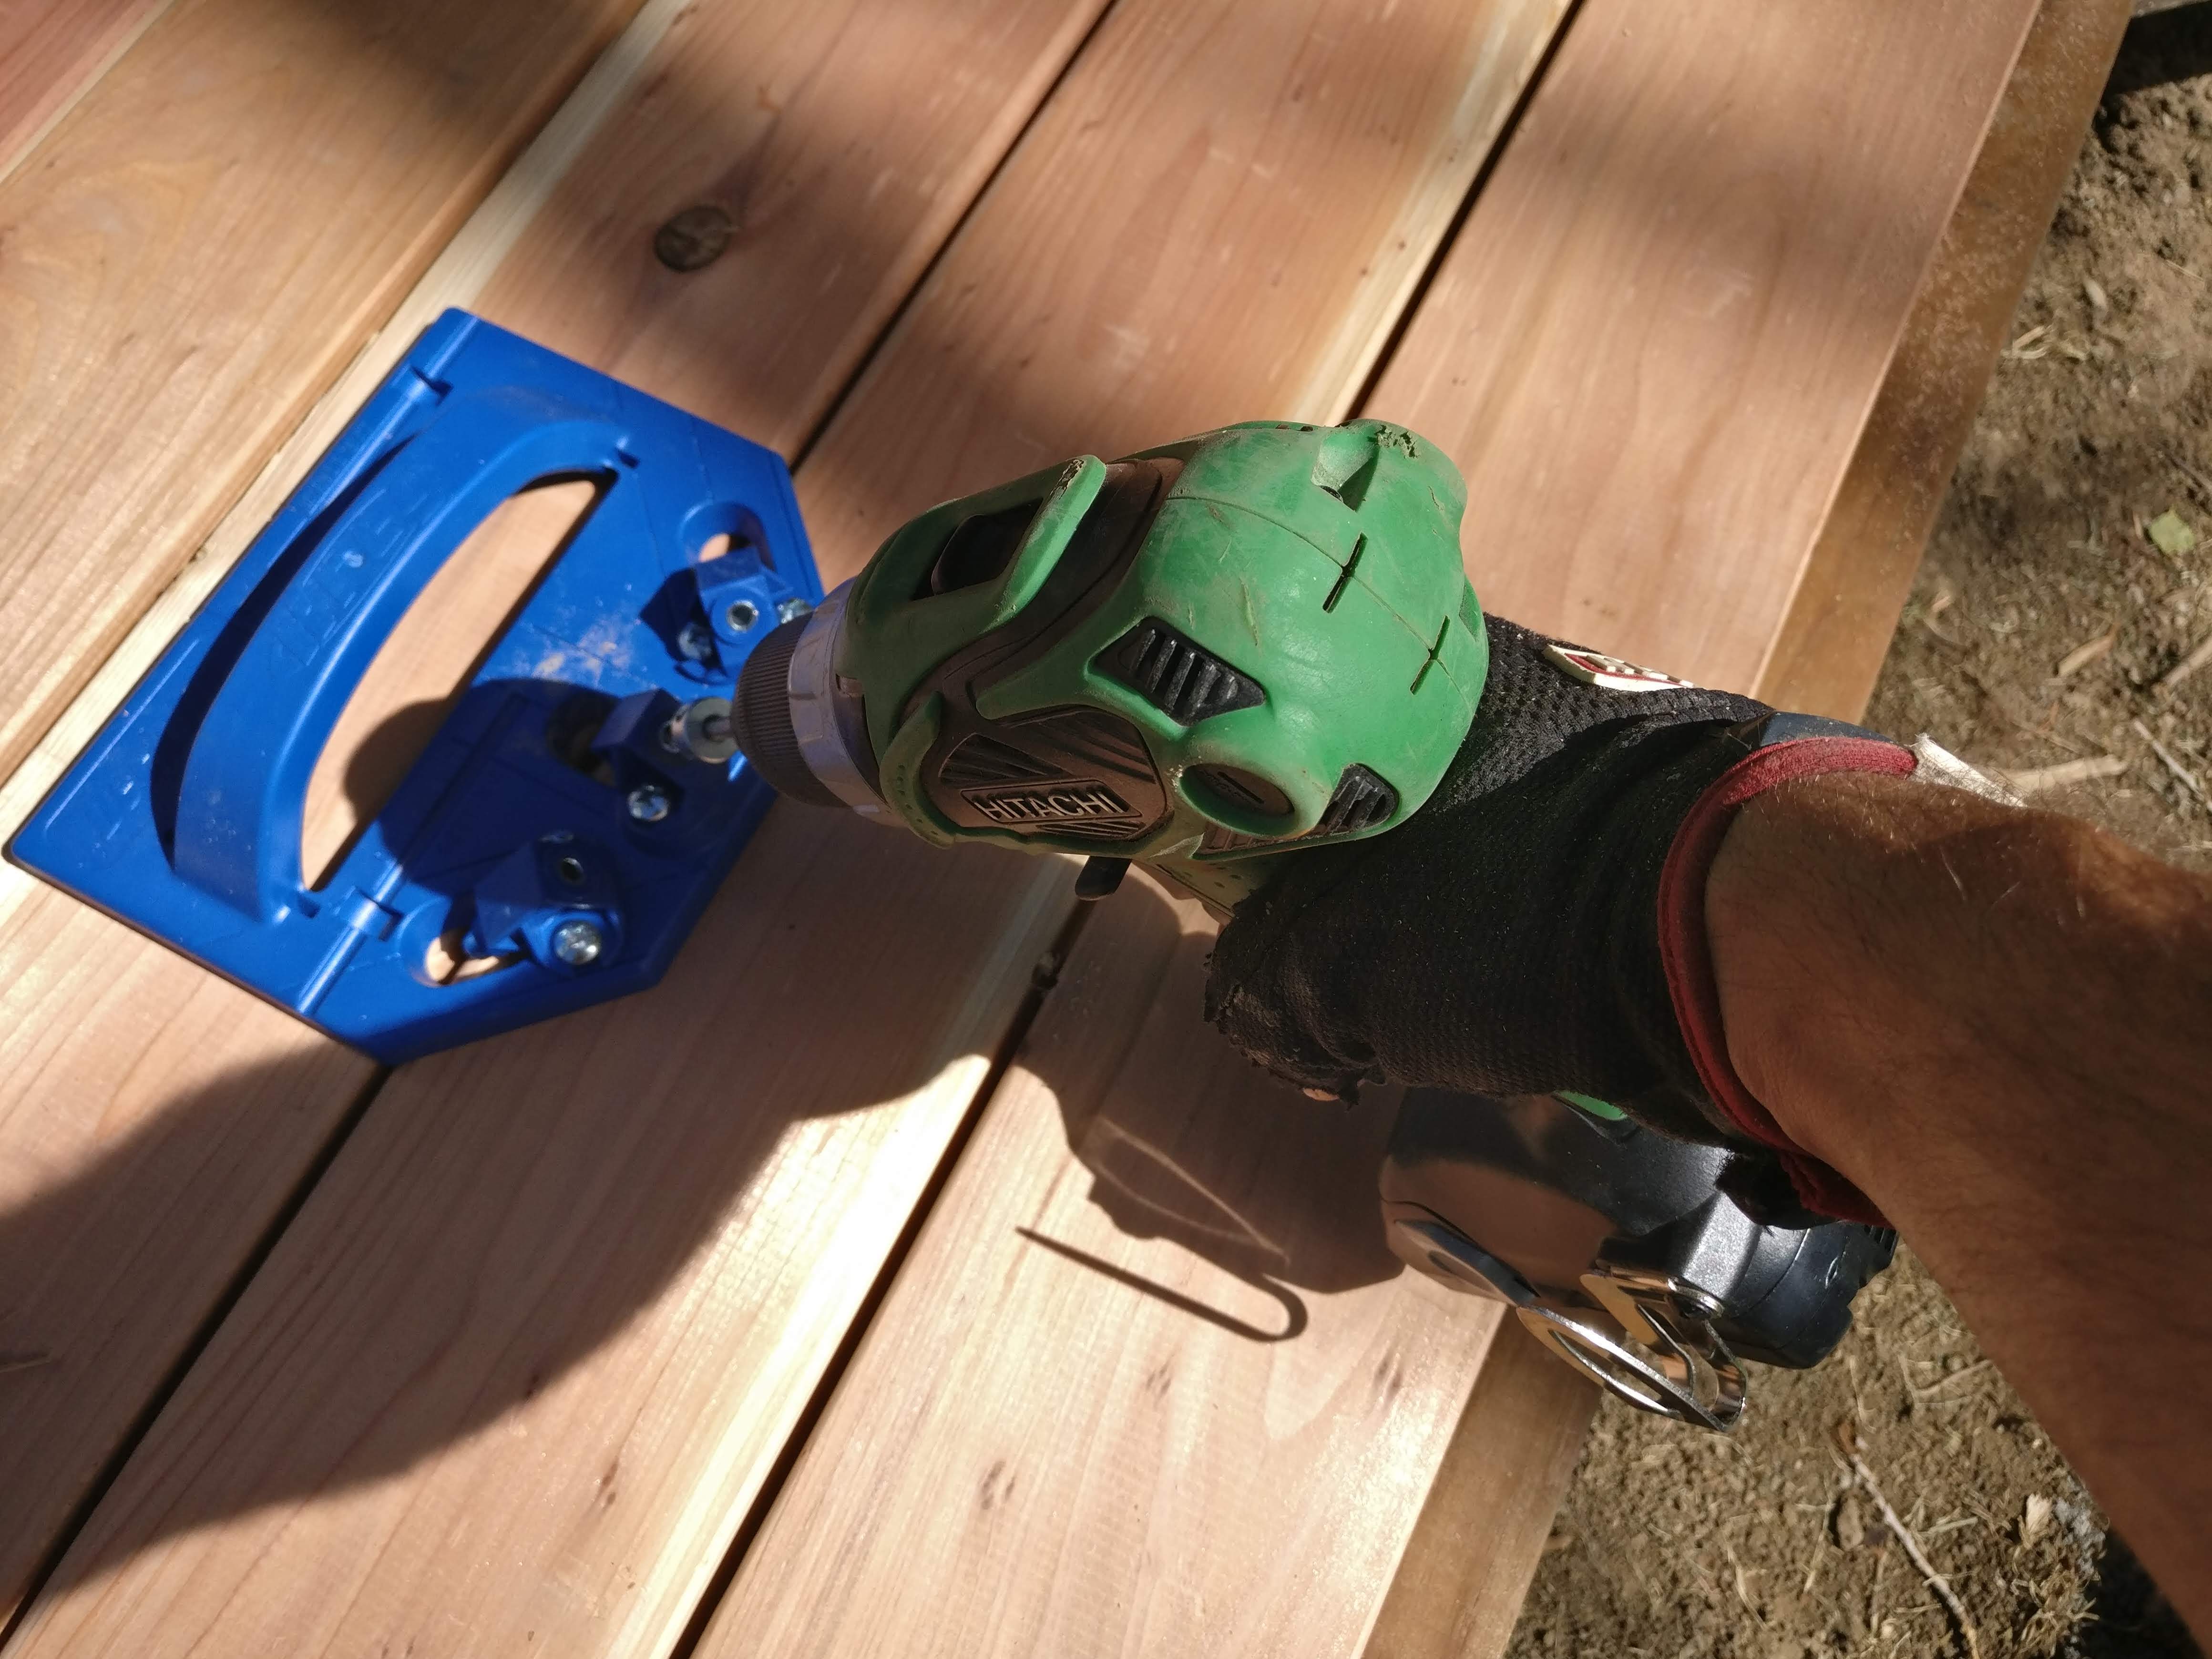
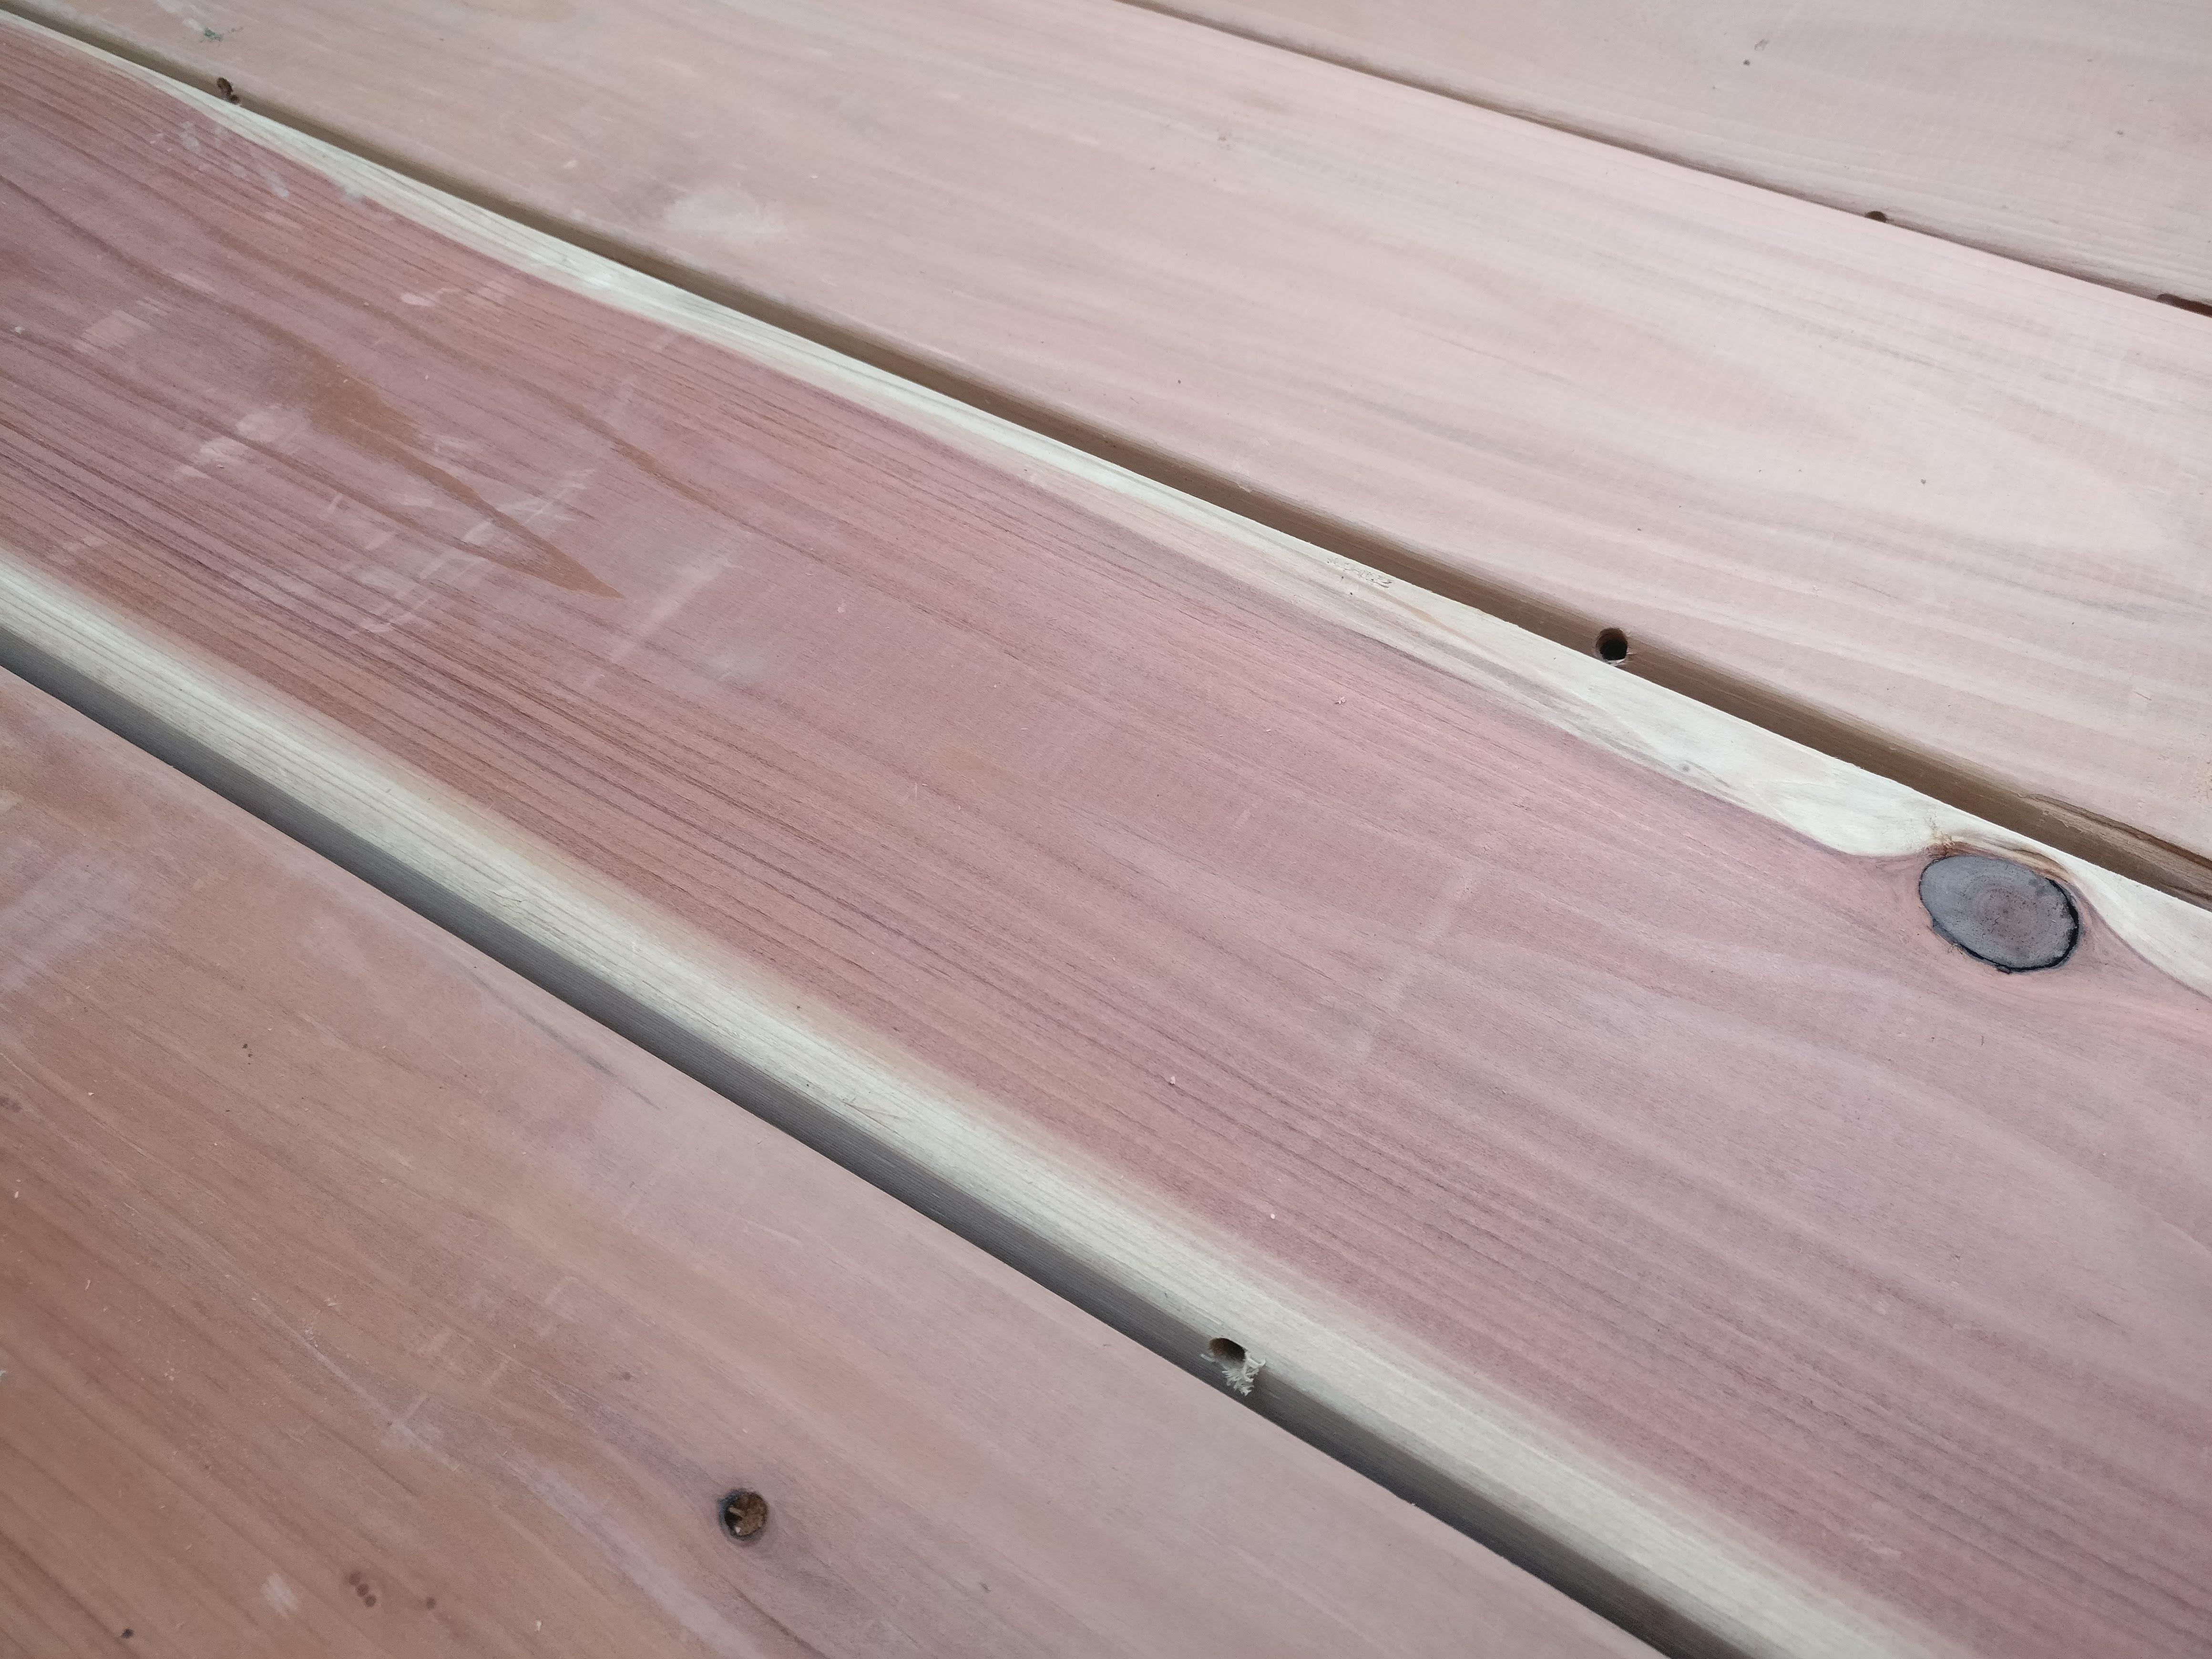
Basically, what this jig does is align your drill so that you can pre-drill a hole and drive in a screw at an angle on the side of the board rather than the top. This makes the fasteners pretty much invisible from the top of the deck.
This jig also has angled holes that allow screwing boards in when you are close to the end of the board or in other tight places. I really like that feature.
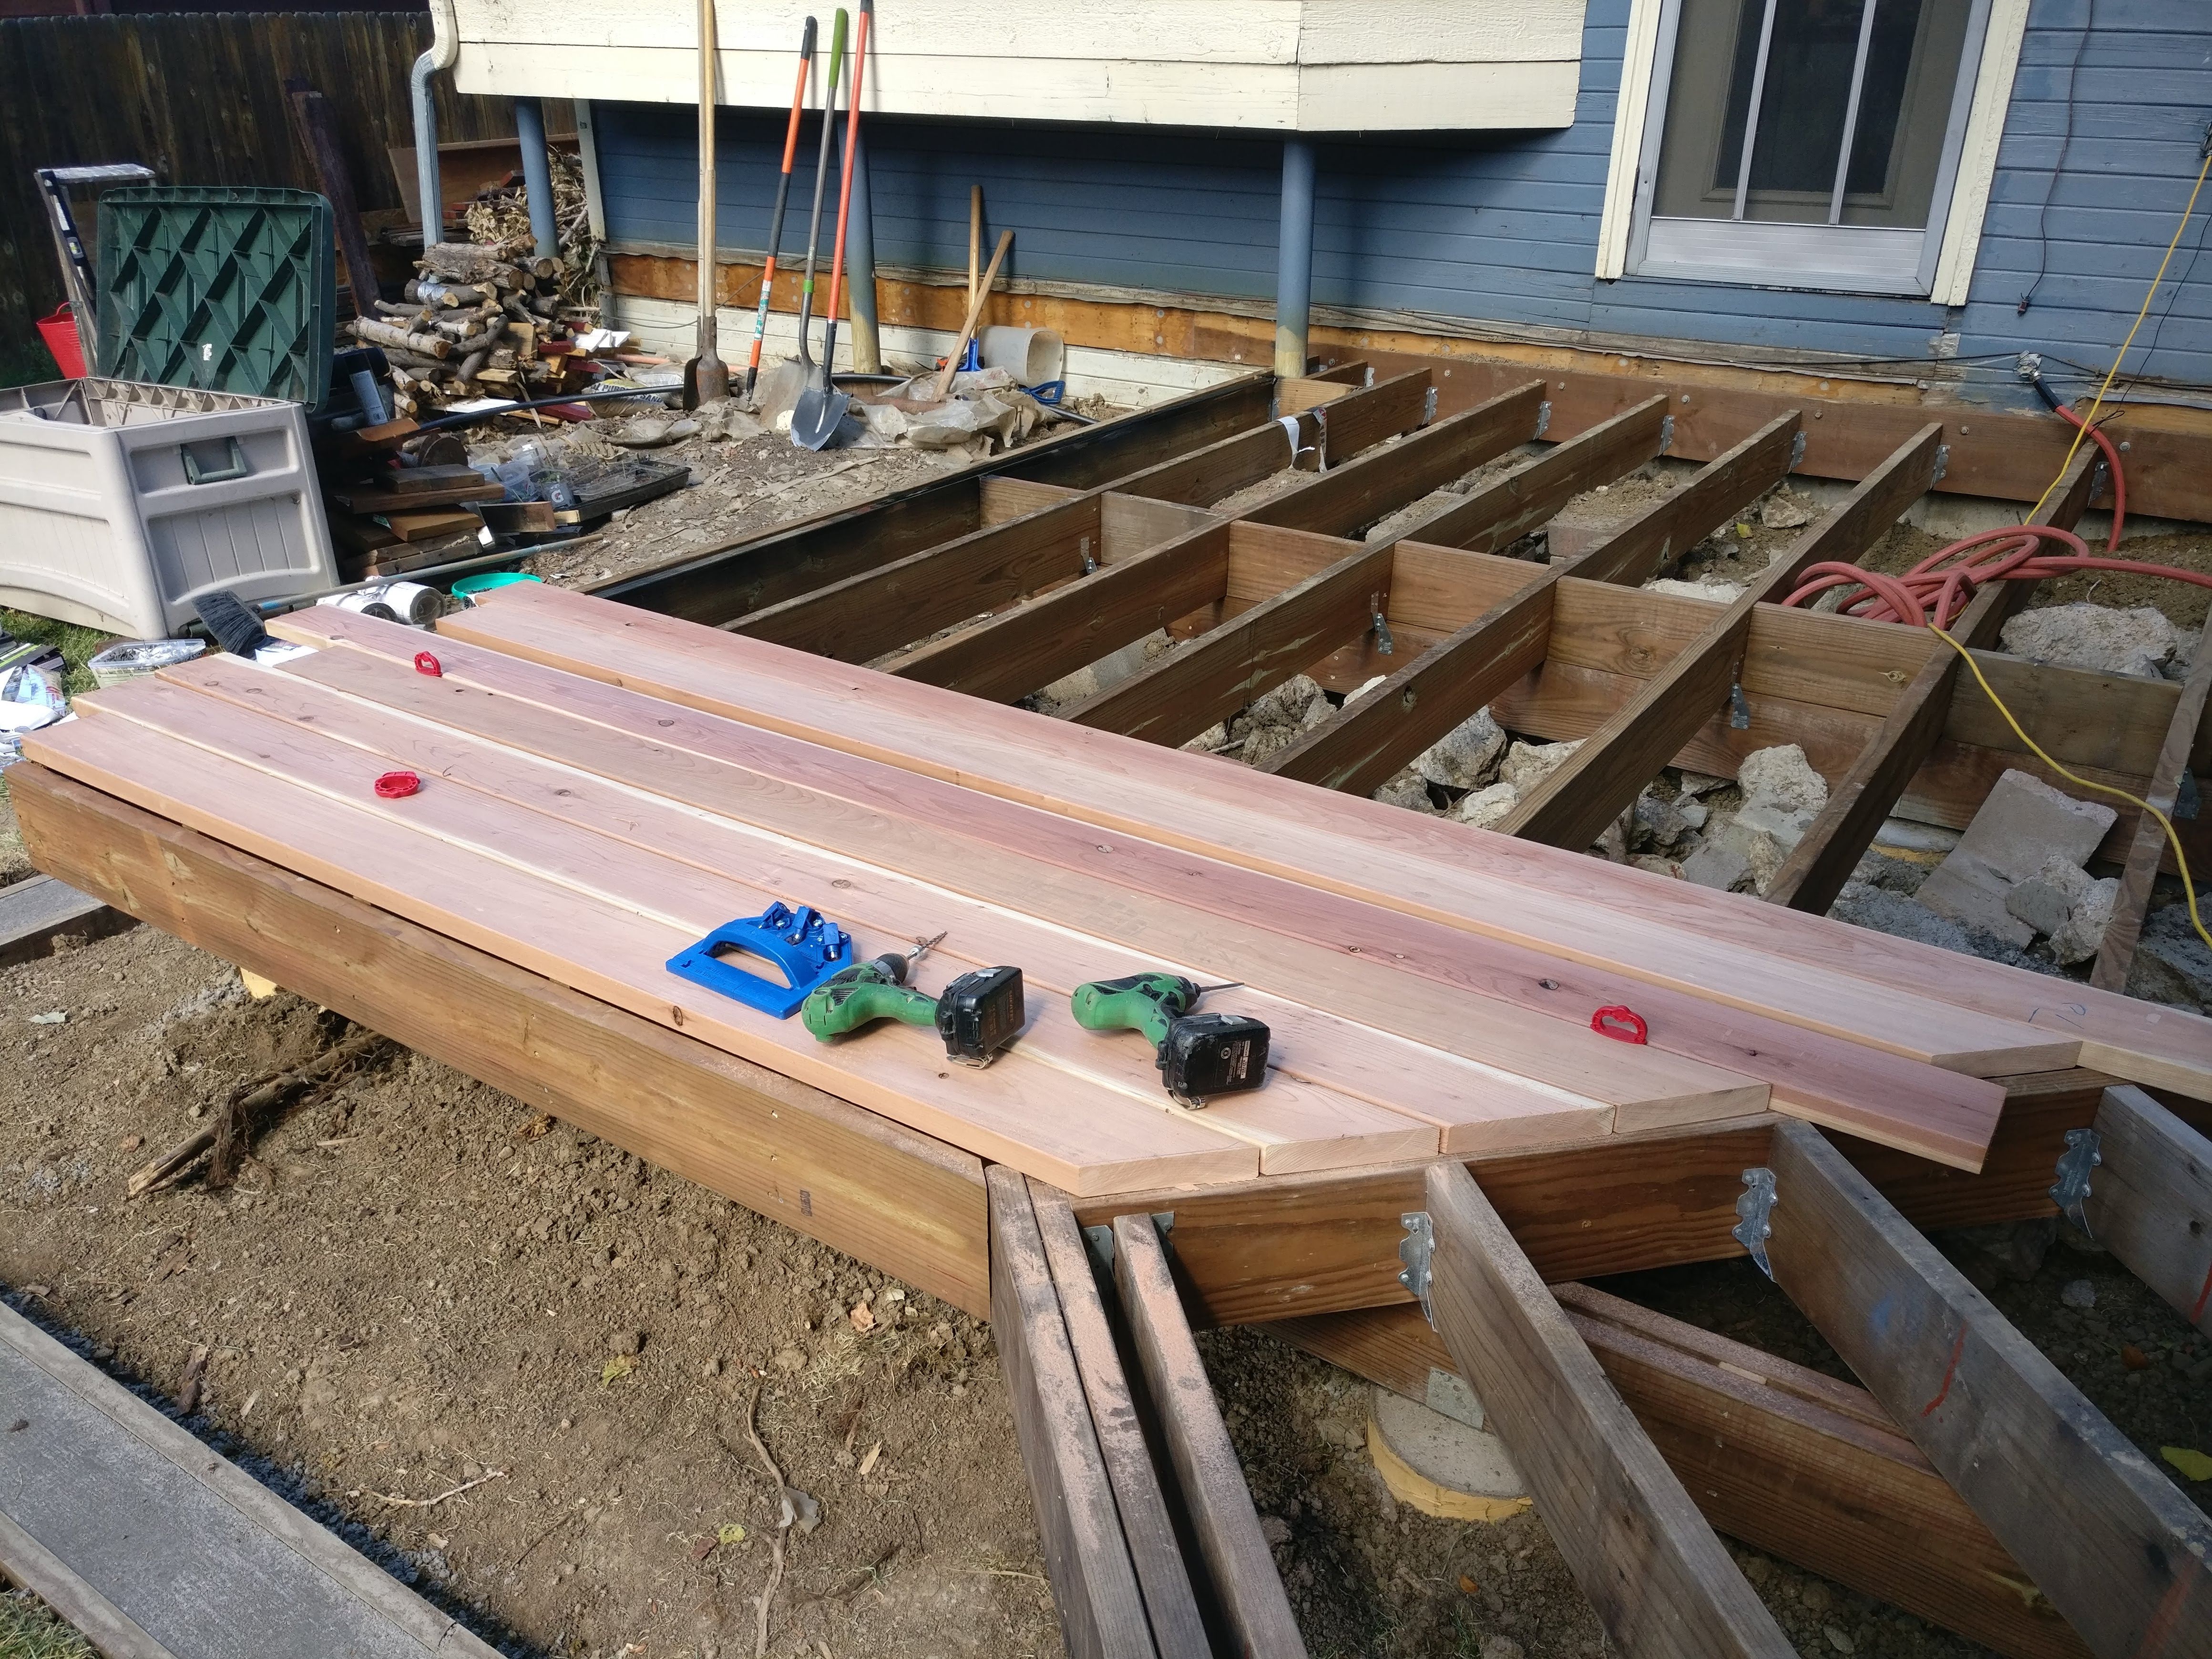
The idea is that you should use two drills: one with the drill bit, and a second with the screw driver bit. After some experimentation though, I found that it was mostly unnecessary to pre-drill for the Camo screws that I used. The redwood decking was soft enough that it did not split at all when I just drove the screw directly into the wood. That saved me quite a bit of time, so I’d recommend giving it a try if you are using a softer wood like cedar, redwood, or even pressure treated wood. However, I’m sure that you’d need to pre-drill if you are using a composite deck board or an exotic hardwood.
Why do this?
Three reasons:
- It looks really nice. Now you can just see the beauty of the wood on the deck without a bunch of rows of screws or nails in the middle of it.
- It prevents splinters and such that are caused by drilling into the surface of the material. This makes the deck super smooth to walk on… even with bare feet.
- The deck should last longer. There are no holes on top of the deck for water to seep into and rot the boards.
Does it take longer?
Yes, it does. But not a lot longer, and I think that it is time well spent for the added benefits that were previously mentioned.
Does it cost more?
A little bit. The jig cost me about $80 and the specialty screws are a little bit more expensive than your average deck screws. I’d say this is pretty minimal though when you are spending thousands of dollars on a deck build.
Are there other options?
Of course, there are a number of other options. There are some different clip type options that fasten the boards from grooves on the side of the board or from underneath the deck.
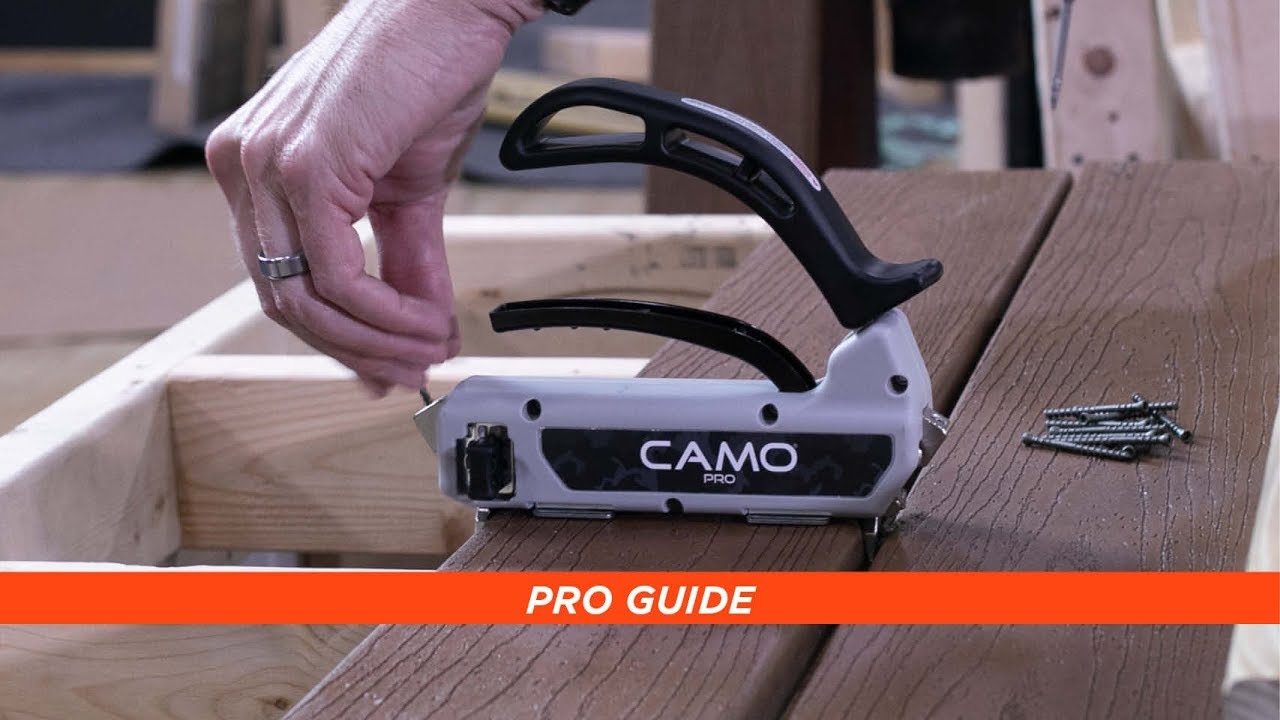
There is also another system that is similar to the Kreg jig by a company called Camo. That jig looks good too and has the advantage of allowing you to drive in the screws on both sides of the deck board at the same time. However, that design has it’s limitations at the end of boards or in tight spaces and requires a certain width board.
Would you do it again?
I’m really happy with the results. Just look at the top photo in this post. I think that picture is worth a thousand words. Our deck is now a year old and it is holding up beautifully. I certainly will be using this deck board attachment method on future projects!
If you’re interested, head over here to see a complete photo montage of the deck build.
UPDATE: I did use the jig again this fall to replace my neighbor’s top deck boards. It worked great again. Their deck is all 2×4 cedar boards and the jig worked great without pre-drilling these either. See some photos here.
Till next time…