
Making your own concrete flower pots is a fun family project that just about anyone can do. The results are pretty cool considering how cheap and easy this is. Have fun and get creative. Even if you mess one up, the materials are cheap, so you can just try again.
Materials and Tools
- Concrete Mix
- Water
- Mixing Bucket
- Mixing Stick
- Forms (buckets, cups, bowls, etc.)
- Colander (pasta strainer)
- Cork or felt (for bottom)
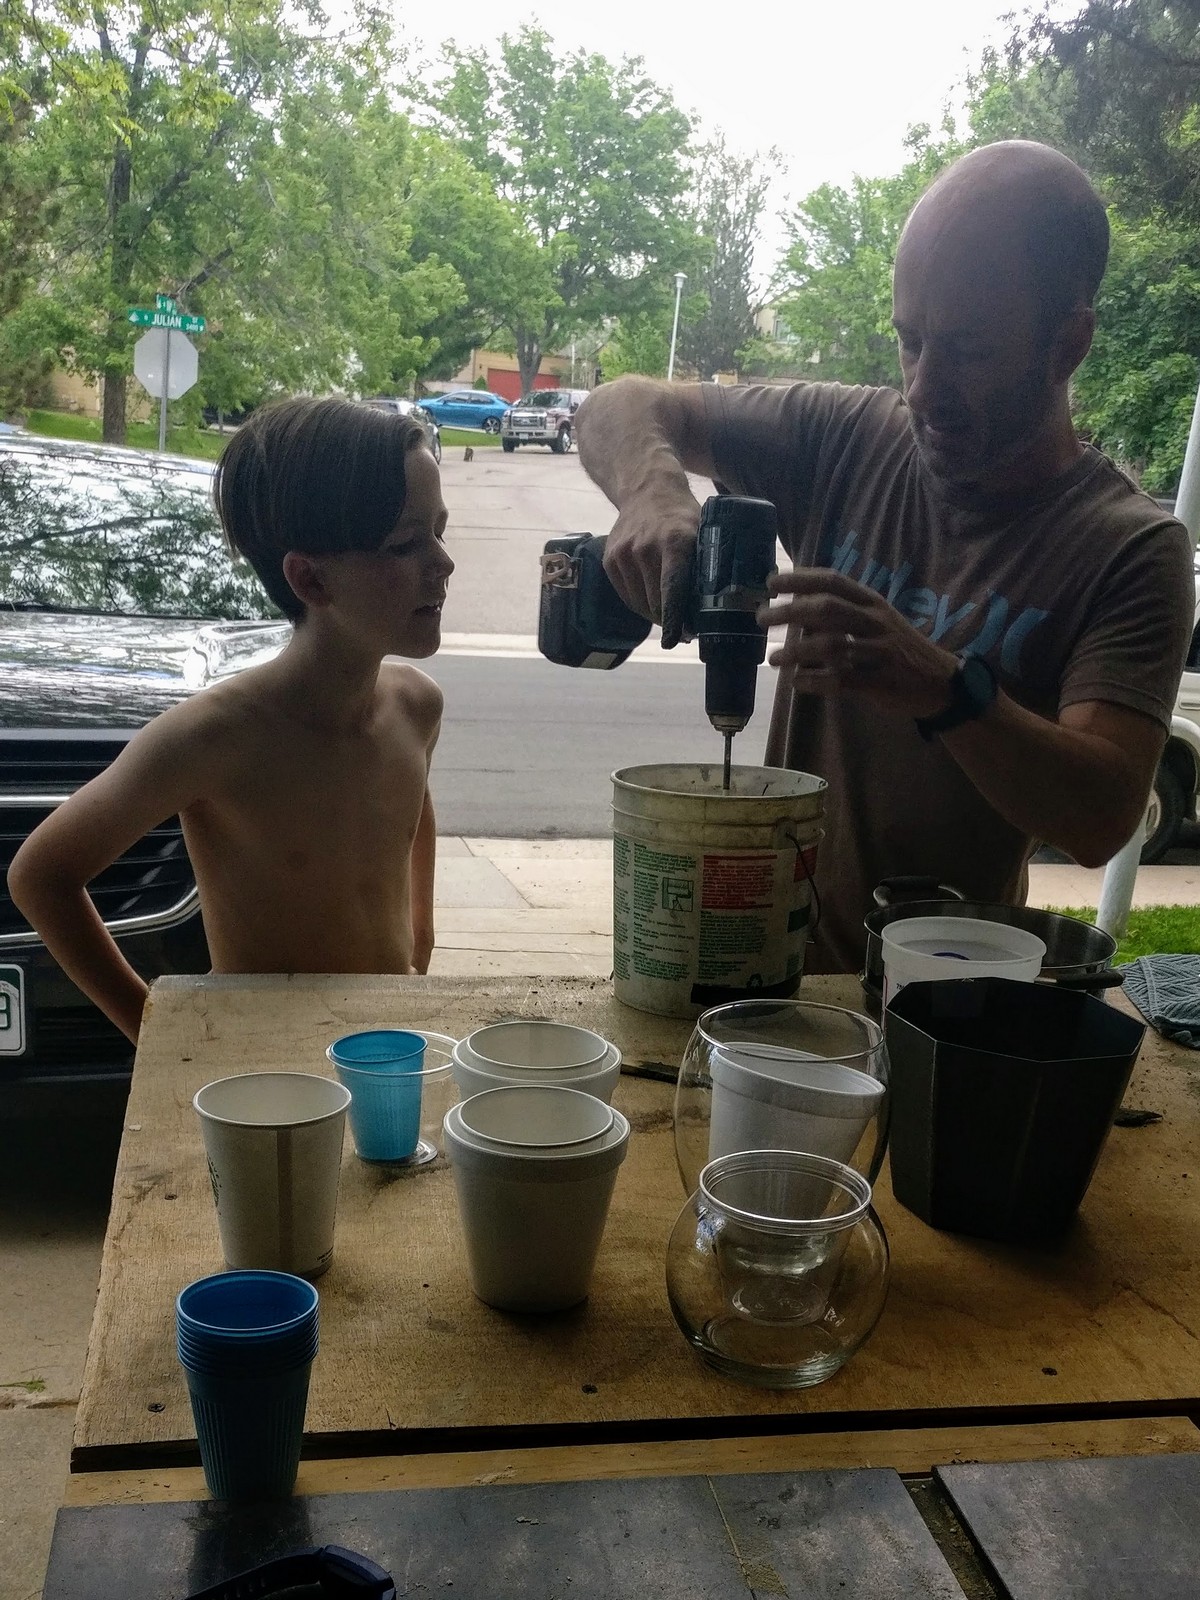
Making the Concrete Forms
You really only need two buckets, bowls… or whatever else you can find laying around that fit inside one another. Remember that the concrete will fill the space in between the two forms, so you want enough space so that you can get the concrete in, but not too much space or your planter will get quite heavy. I’d say that about 3/4″ is a good thickness to aim for with these smaller size pots.
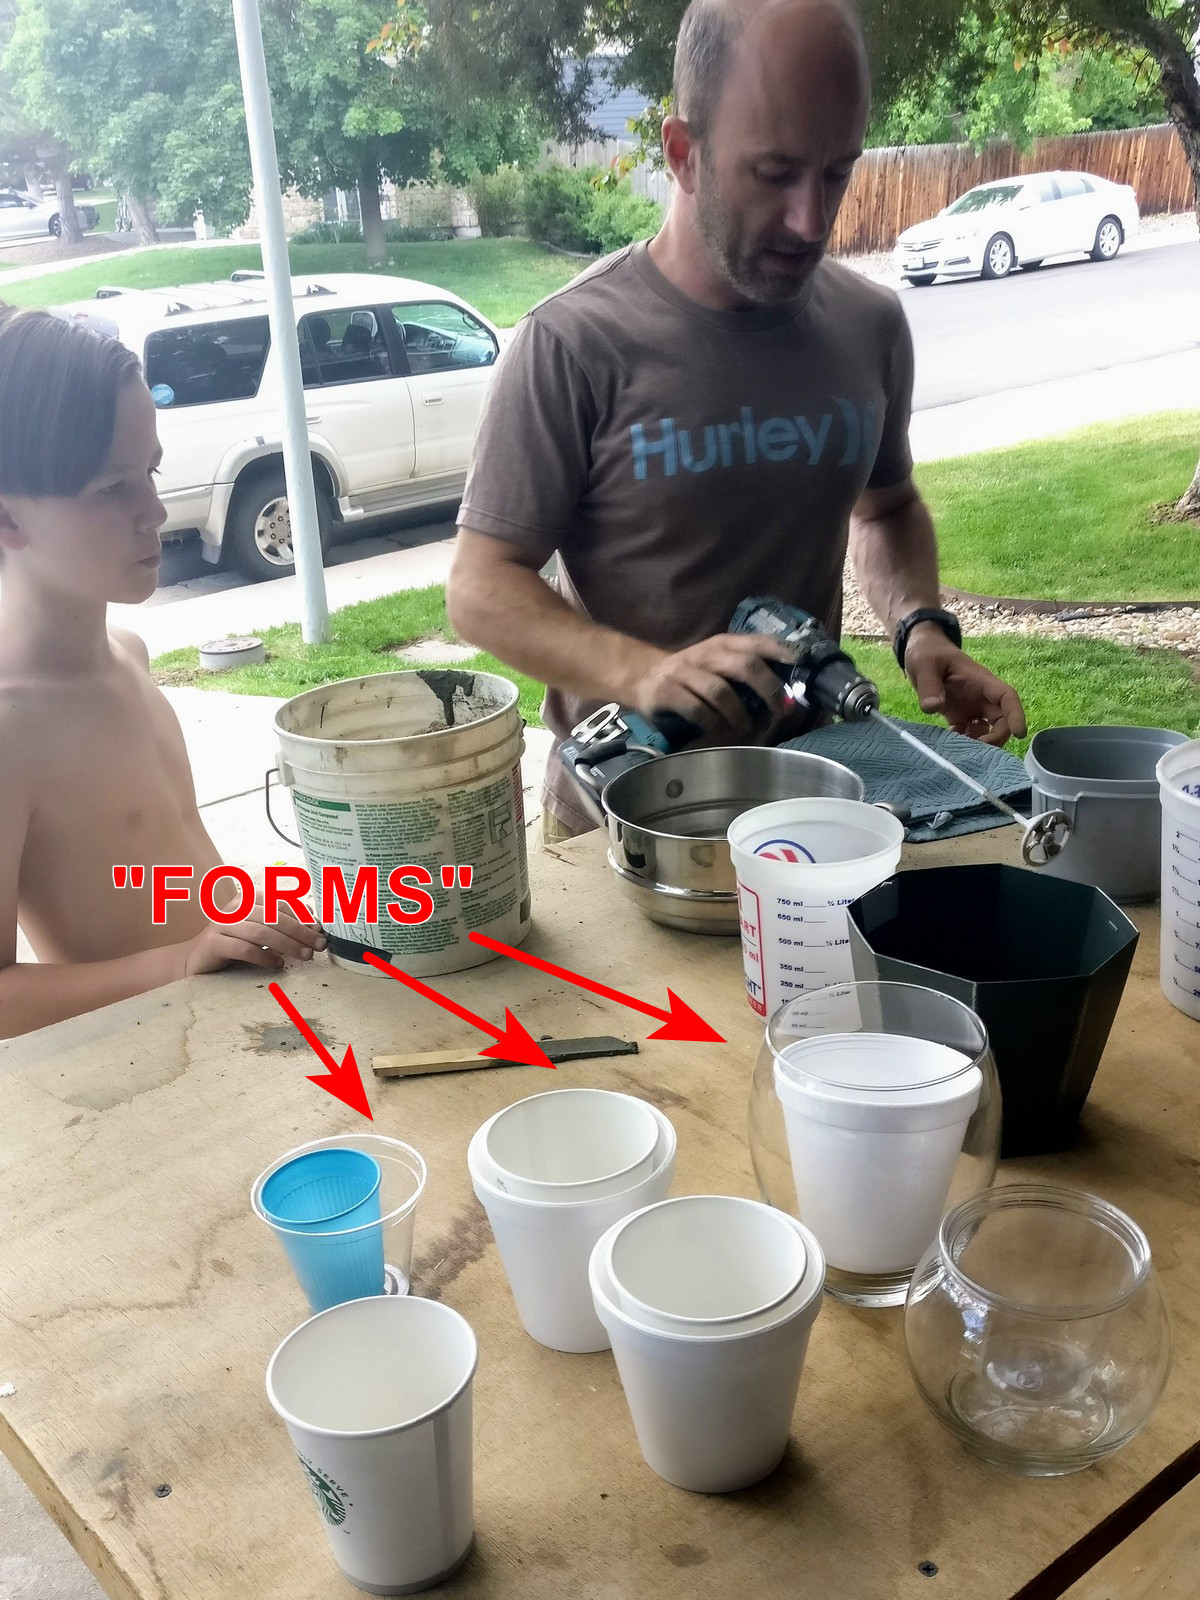
You can use just about anything that will hold water for the forms. If you want to be able to remove the inside form, use something that is easy to cut or bend, so you can yank it out after the concrete cures. I’d also recommend applying a thin coating of vegetable oil or spraying some non-stick spray on the forms to prevent sticking.
For our little family project, we used some different cups and buckets that we found lying around. We also used a couple of dollar store glass vases to make a couple of them and then used some light taps of a hammer to break the glass off afterwards. Be very careful if you decide to try this and definitely wear safety glasses and work over a garbage can, so little pieces of glass don’t get all over the place.
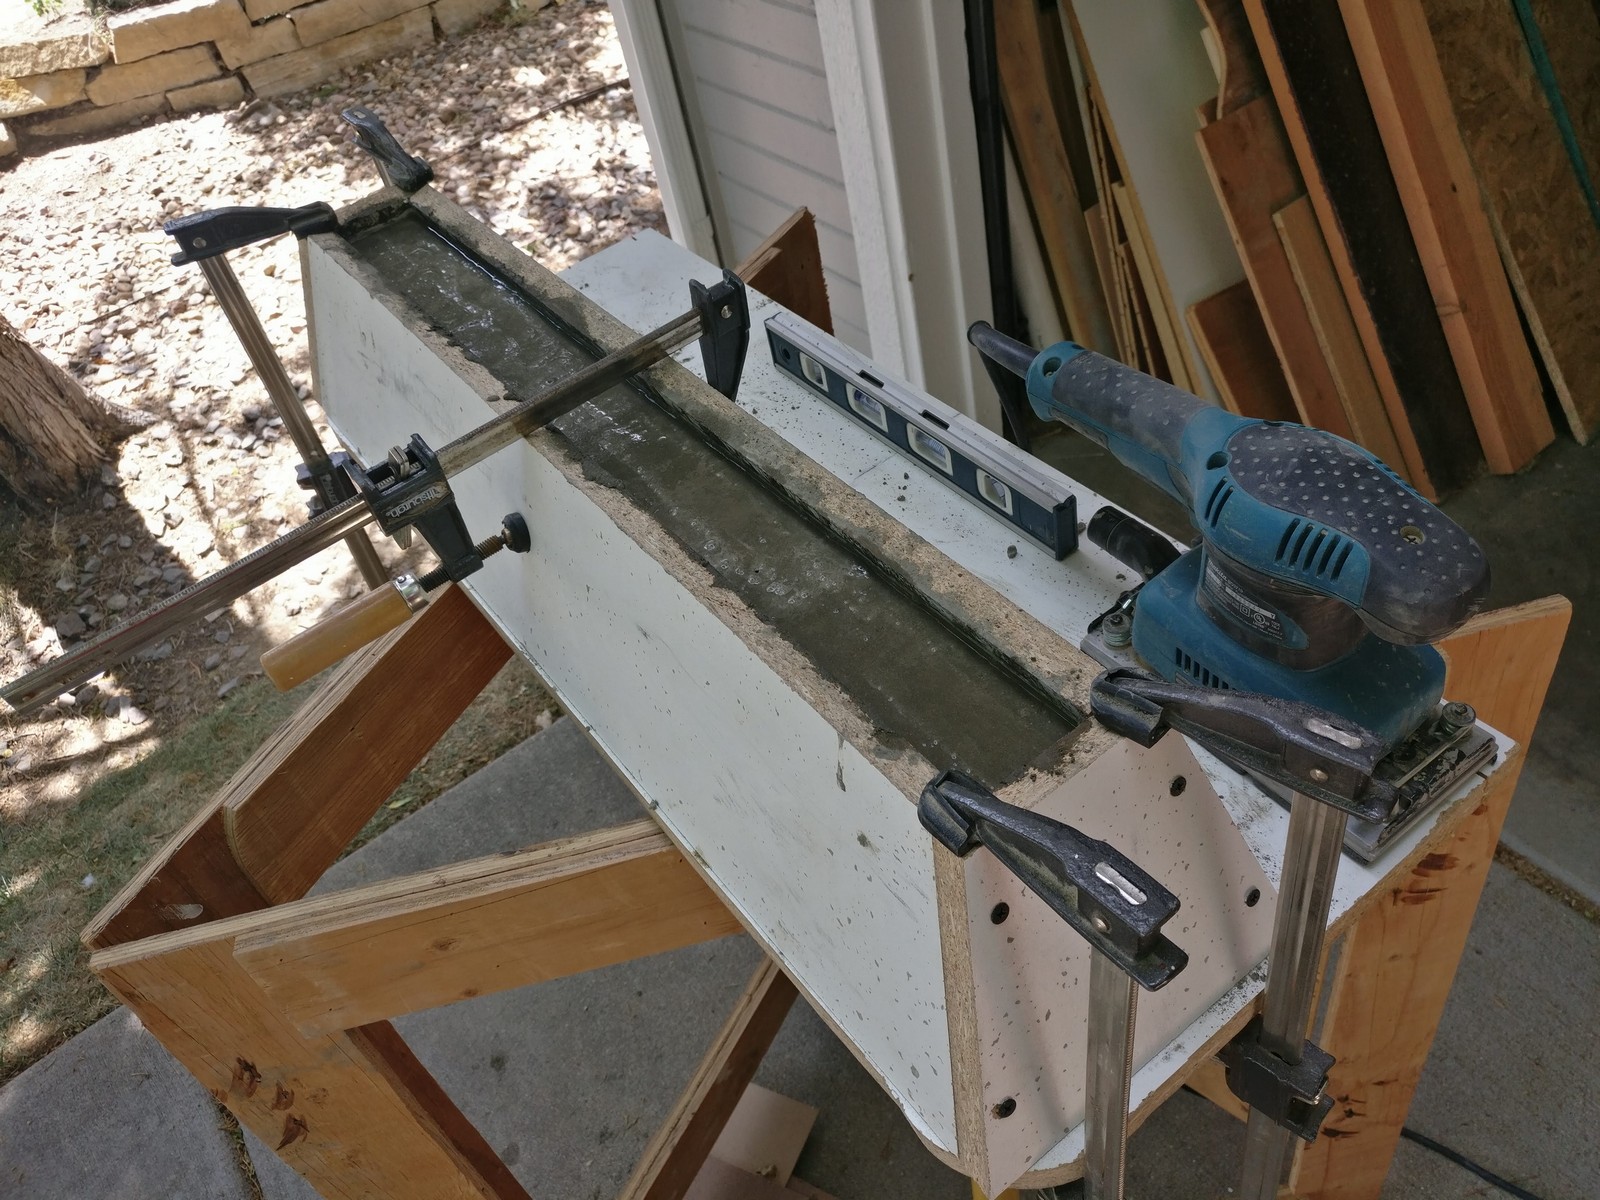
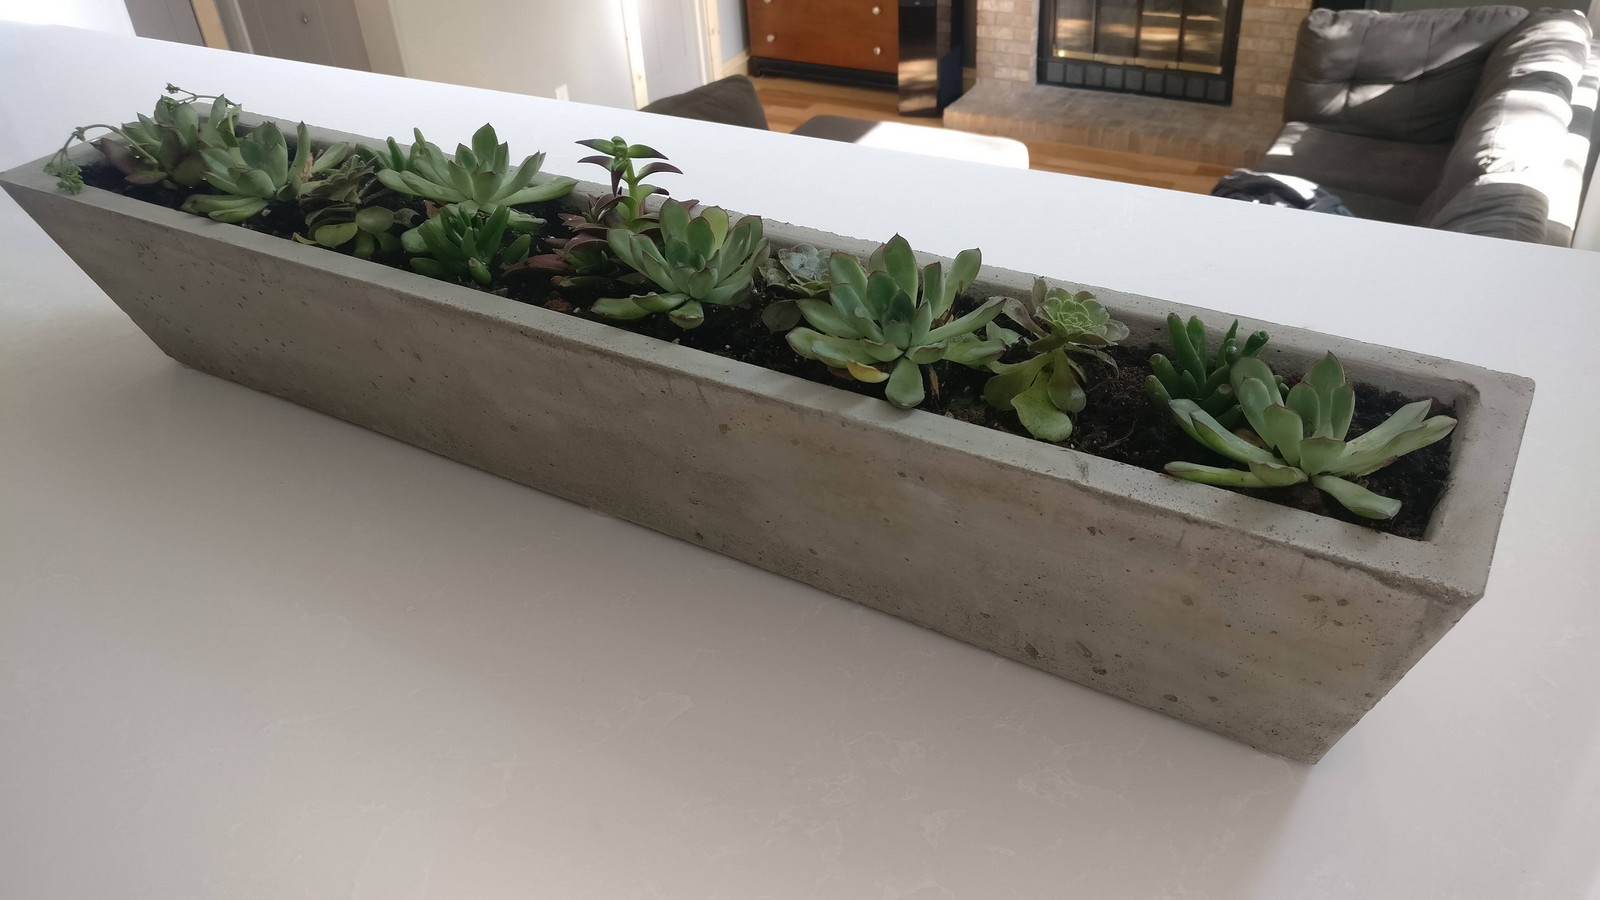
I also did a second flower pot project after this with a more custom form. This one used melamine for the outer form and foam covered with packing tape for the inside form.
Mixing the Concrete
Mixing the concrete is pretty simple. The only thing to keep in mind with this type of project is that you don’t want large aggregate (stones) in the mix. It will leave voids and unevenness in the finish of these thin walls.
This is where the pasta strainer comes in handy. Just pour the concrete through the strainer to sift out any larger rocks before you mix up the concrete. Alternatively, you could buy a mix without this aggregate or even make your own concrete with Portland cement and sand. I had this bag left over from another project though and it is cheap and works fine if you just sift out the stones.
Now, you are ready to add the water. For small batches, we used a small bucket and a paint stirring stick to mix things up. Slowly add water and mix until you get a slightly soupy mixture. Generally, you need a little more water than if you were making a concrete structure. The concrete needs to be able to flow into these thin molds.
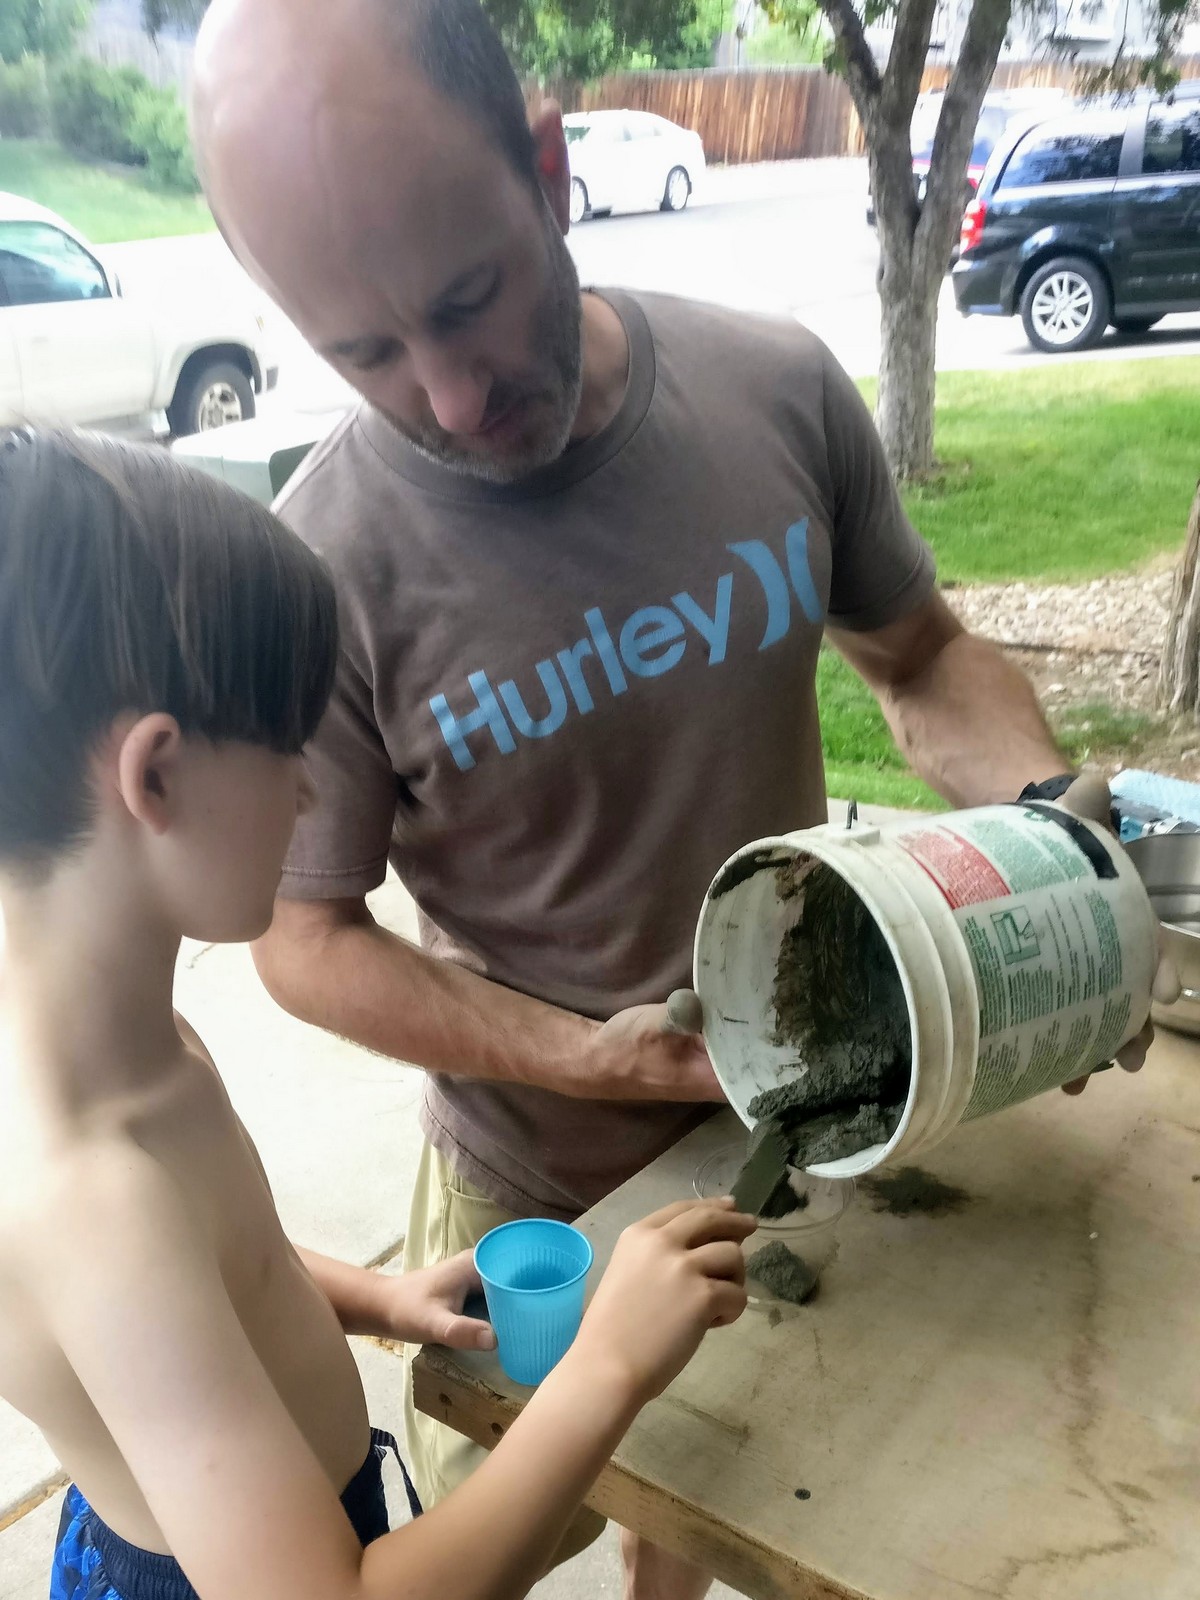
Pouring the Concrete
Pouring may not be the correct term here, because usually you need to scoop it into these small molds. Use a stick or something similar to wiggle the concrete down into the form.
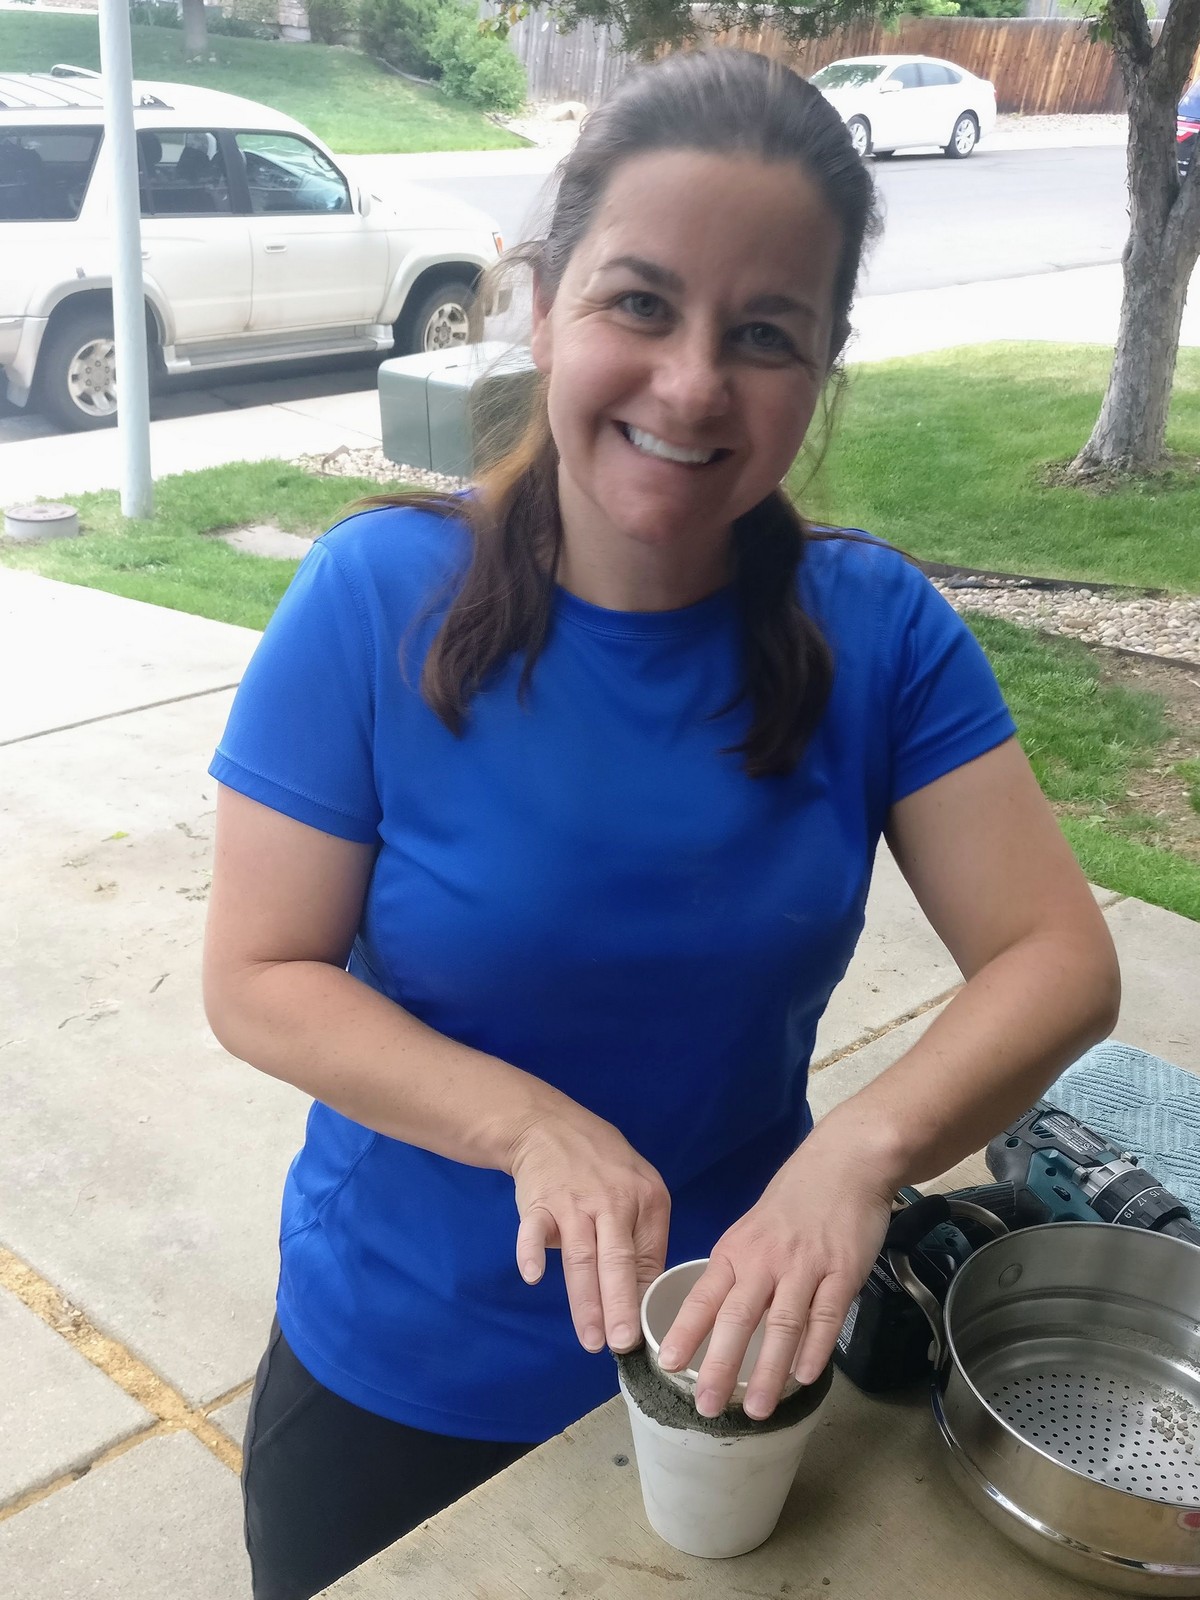
Tap on the sides and bottom as you fill the molds to get the air out and help the concrete to get into all the small areas. The finished pot will have less voids if you do this a lot. Sometimes I like to use a power sander (without sand paper) held against the outside of the mold to vibrate the air out.
When you get the form filled up, smooth off the top to level it with the top of the form. On some forms, I’ve found it necessary to put weight on the center part to keep it from getting pushed up while you are vibrating the form and while it is curing.
De-molding and Finishing Up
Wait at least 48 hours before trying to remove the molds. Concrete is very soft and fragile while it is curing, so your chances for success will be better if you wait a little longer.
Peel/break off the outer form. Try not to pry against the concrete at all while you are removing the mold.
You can either leave the inner mold or remove it depending on what material you used and if it bothers you or not. Most of it will not be visible once you add your plants and potting soil.
Give everything a light sanding with 150 or 220 grit sandpaper now to get rid of any sharp corners and smooth things out a bit.
Most likely there will now be some small holes around the outside from voids in the concrete. If it looks OK to you like this, then you can leave it like this. I prefer to fill them in with a little more concrete slurry mix.
Just use the same concrete mix (with water) and your hands to fill in the voids. After it starts to dry a little you can rub over everything with your dry hands to get rid of any extra concrete that might have stuck to things while you were rubbing it on.
Let it dry for another day and you are ready to use your pot! Be gentle since it takes about a month for it to fully cure.
I like to put some little sticky felt/cork pieces on the bottom, to protect against scratching too. These are the same thing that you would use on furniture legs to prevent floor scratches.
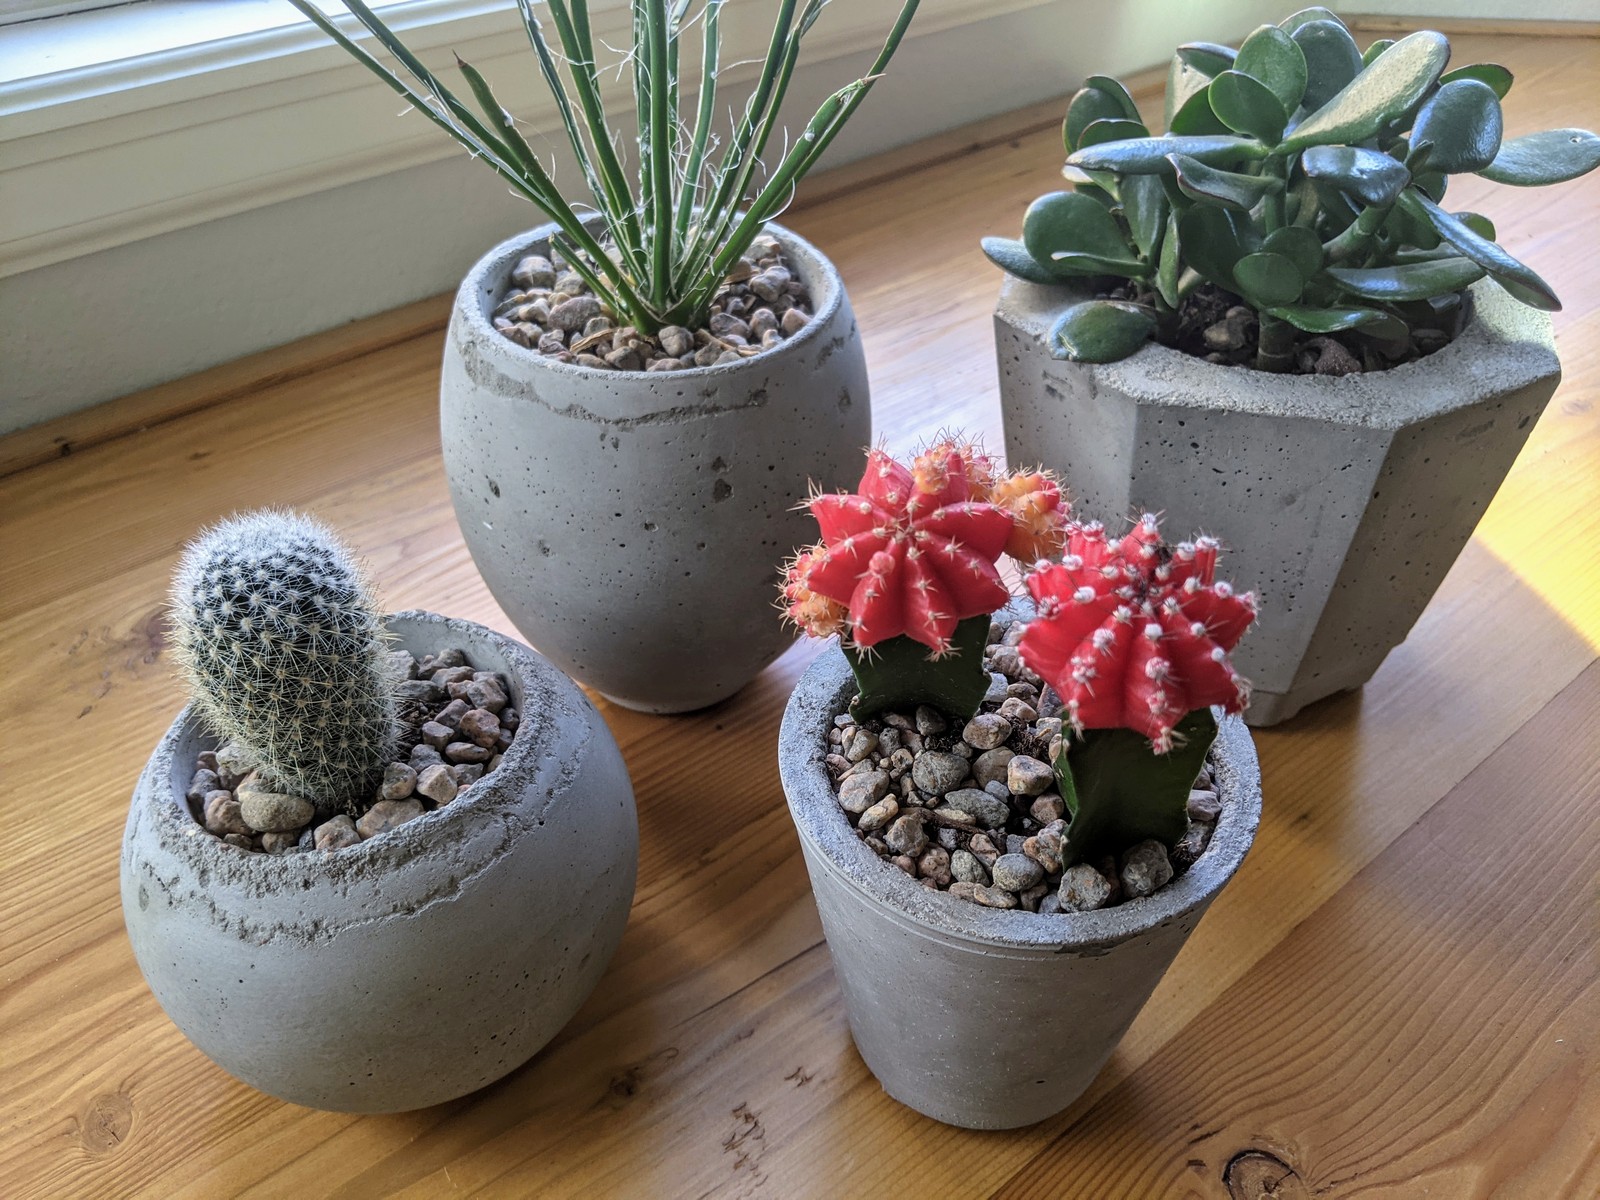
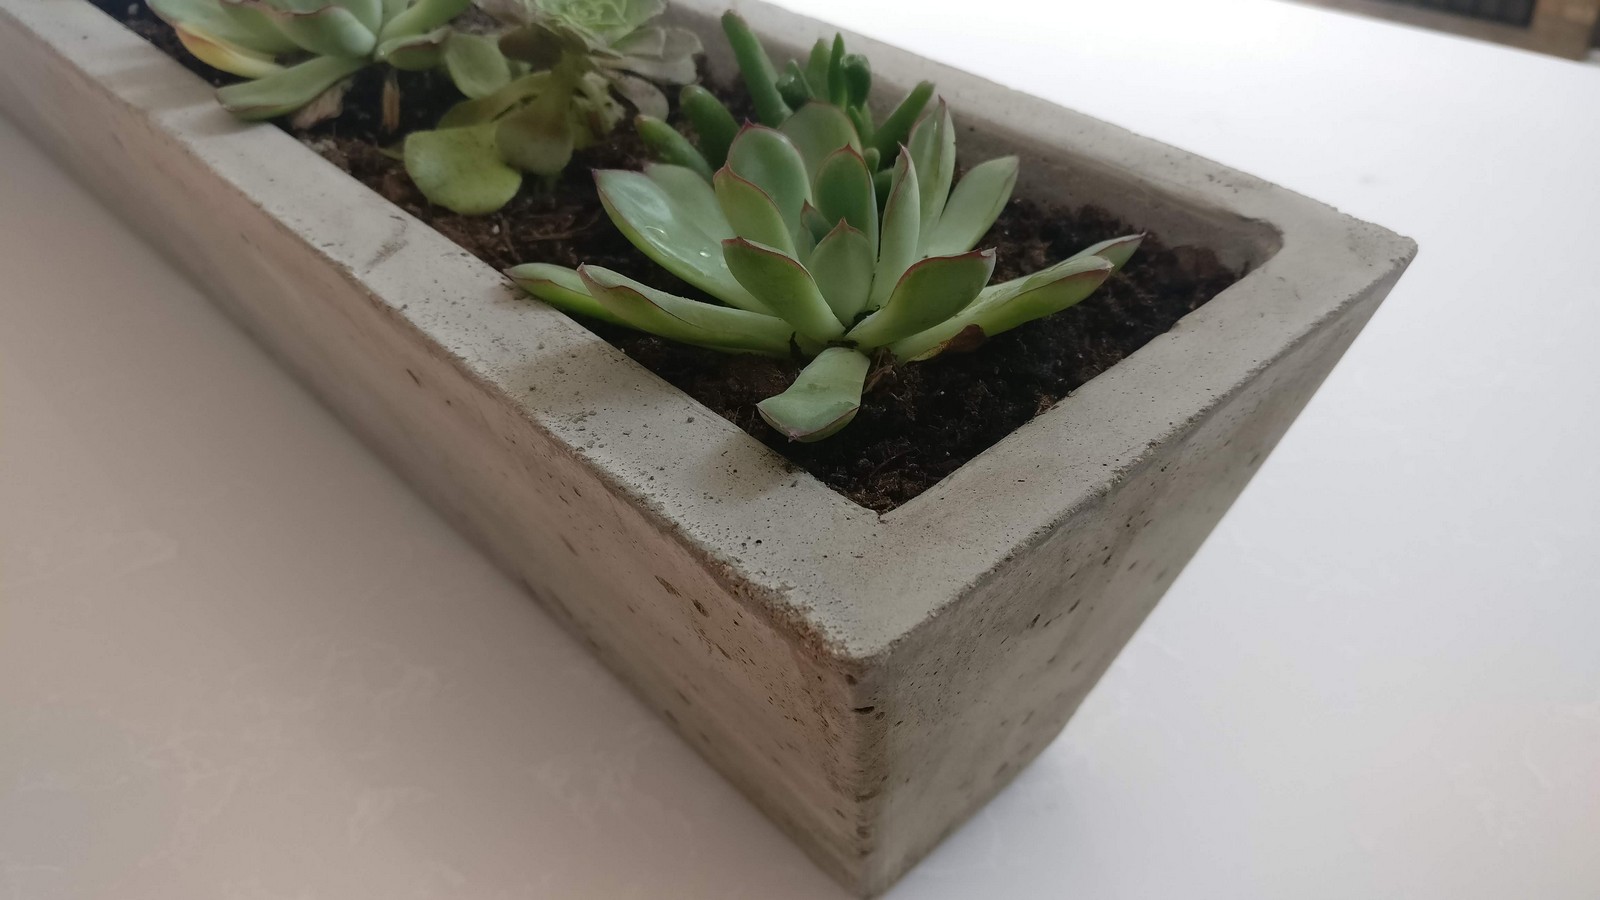
Finished!
Put your plant and potting soil in and enjoy!


