
Replacing a window is a project that most DIYers can handle. I’ve replaced quite a few windows myself. Here are some things to consider if you’d like to tackle this project.
Tools required
- Tape measure
- Hammer
- Crowbar
- Utility knife
- Circular saw / oscillating multi-tool
- Small Level
- Nail Set (punch)
Materials required
- Exterior trim – might be able to reuse existing
- Interior trim – might be able to reuse existing
- Caulk – flexible and paintable
- Flashing tape
- Expanding foam – minimal expansion for windows and doors
- Paint – touch up
- Nails for trim
- shims
How much time is required?
I’d say to give yourself an entire day if this is your first time tackling a window replacement. After you get one done, I’m usually able to get two windows done in a day.
What size window?
You will need to do a little pre-work to figure out what size window you need. The easiest way to get an accurate measurement, is to remove any interior trim on your window. Once the trim is removed, you’ll be able to see the framing around the window.
Measure the wood framing opening in a couple of locations to get the smallest height and width. These dimensions are called the “Rough Opening” when you order the new window.
Generally, the new window will be 1/2″ smaller than the rough opening in height and width. This gives you a little wiggle room when you install the window. The 1/4″ gap will also allow you to seal around the new window with expanding foam.
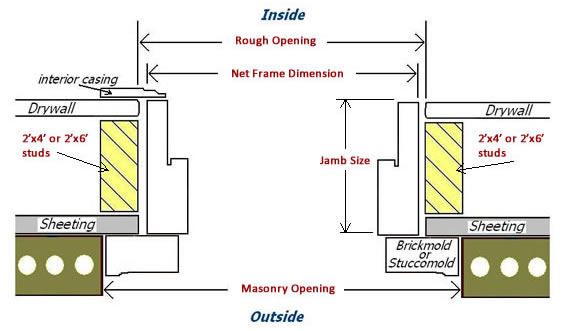
You’ll also need to note the thickness of the wall where the window is being installed. The key dimension is the thickness from the outside of the exterior sheathing to the inside of the wall. This is called the window jamb. Generally, just knowing if your home’s construction is 2×4 or 2×6 exterior walls is good enough. If your interior or exterior walls are more than 1/2″ thick then you might also need to purchase (or build your own) a jamb extension, so the window is flush with the interior of the wall.
Another option that I prefer when replacing windows is a nailing fin. This is generally how windows are installed in a new house. It allows you to attach the window from the outside of the house and makes sealing the window to the house a bit easier. This may or may not be practical for your installation depending on what type of exterior your house has. Generally, I’d say this is a good option with any type of wood or other material that can be easily trimmed. It’s probably not a good option if you have something like brick or vinyl siding exterior where it would be difficult to access the nailing fin area.
Ordering your new window
More than likely, you will need to order your replacement window. Most stores do not stock that many window sizes and styles. It’s important to keep this in mind for this project. It usually takes a month or so from the time you order a window until delivery.
I generally order my windows from Lowe’s or Home Depot. Any of these big box stores will have a few options for windows. Another alternative is to work with a window manufacturer or distributor. Often times these stores will want to offer a package deal that includes installation though.
There will be a number of options when you order the window: low-e, window grids, window operators, materials (wood, vinyl, aluminum,…), double/triple glazed, etc. The salesman will be able to walk you through those type of options and they are pretty straightforward.
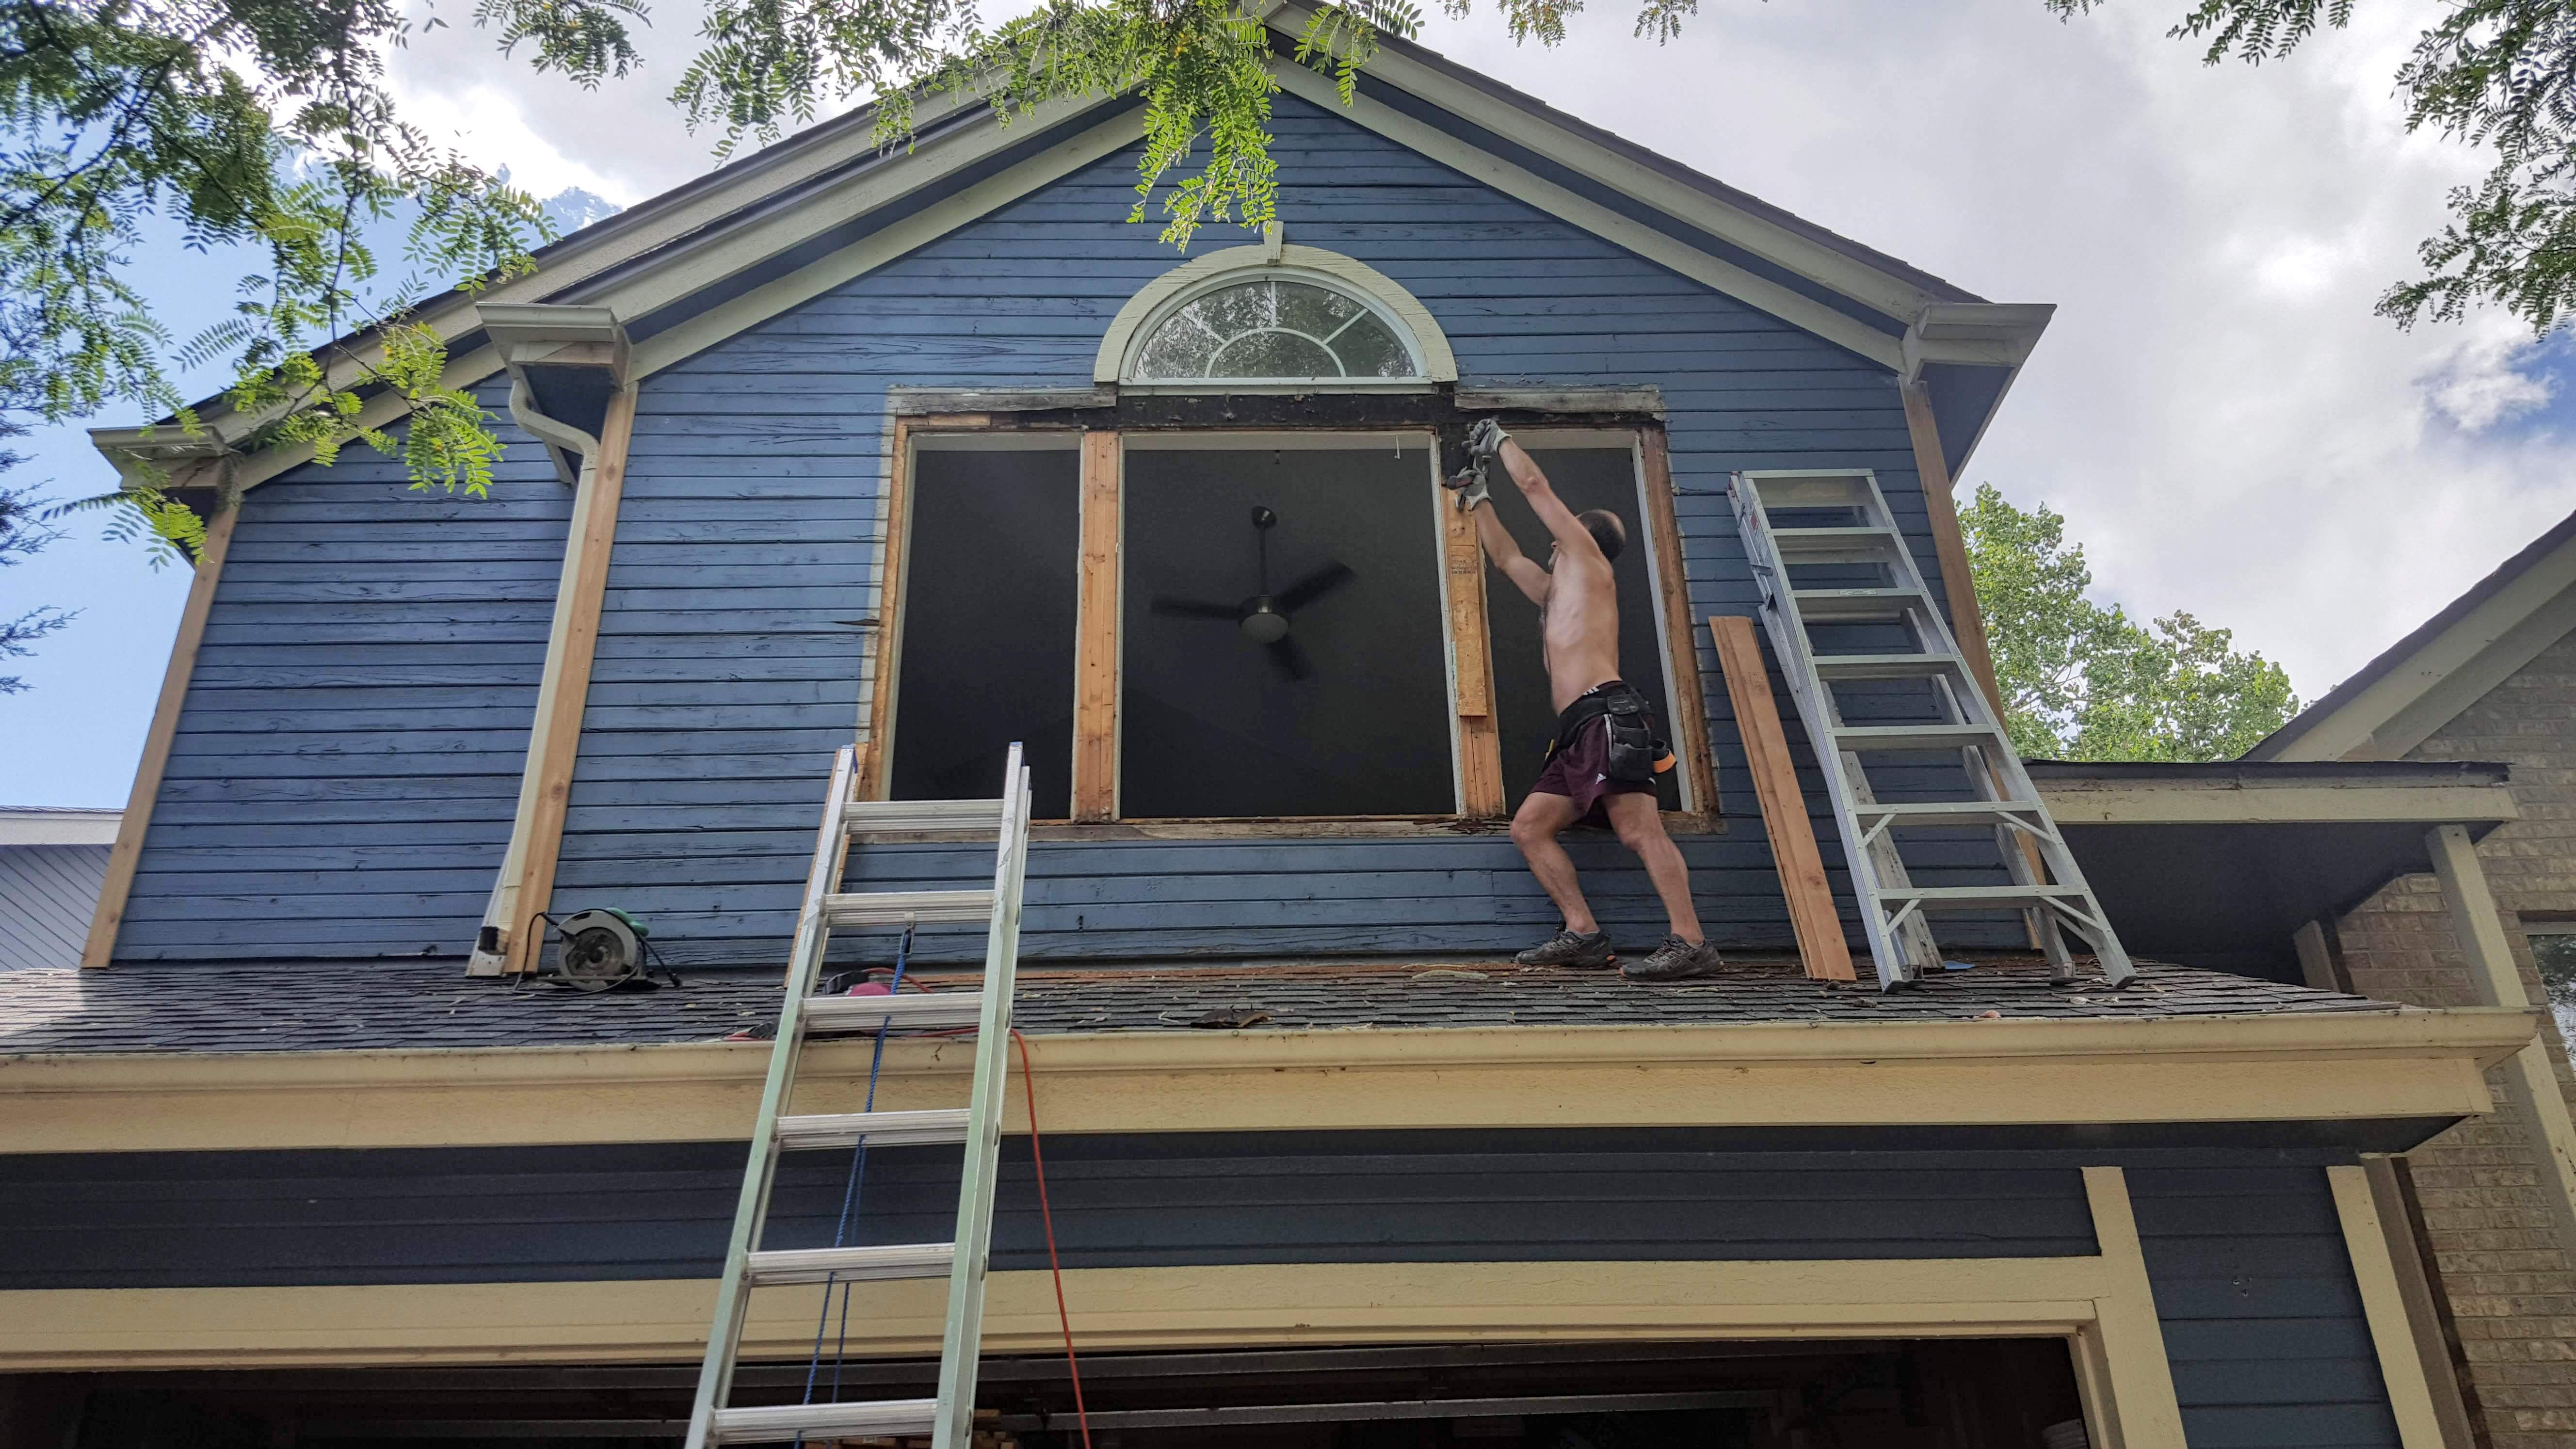
Removing the old window

Start by removing all of the interior trim. Use a knife to score around the outside of the trim first. This way you won’t peel off any of the surrounding paint when you pull the trim off. Use a crowbar to gently pull the trim off. I like to also use a drywall knife under the crowbar to prevent wall damage. If you are careful enough, you should be able to reuse the trim on the new window.
Using a similar method, remove the exterior trim. You should be able figure out how the window is held in place now: nailing fin, or nails through the window jam.
If the window is held in place by a nailing fin, you can either cut the nailing fin off all the way around with a sawzall, or you can trim back the siding to remove the nails and pull the window out.
If the window is nailed through the jamb, the easiest thing is to just cut all the way around with a sawzall to cut through all of the nails and loosen the window sealing materials.
Now just get to work with the crowbar and it shouldn’t take too much to get the window out. Clean up the window opening and make sure that there aren’t any rotten areas or other repairs that need to be done now.
Seal the opening
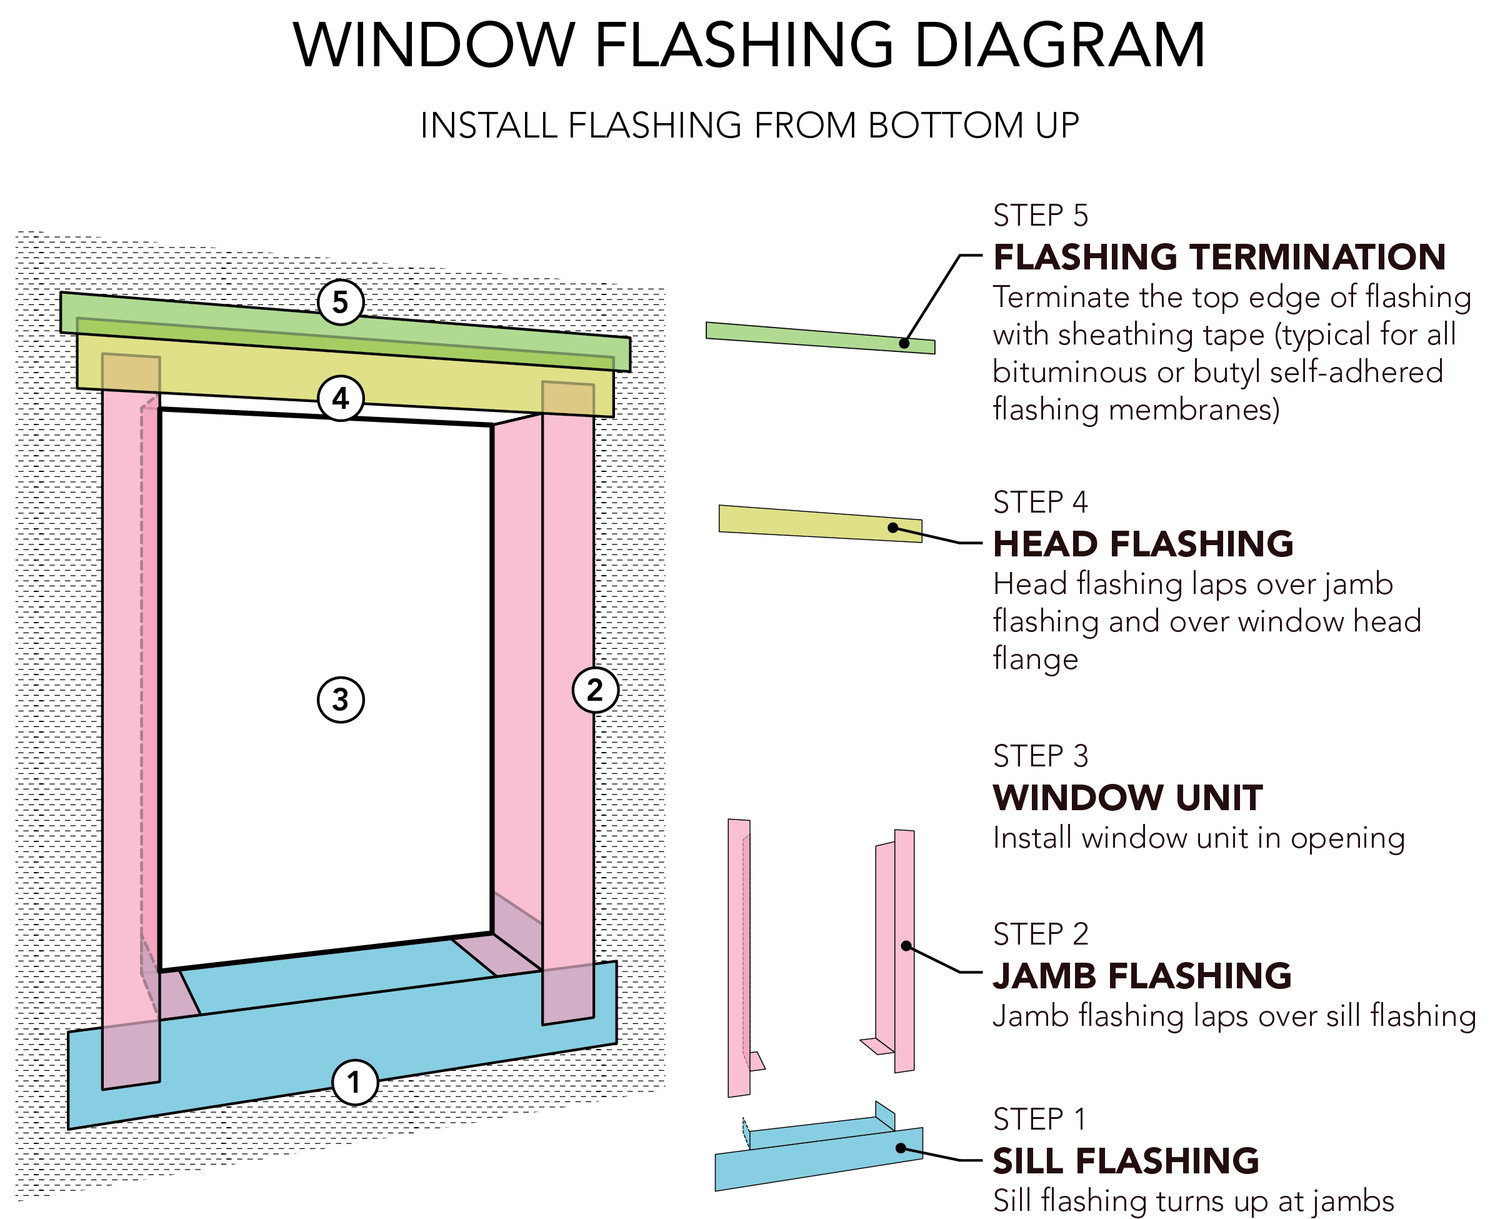
It’s a good idea to seal the window frame to the exterior of the house with flashing tape now. If any water is able to get behind the trim around the window, this flashing will direct the water away from any of the wood structure to prevent mold and rot.
Start at the bottom of the window and work up. Cut a couple of small pieces of the flashing tape for the two bottom corners. Stretch the tape from the inside corner around to the outside of the house. I don’t think this detail is shown well in the diagram above, but the rest of the diagram illustrates things pretty well. Just continue working your way up with the sill flashing and jamb flashing. The head flashing is not installed until after the window is in.
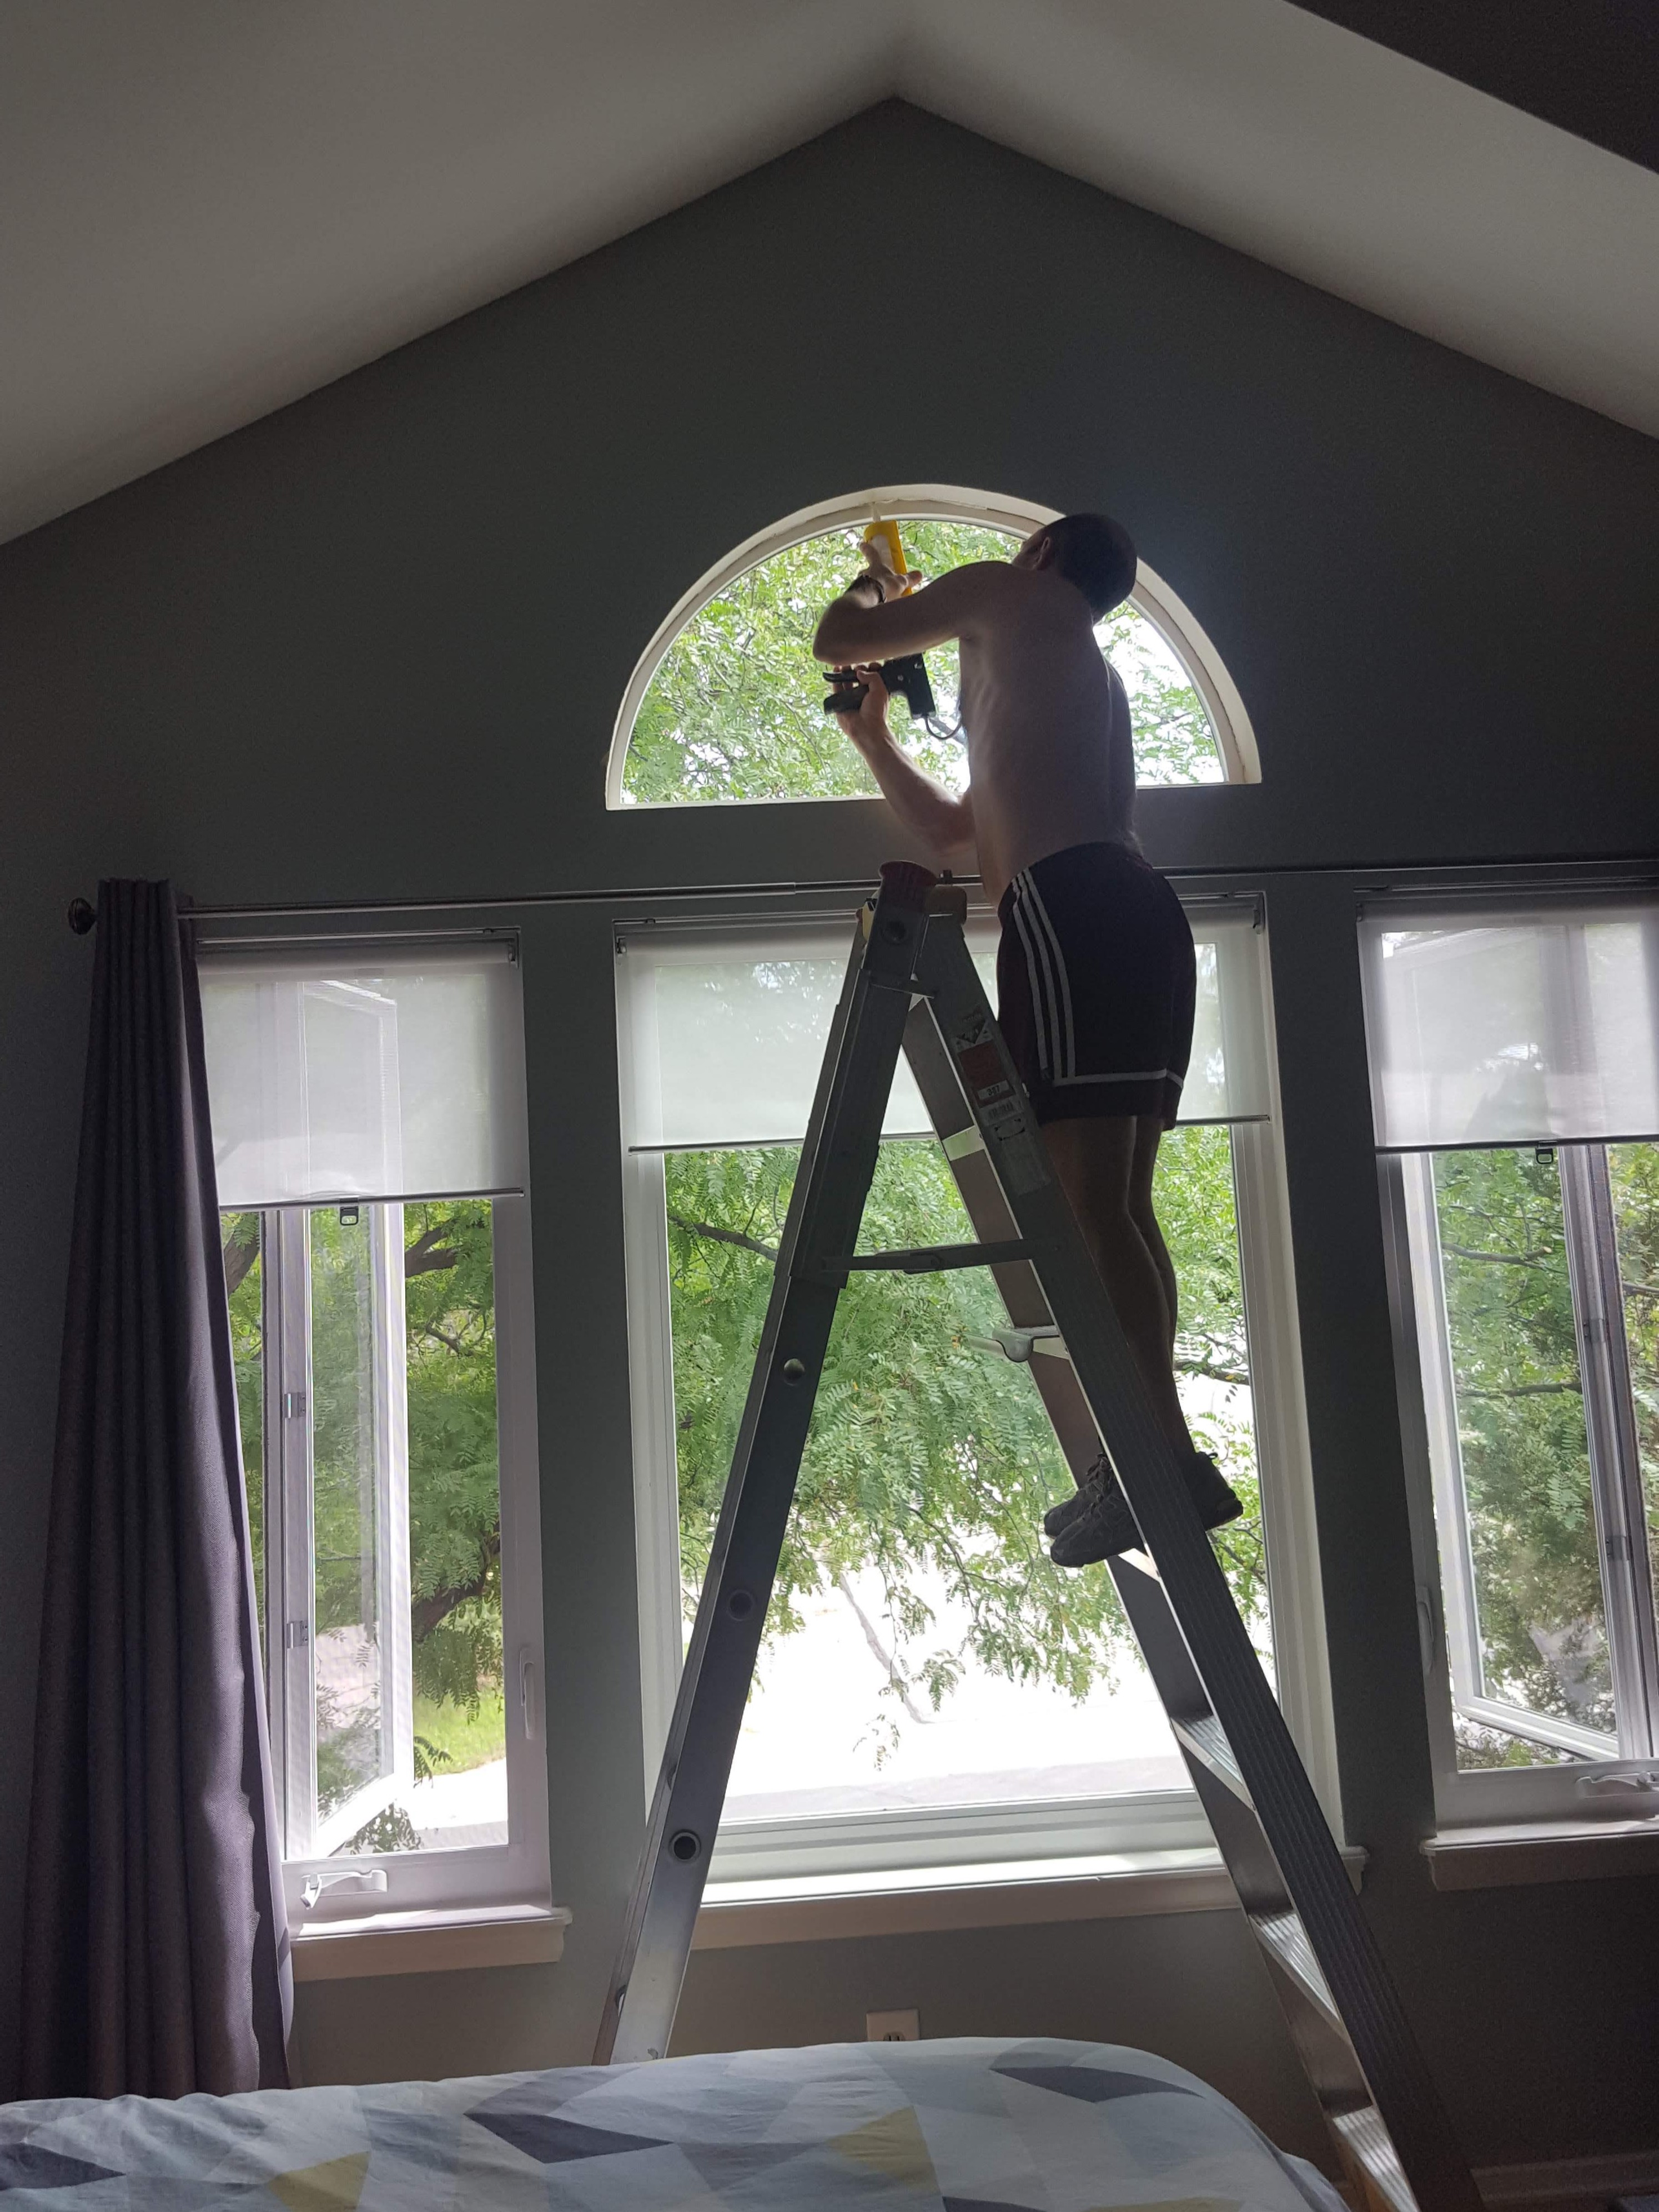
Install the window
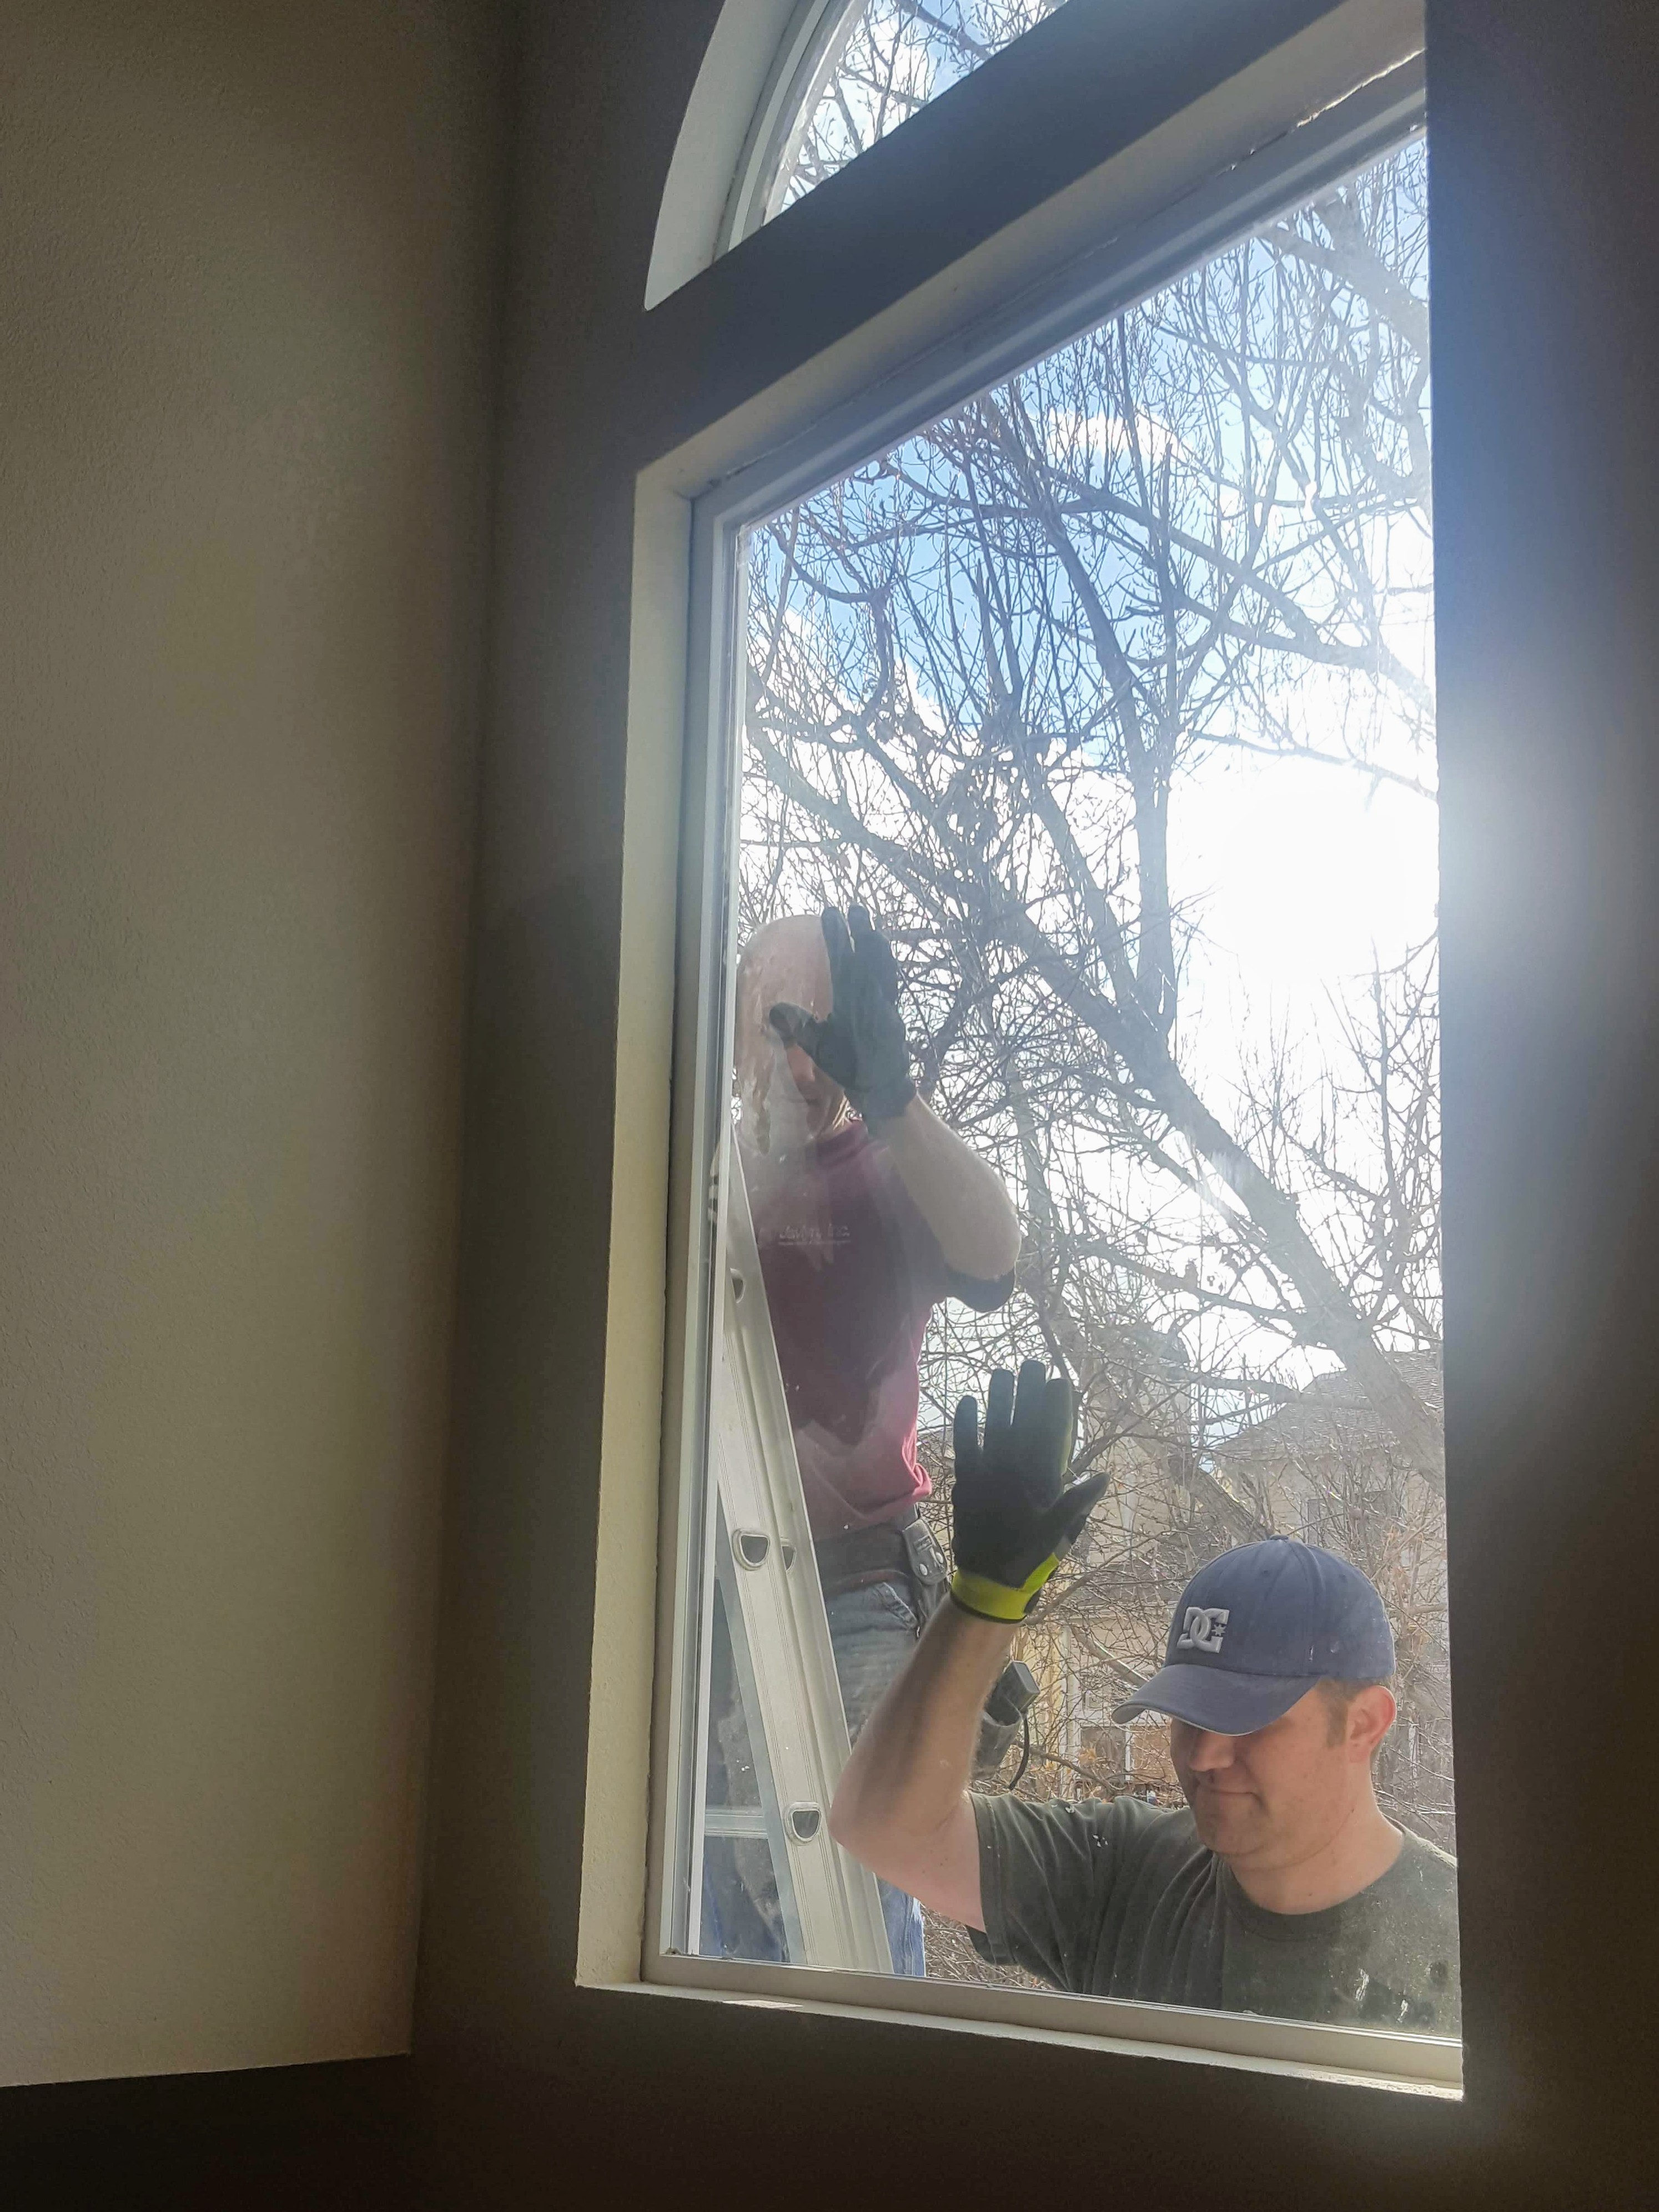
It’s easiest to install the window with a helper. Having one person inside the house and one on the outside, makes it a lot easier to get things lined up before you attach the window.
You should install a generous bead of caulk around the outside if you are installing a window with a nailing fin.
Insert the new window into the opening from the outside of the house. Use a small level and tape measure to get the window centered in the opening. Shims are helpful to make small adjustments. Make sure that you keep the window closed and do not apply too much force on the frame with the shims. The window will not operate smoothly if the frame is twisted at all or pushed in by shims, etc.
Once you get everything centered up, nail around the nailing fin about every 6 inches to secure the window. If you are not using a nailing fin, drive finishing nails through the sides of the window jam into the framing. Make sure that you put shims wherever you are nailing to prevent the window frame from flexing when you nail it in.
Finish sealing everything
Before you put the trim back on, make sure that everything is sealed around the window. Use spray foam on the interior side all around the window to seal the small gap between the window frame and the rough opening framing.
Finish sealing around the outside of the window with any additional jamb flashing and head flashing as required. I don’t generally install any additional sill flashing after the window is installed. This gives a place for any moisture to escape if it does get behind anything. If you sealed the sill properly, you should be good to go anyway.
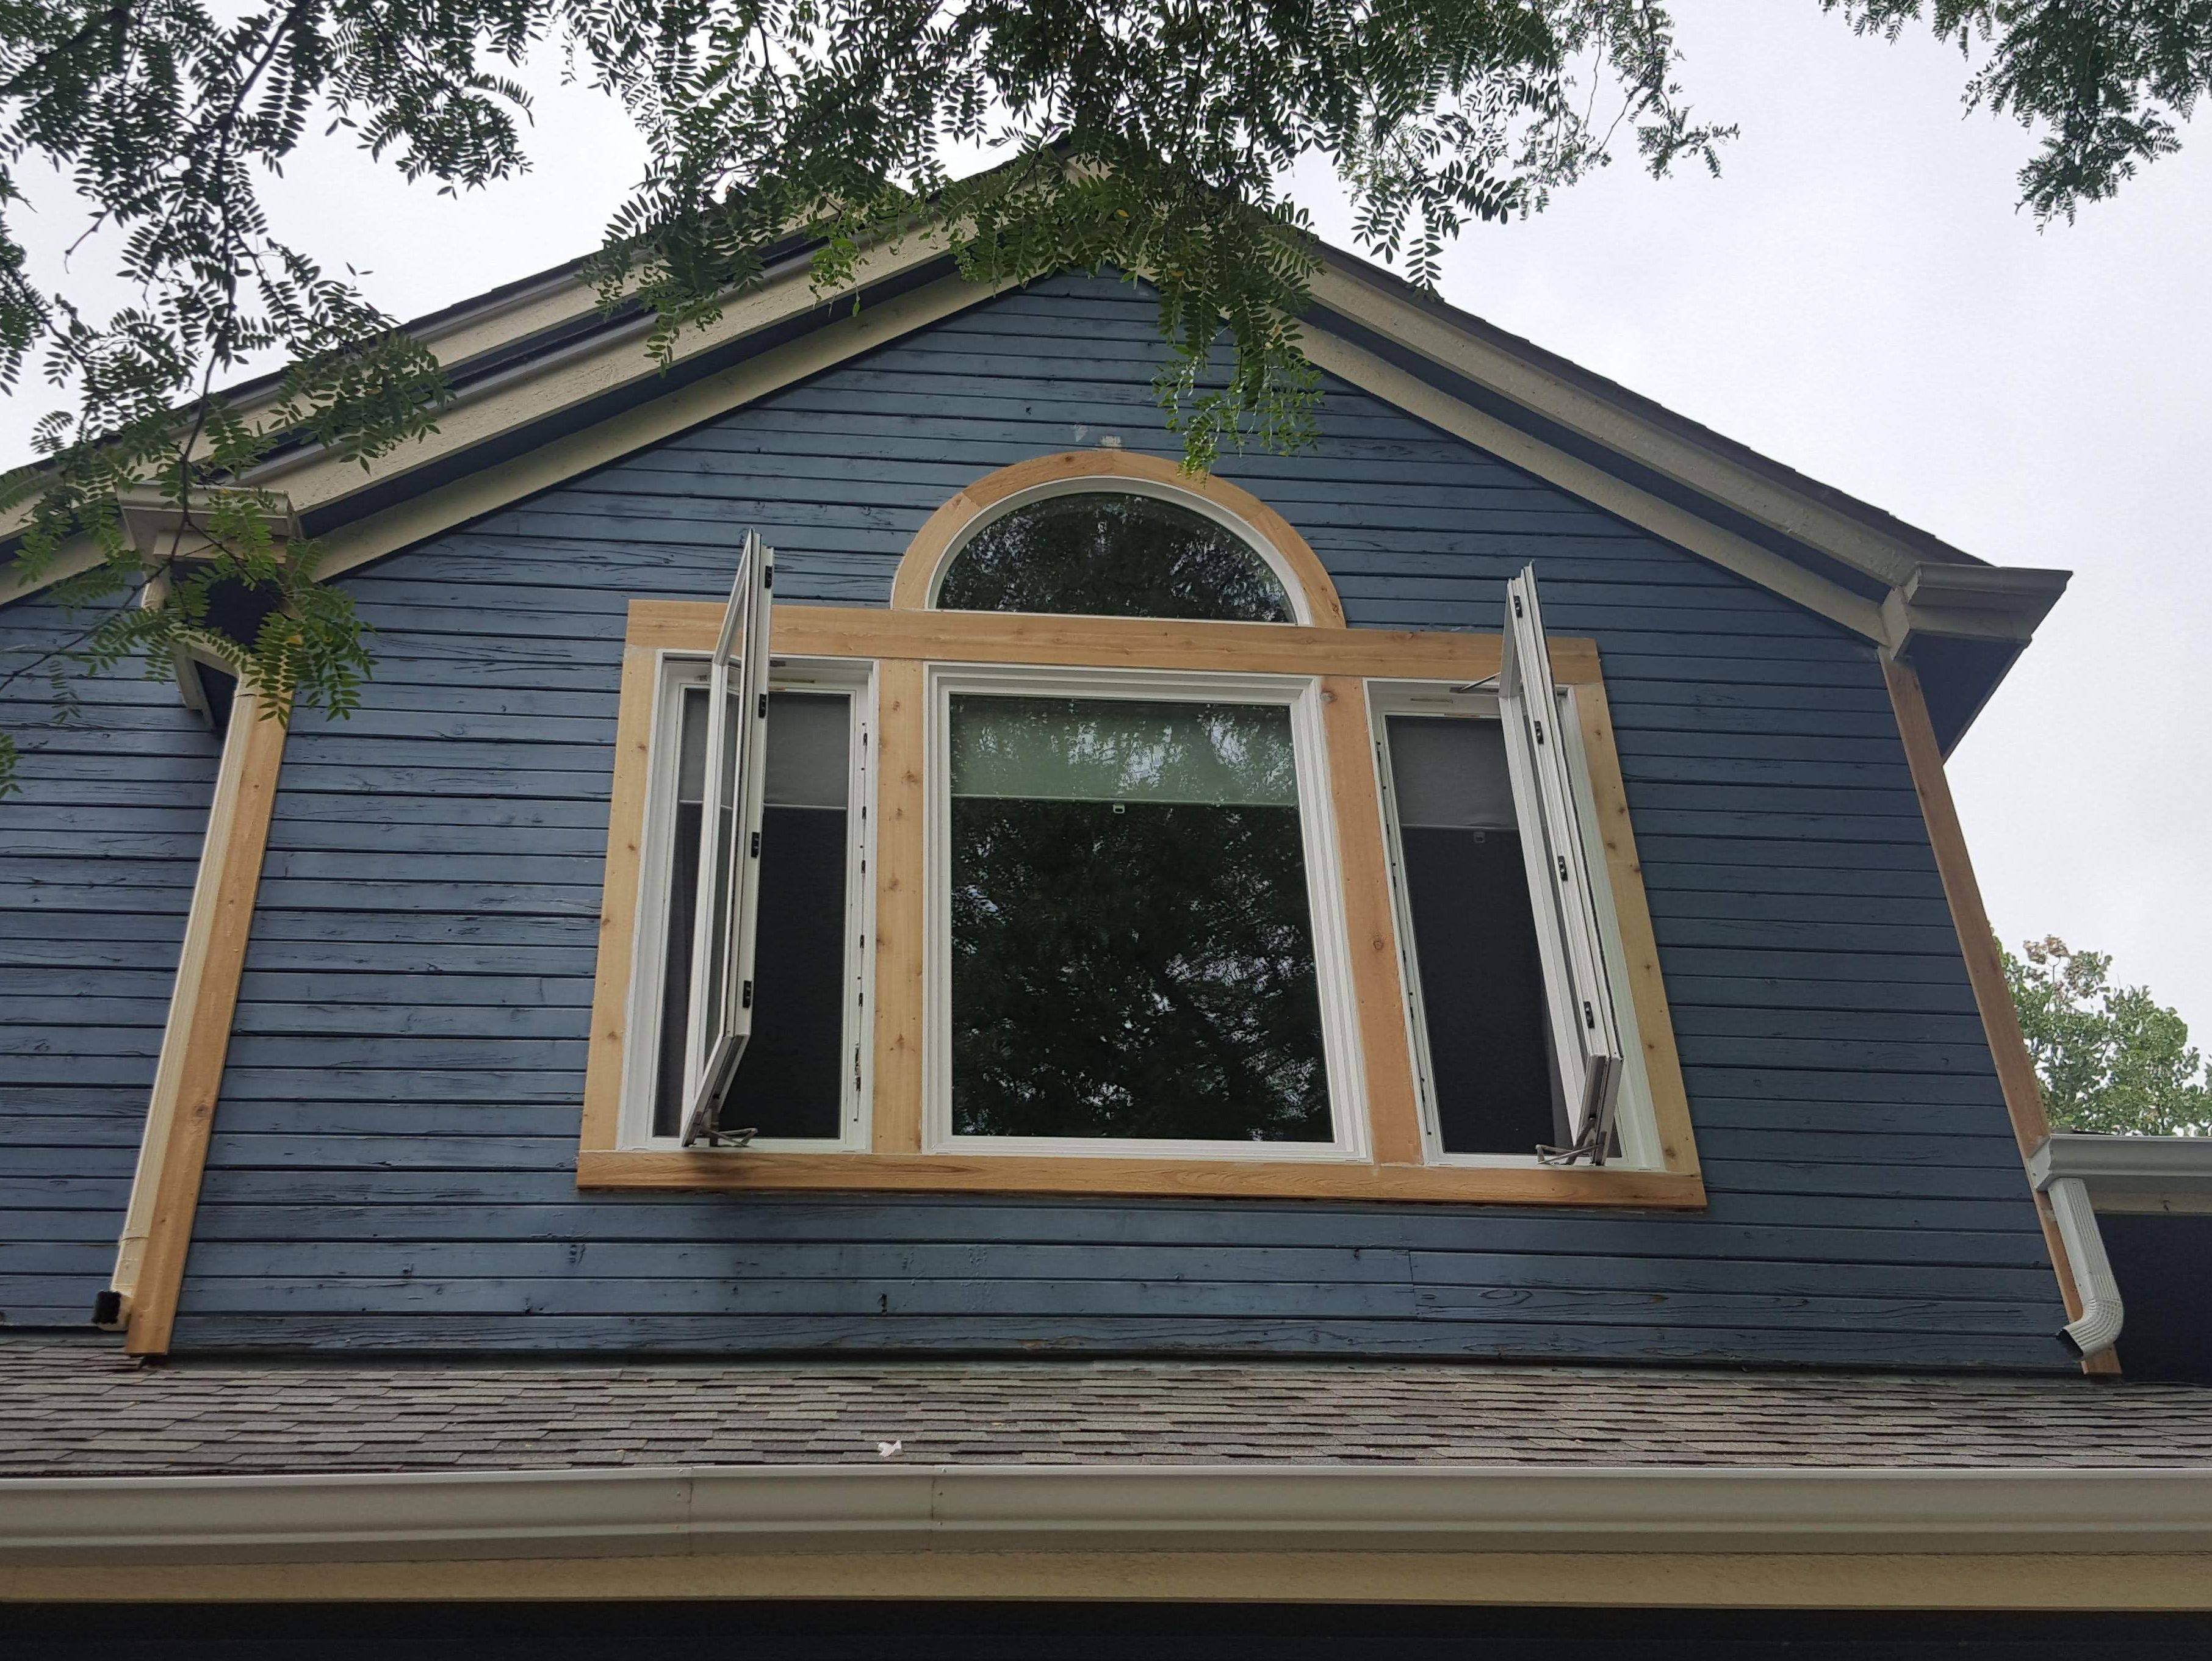
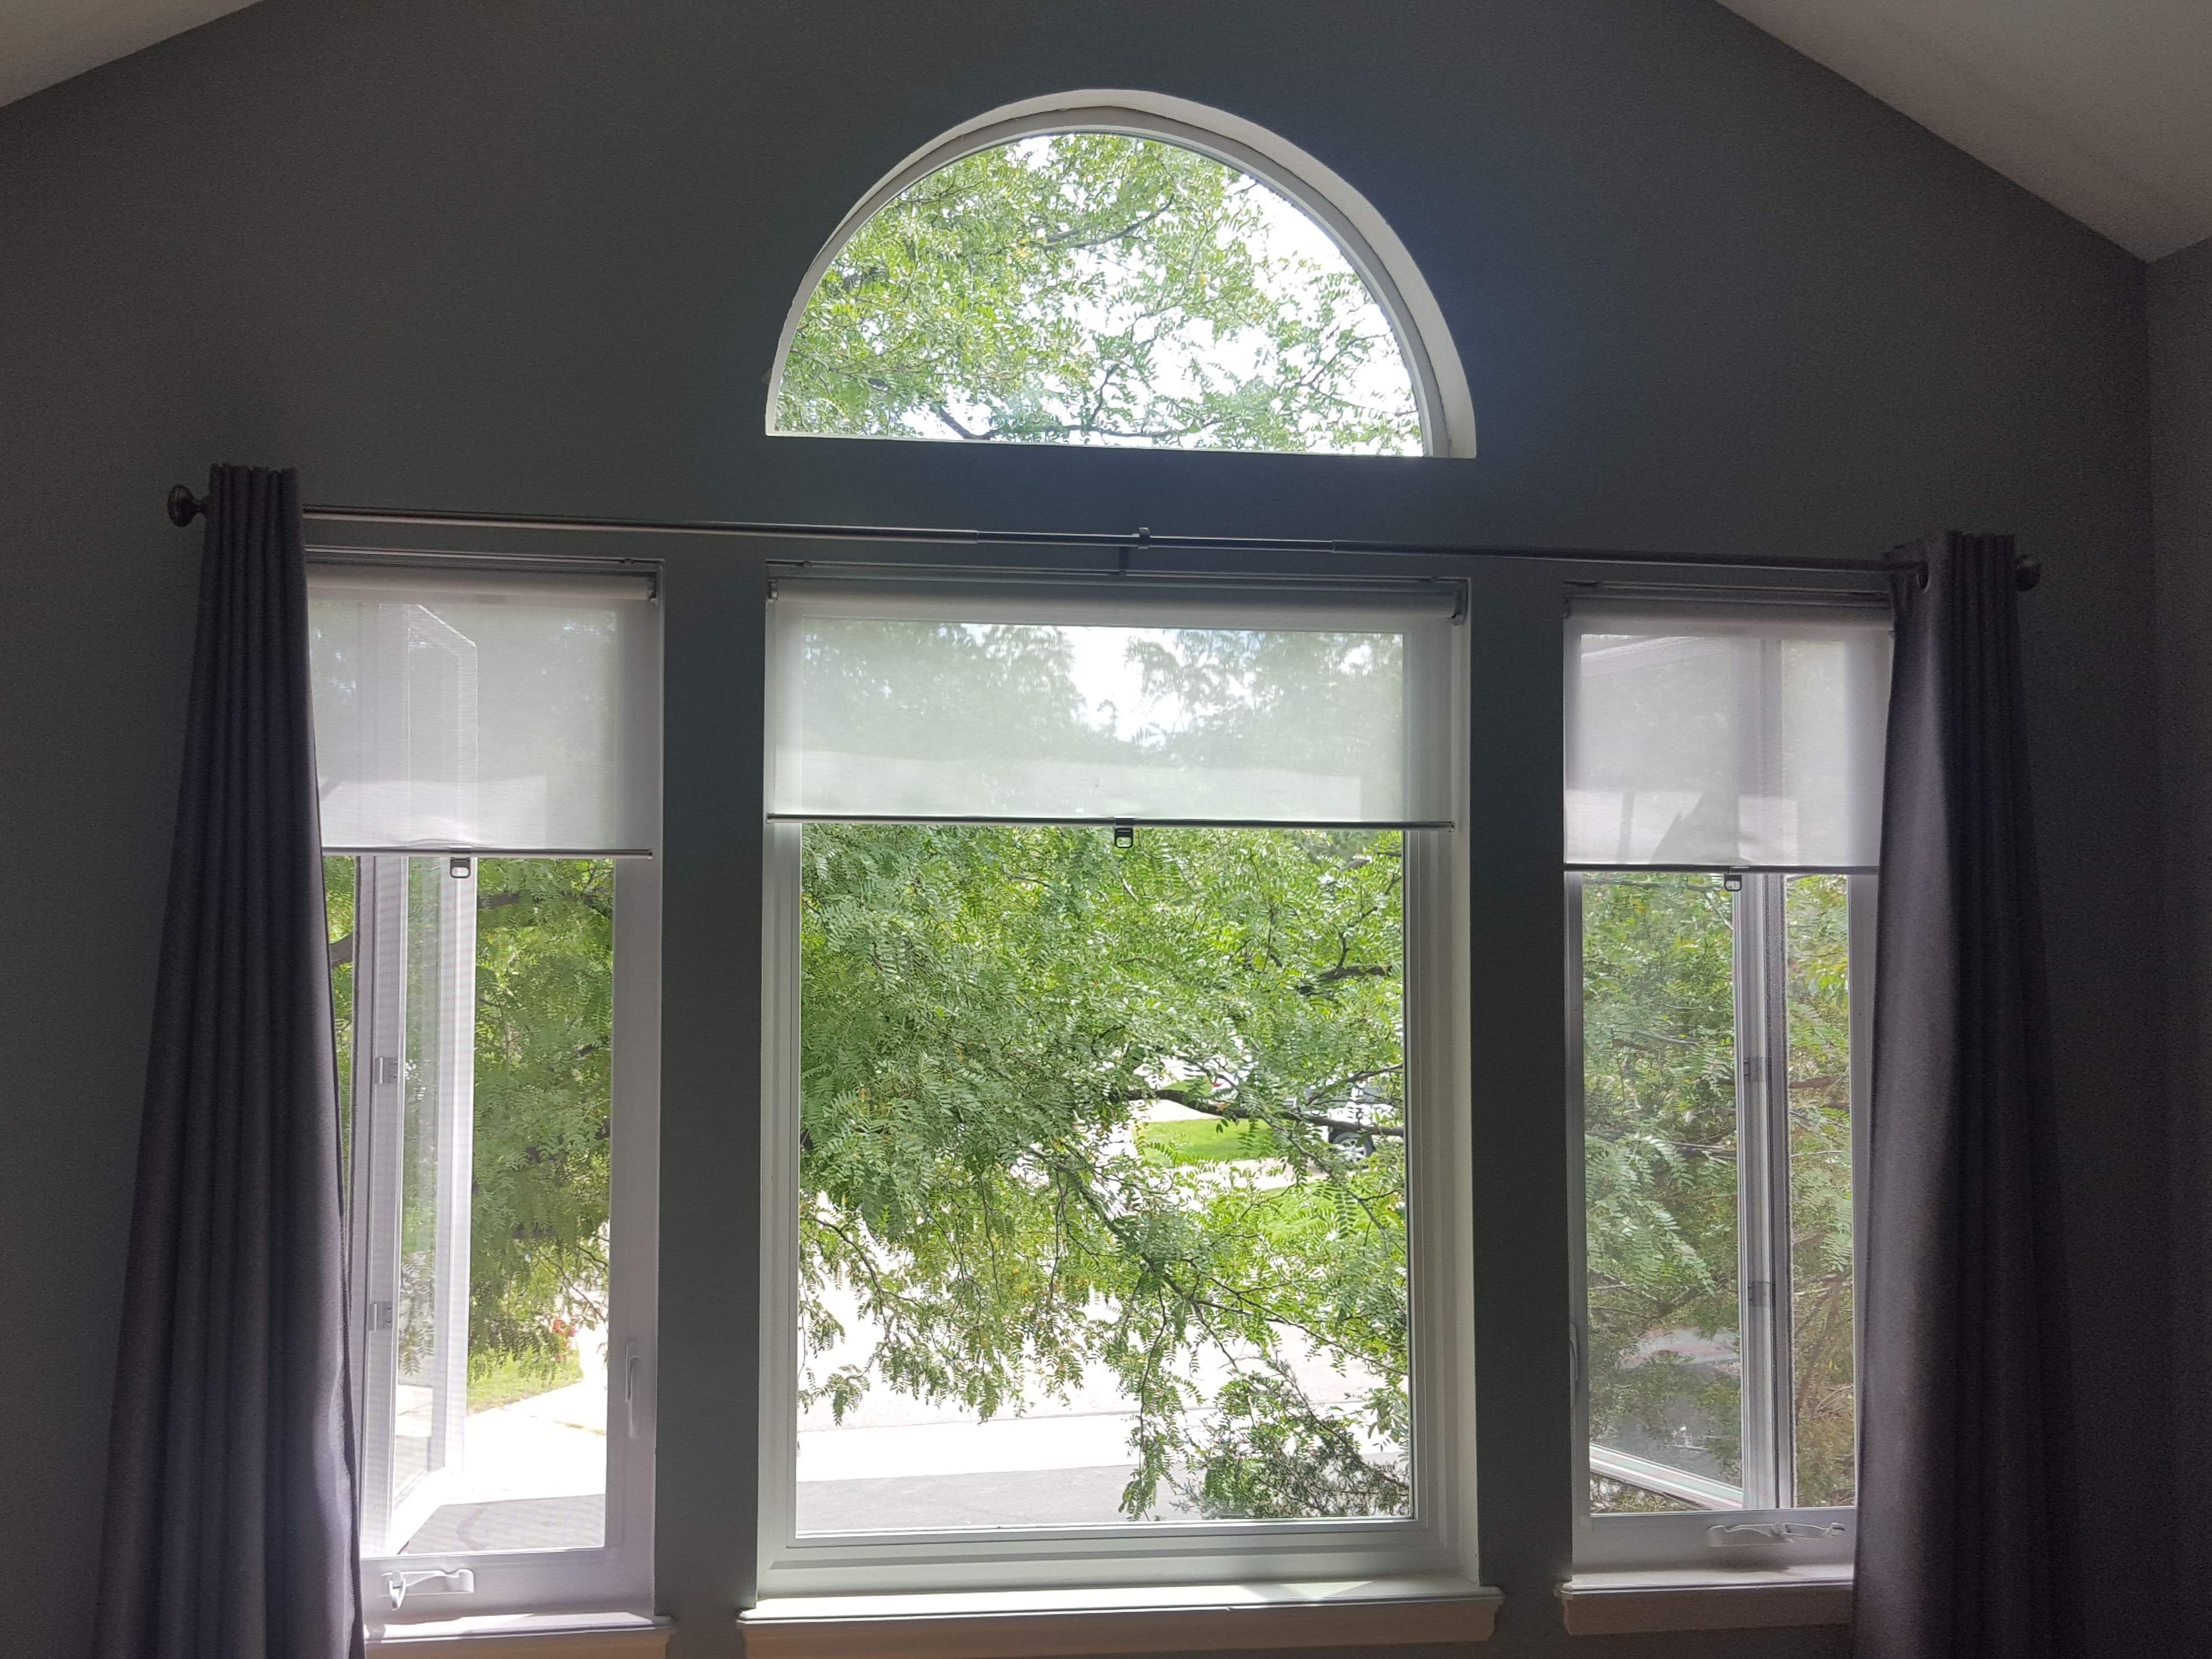
Finishing up
Install the interior and exterior trim. Make sure to spend some extra time caulking around the exterior trim. This is your first line of defense to prevent any window leaks.
Now you just need to fill some nail holes, touch up some paint, sit back and admire your newly installed window!
 |
 |
Till next time…