

I’ve been steadily working from the top down in our house on the remodeling. The next project was the stairway down to the lower bedrooms and office space. I decided to do this stairway a little different than the others to save some money and get a cool custom look. This was the process…
The Mess
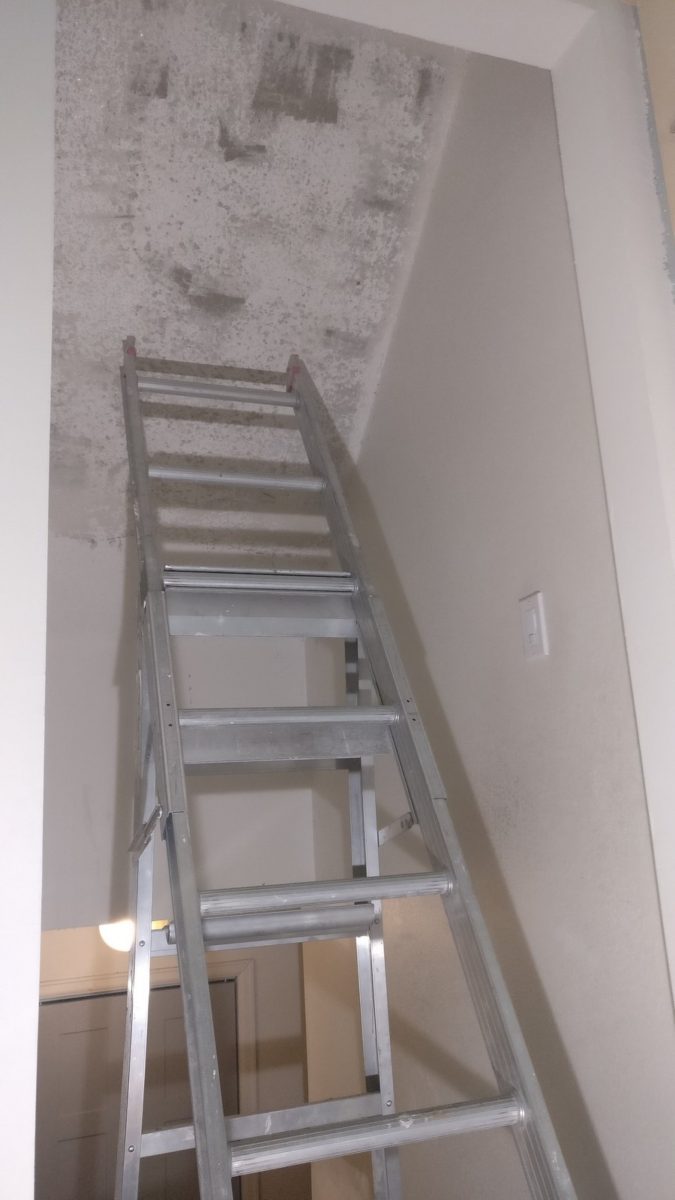
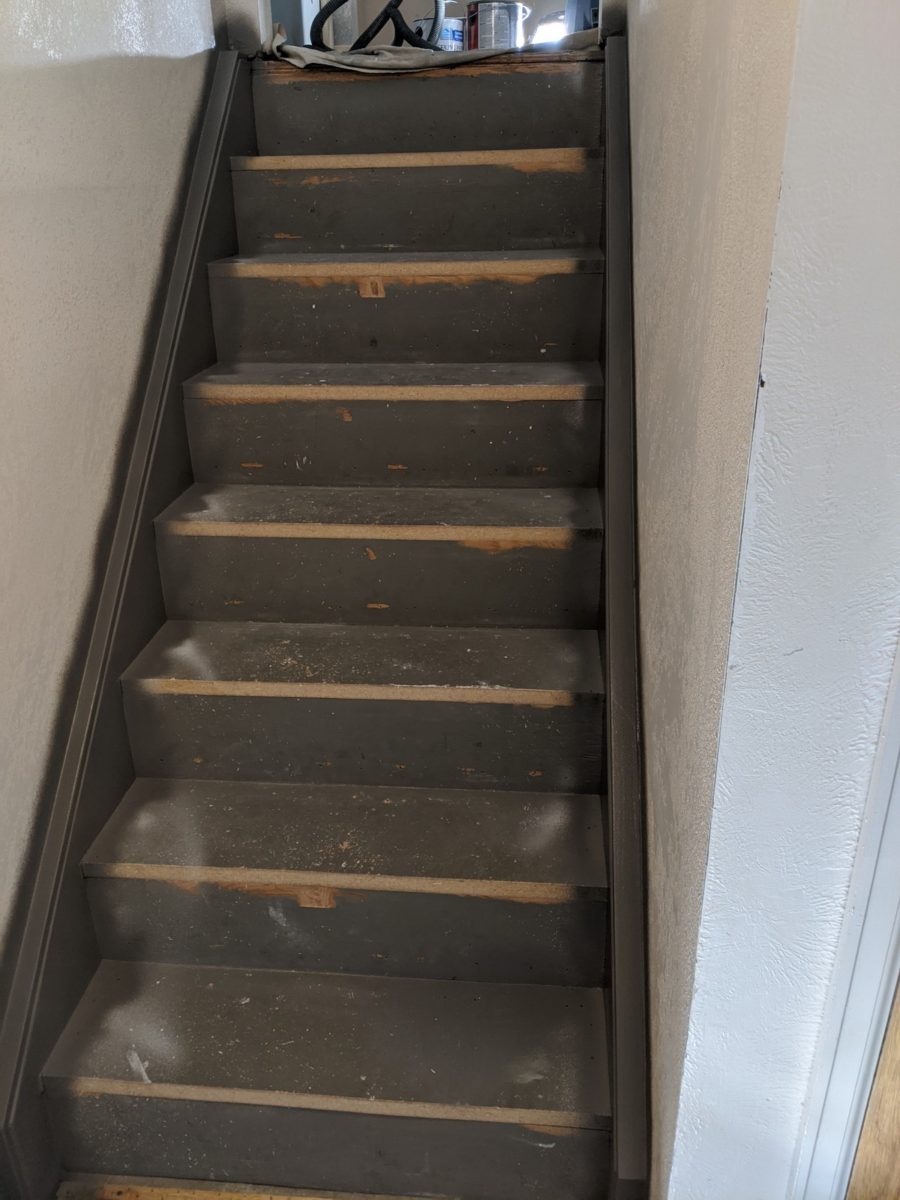
Every project seems to start by making a huge mess and this one was no different. This stairway was the last area in the house that still had popcorn ceilings, so I scraped it off. What a mess! There’s no way to do this job without trashing the place. The finished ceiling is so much nicer though.
I also ripped out the carpet on the stairs. That carpet was old and nasty!

Patch and Re-texture the Walls
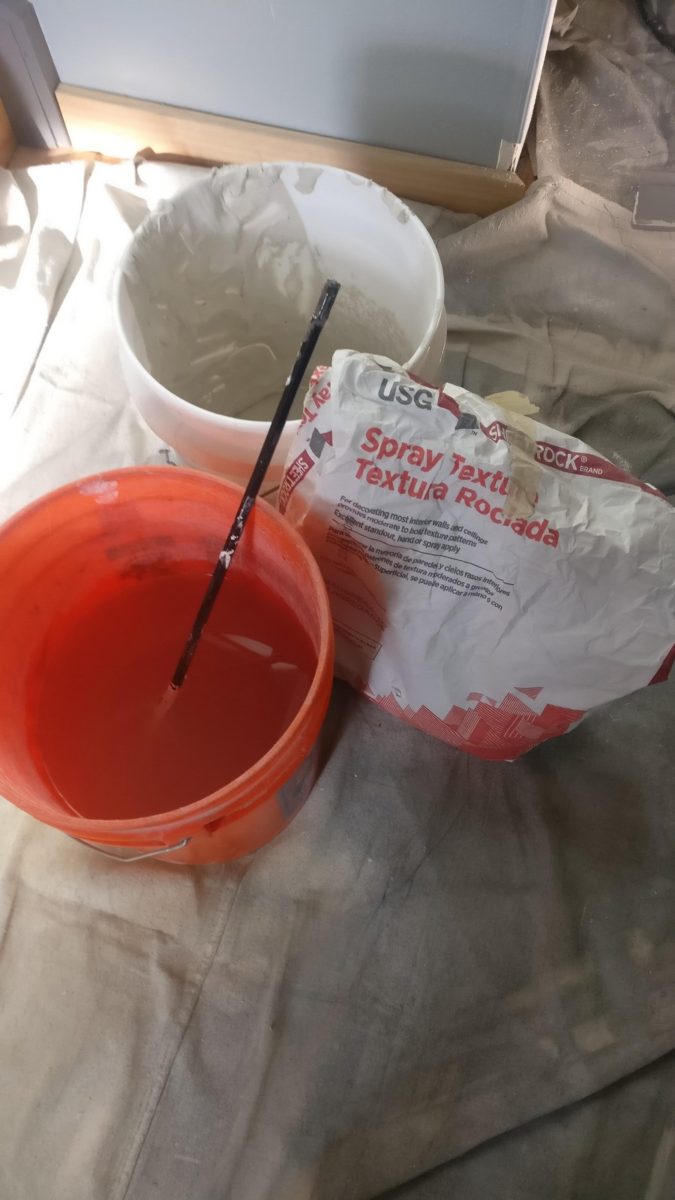
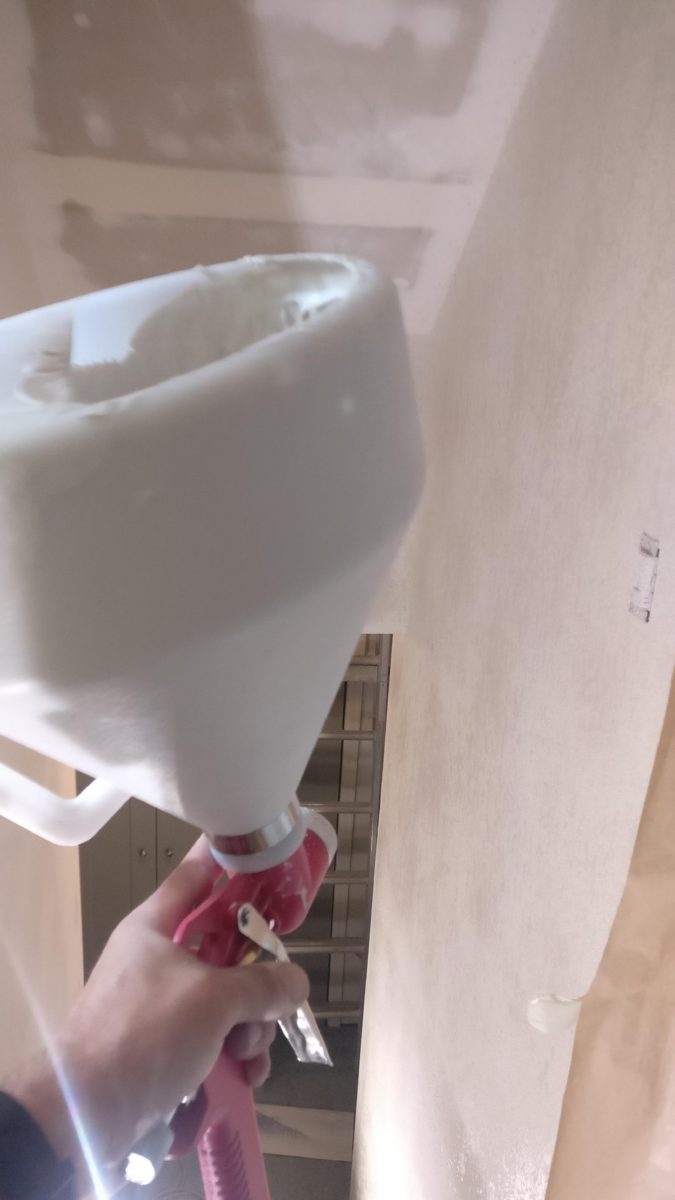
After fixing up the ceiling, I repaired the drywall on the walls and re-textured the entire stairway with a new knockdown texture. It looks much better now.
I also removed an old door frame and installed drywall in the opening that goes downstairs to clean this area up. There was never a door here since we moved in and it was probably a remnant of the original house build from before the lower level bedrooms were finished.

Painting
First I did a quick ceiling paint job. I made sure to get into the corners well and extend it down onto the walls a few inches.
The next step was painting the stair stringers. Spraying the paint on made the process go much quicker and the results are much better too! Stringers are really difficult to paint after the stair treads are covered in flooring material or carpet, so it is best to do a quality patching, sanding and painting job on this area now. You want this to last for years to come to avoid having to mask off and paint around the stairs.
Once the stringer painting was completed it was time to move on to the walls. I cut in the ceiling by hand, but I taped the bottom along the stair stringers for a nice clean line. It is really not practical to tape along the ceiling joint and I’ve also found that tape can sometimes peel the paint off the ceiling, so it’s just not worth it.
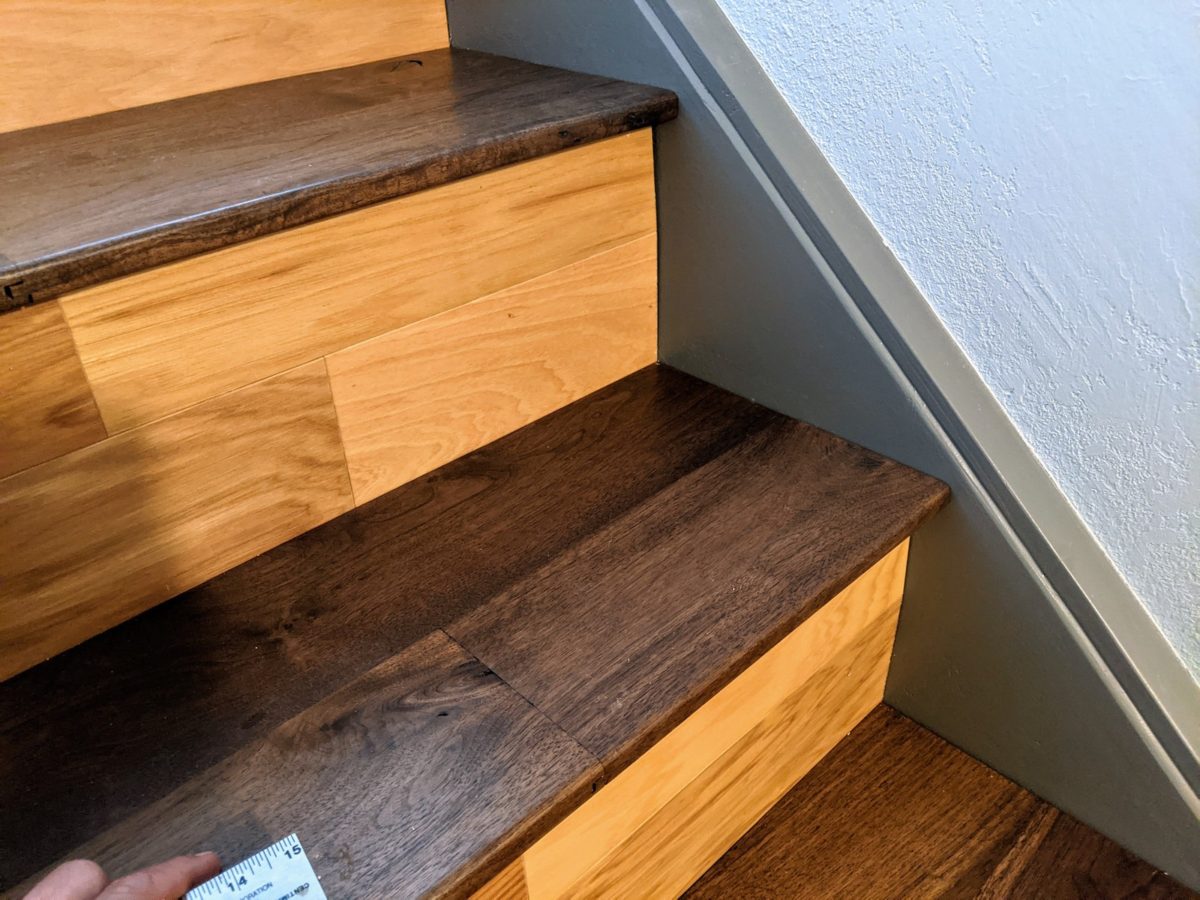
Stair Risers
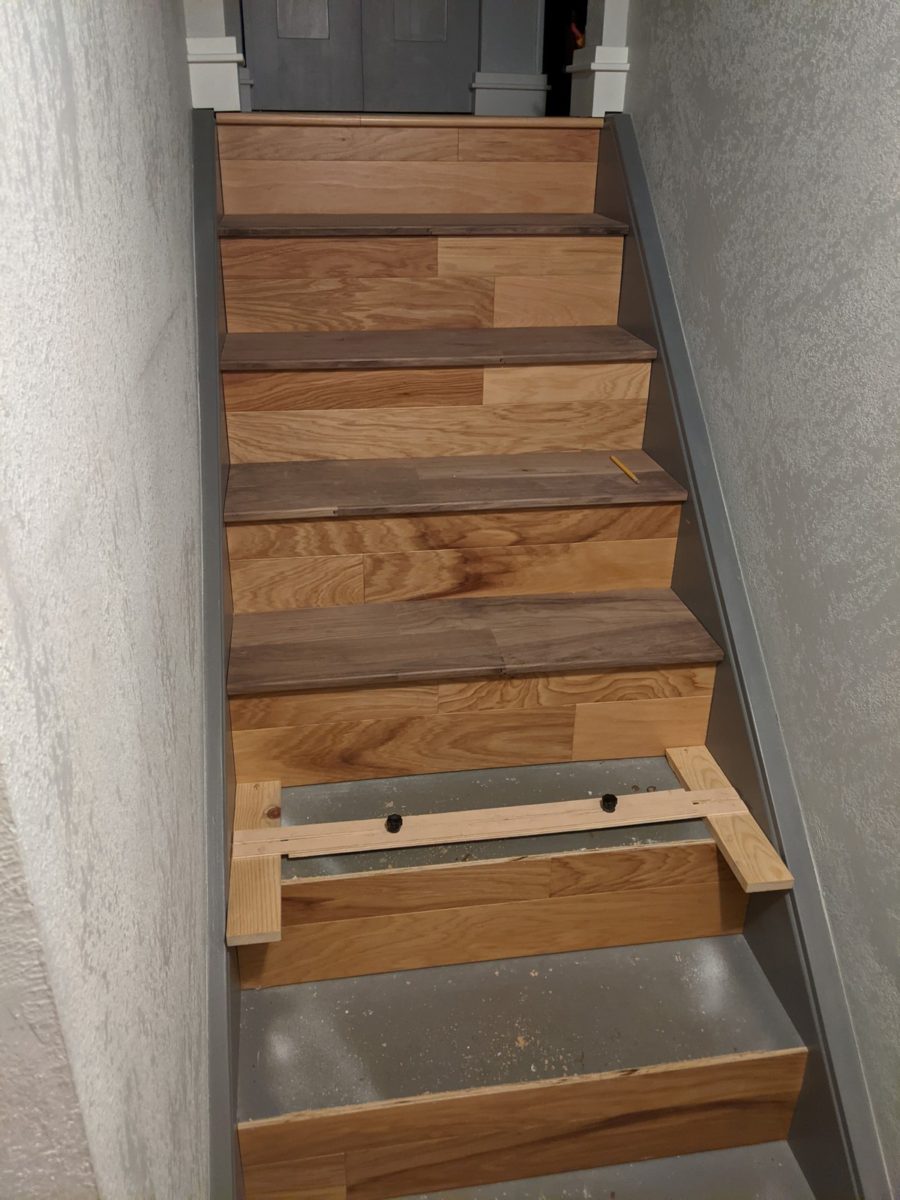
I had a box of flooring still remaining from all of the other flooring projects in the house. It’s hickory engineered flooring that I bought at Home Depot. I decided to use this material for the risers. It was just a matter of individually fitting each piece to the risers and attaching them with a little bit of liquid nails and some pin nails.
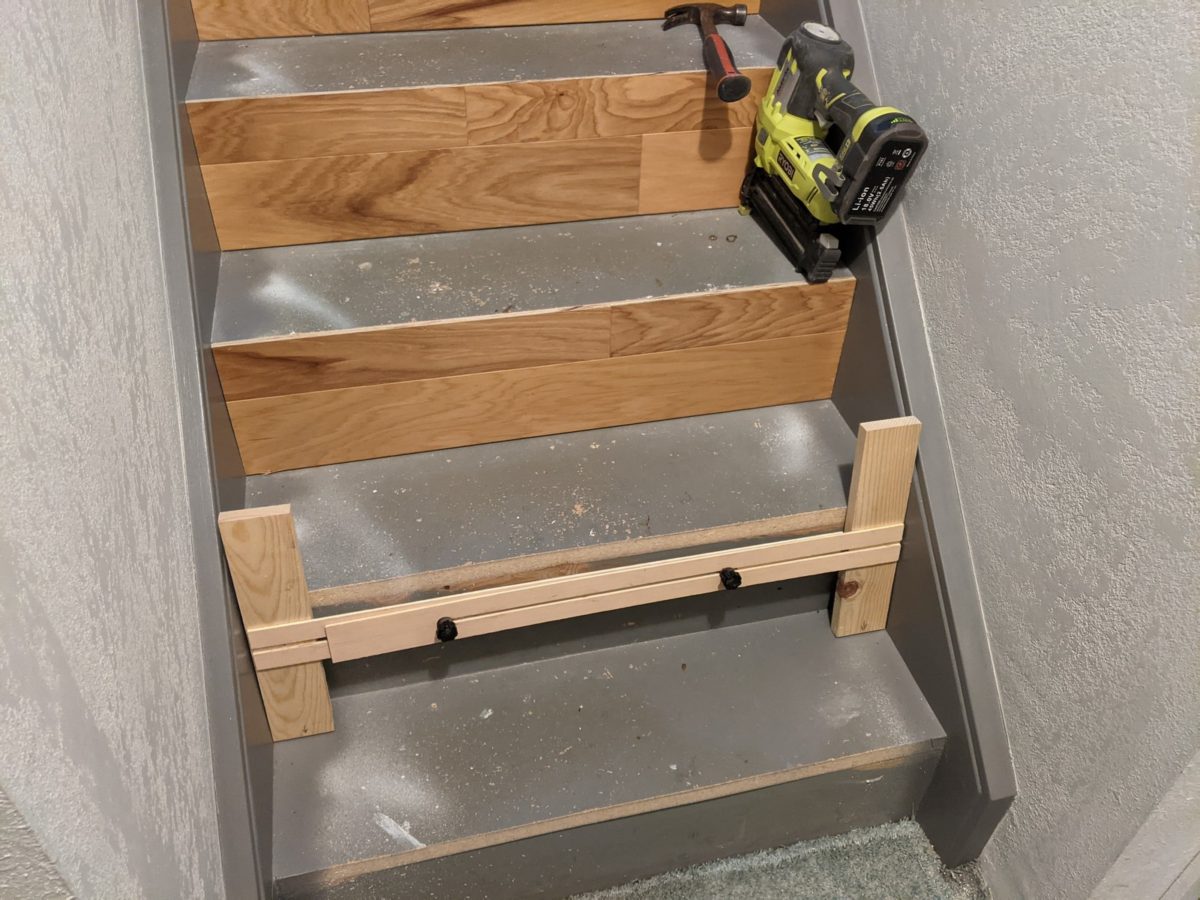
I built this stair jig to do the measurements when I did the first stair project in our house and it really works well to accurately measure and transfer these measurements to the boards to be cut. I based it on a jig that you can actually buy for this same purpose. You can use the same jig for the risers and the treads.
Stair Treads
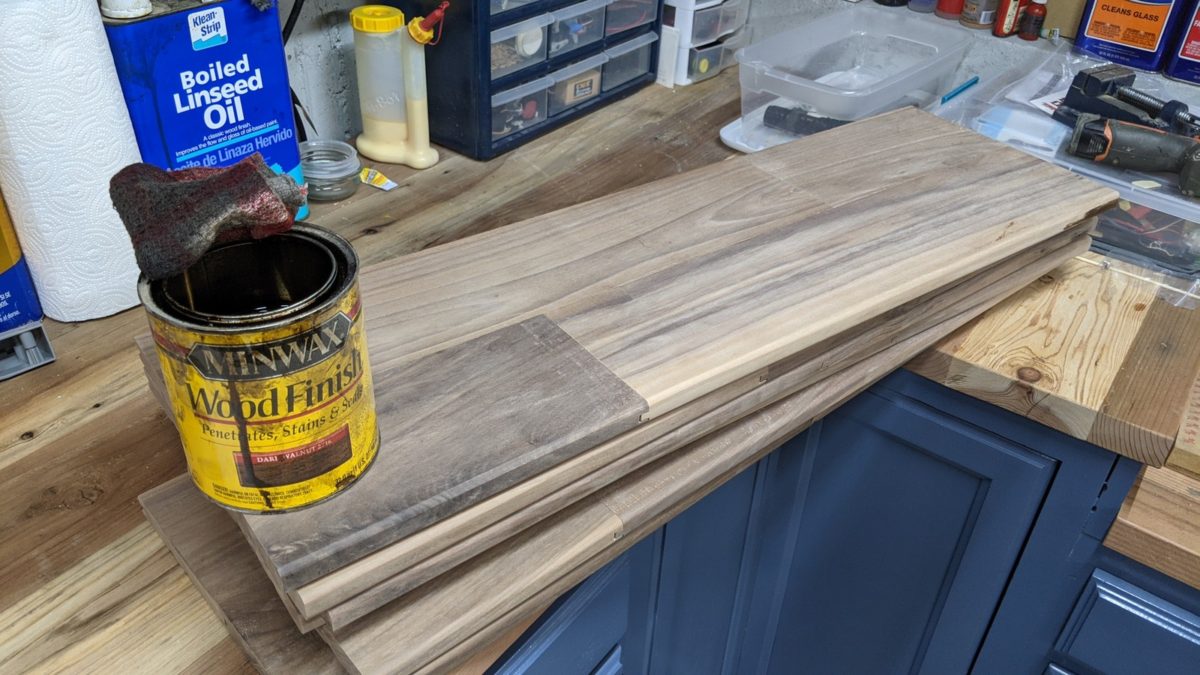
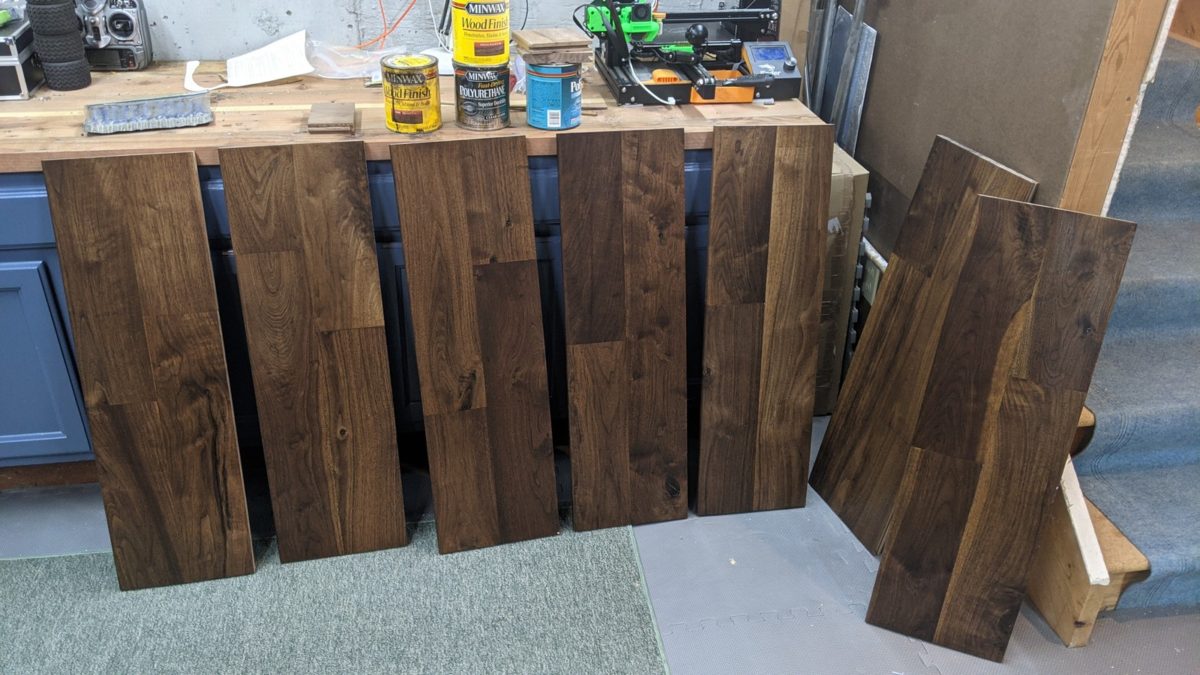
I bought a lot of miscellaneous walnut flooring on Craigslist a couple of years ago and I’d been waiting for a project like this to put it to use. It is tongue and groove solid walnut material. If you know lumber, then you know this stuff is not cheap… but I got a great deal on someone’s leftovers.
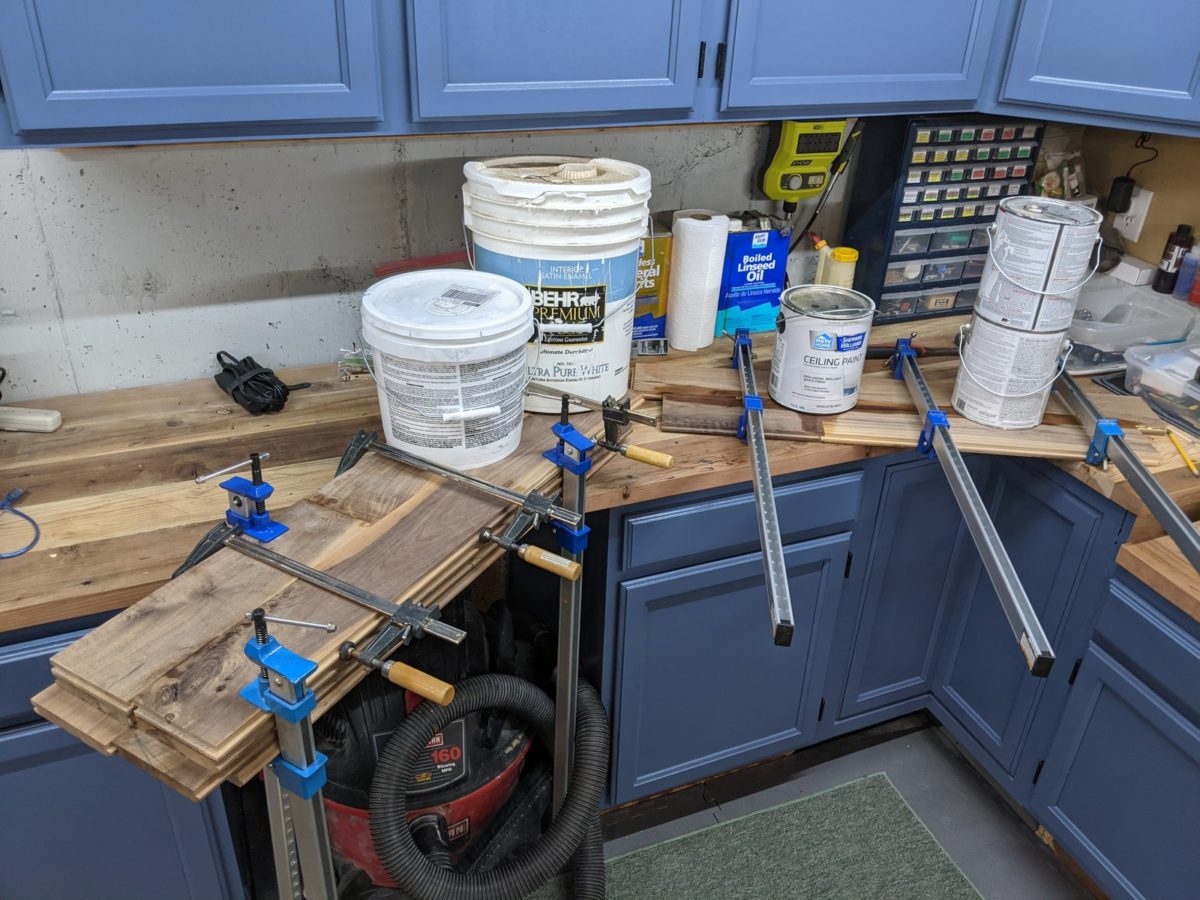
I searched through my stack of lumber and put together enough puzzle pieces to get seven rough sized treads for the project. Then I got busy with some glue and clamps to get the stair tread blanks formed up.
After letting them dry overnight, I trimmed off the tongue on one side and rounded over both the top and bottom edges with a 1/4″ router round-over bit to form the nose of the tread.
Then I fit the stair treads to each stair using the same stair jig again. I also scribed the back of each tread to fit to the stair risers nice and tight.
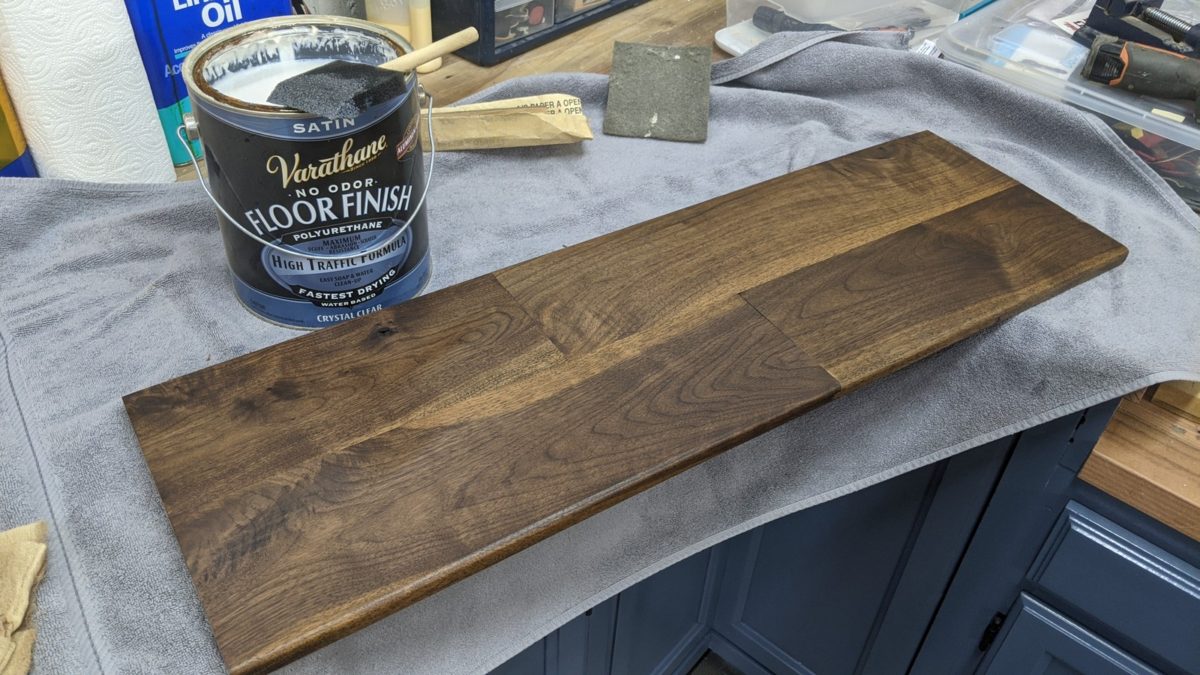
To finish the walnut stair treads, I first did some testing on a bunch of scrap pieces with stain and top coats to see what I liked best. I really wanted a nice dark finish that contrasted the lighter hickory risers. I also wanted the finish to be some type of satin finish so that it wasn’t overly glossy and slippery. I ended up deciding on staining with Minwax Dark Walnut Stain and followed that up with Varathane Satin Water Based Floor Finish.
I used quite a bit of liquid nails to glue the treads down and weighted the treads down with a whole bunch of leftover paint cans while they dried overnight. These things are not going to come off easily!
Project Complete
I think that it turned out pretty well and the whole house remodel is one step closer now!

Finished Stairway 
Riser, Tread, & Stringer Details
Till next time…
Another amazing beautiful work of art .
Thanks, David. I’m always trying new things and I like the way this one turned out too.